Right on time for Christmas, I have the perfect gift for you! You’ve been dreaming of cuddling Aimsee, my cute character? Well, your wish was granted! Make this 5 feet tall body pillow case yours and try to choose your favorite side. Will you cuddle your Aimsee dakimakura from the front or from the back? ;)
For a few extra bucks, you can get the Special Package that includes a 5” X 8” glossy print of Aimsee drawn by Pop-Lee, the artist who made the art for both the mousepads and the dakimakura, signed to your name by both Pop-Lee and I! Only 24 Special Packages available! Don’t miss your chance!
Make someone (or yourself) happy and order your sexy Aimsee dakimakura here.
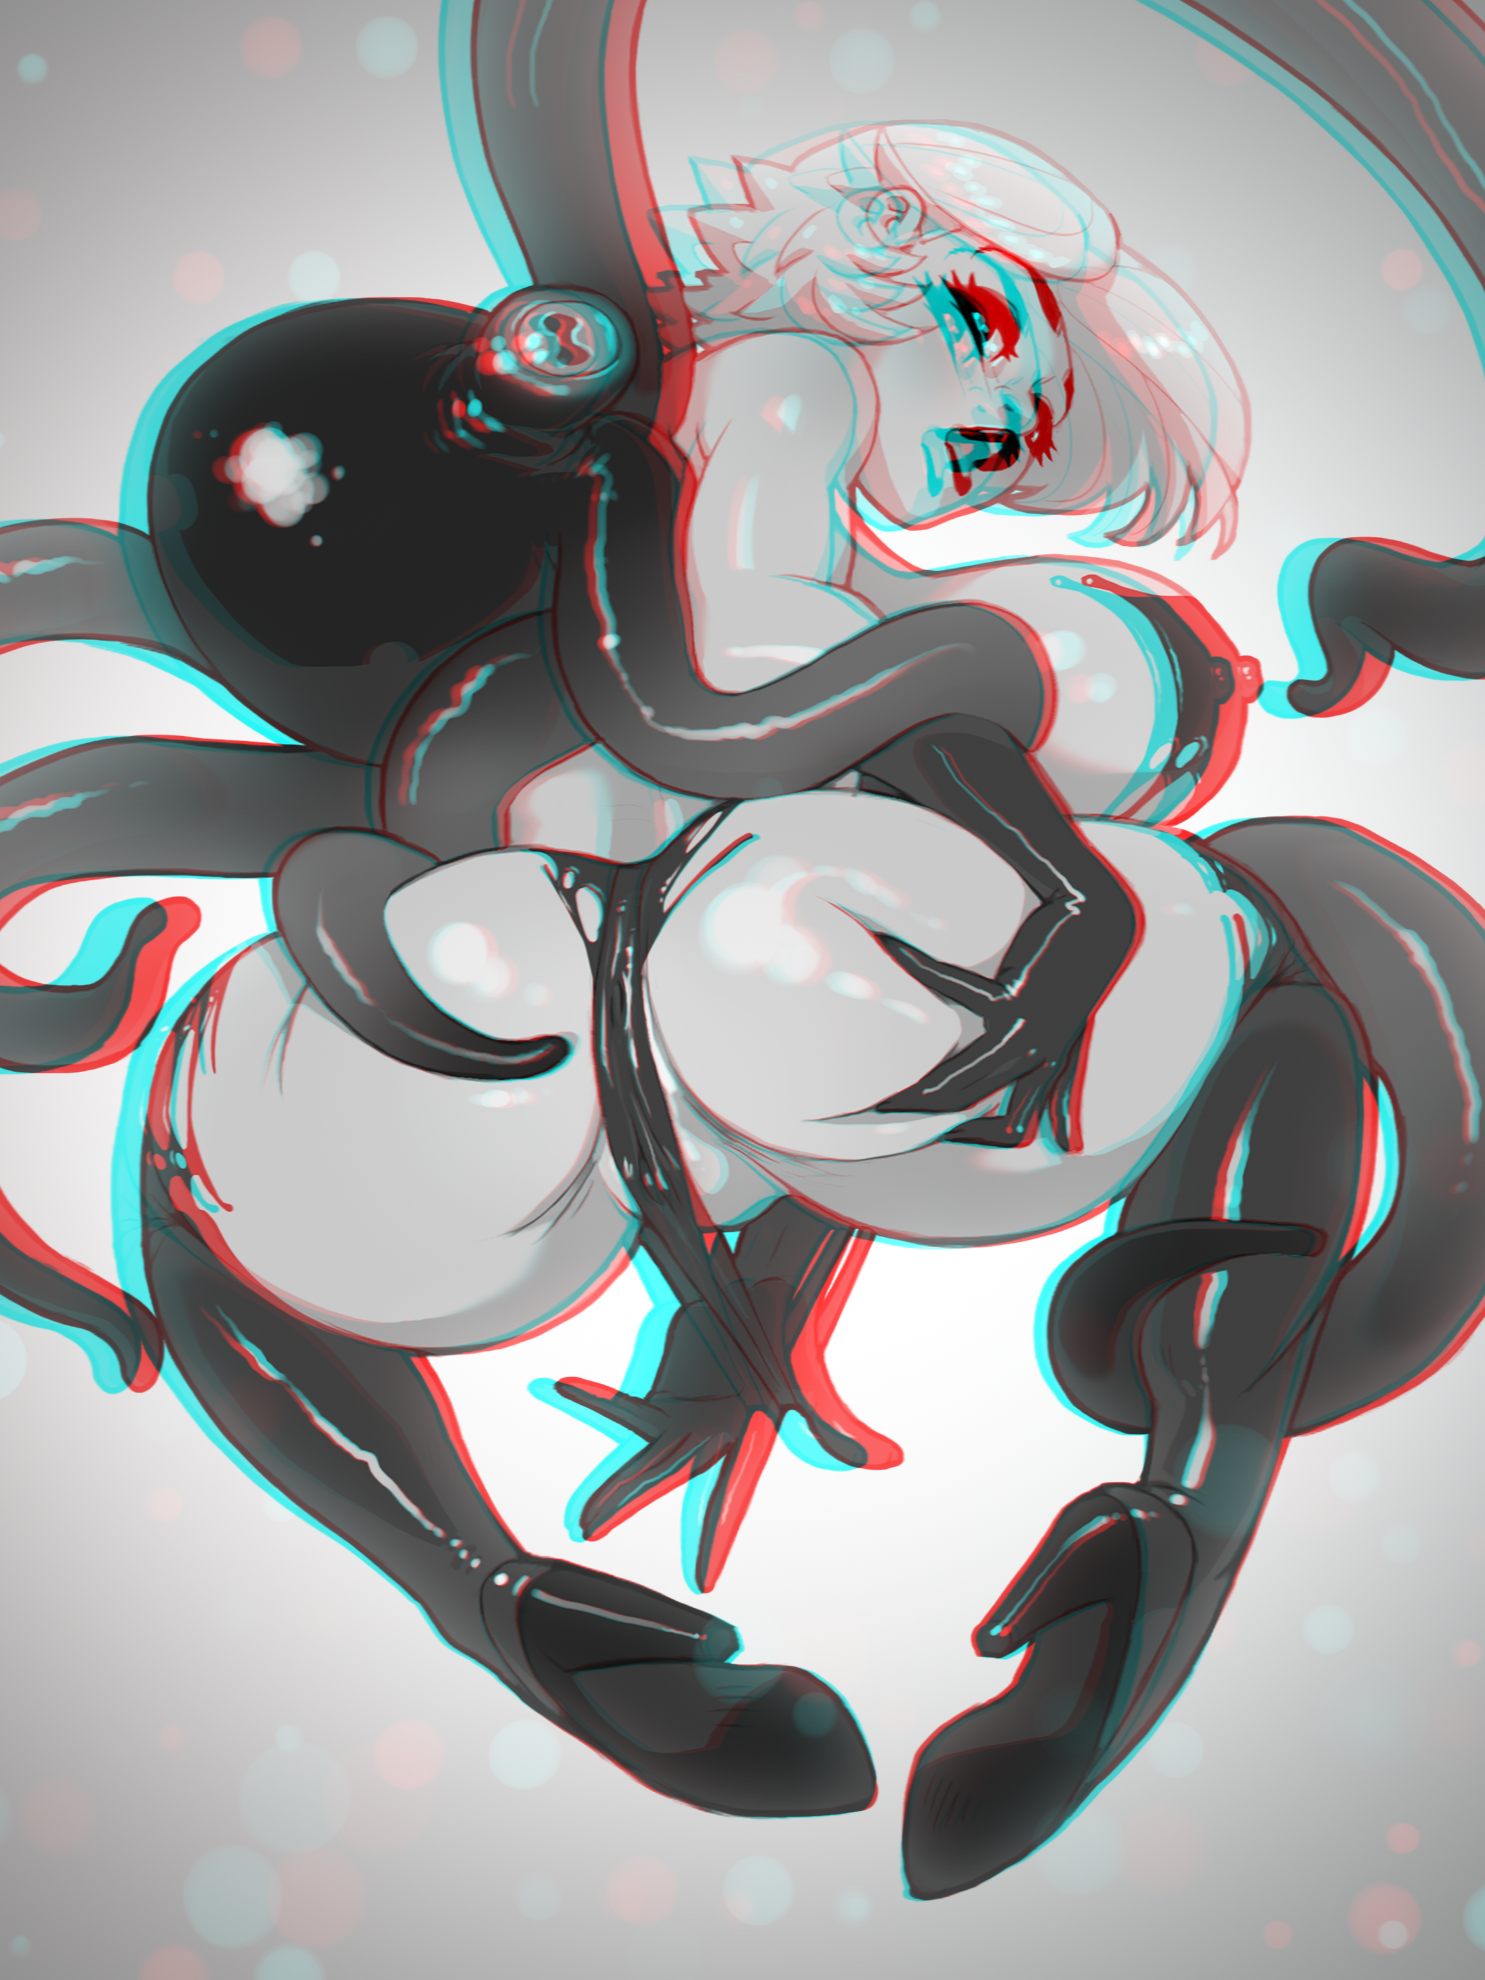
The king of the wiggle! You might remember this frontal view of Aimsee by Boobella. (Check out the pics galleries.) Folks, here’s a new POV of Aimsee in motion! Love this fun, cute and sexy style.

And as a bonus, here’s the analglyph version.
I’ve always been served really well and in a timely manner by this artist, please visit :
(NSFW) http://boobella.deviantart.com/
(NSFW) http://melona-boobella.tumblr.com/
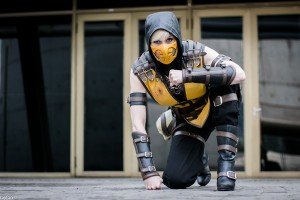
Great news for my Canadian fans! I will start the new year by visiting Ontario! I’m received as a cosplay guest for Tri-Con KW 2017 in Kitchener, ON, on January 14th 2017. Visit their website for more details.
http://www.themuseum.ca/exhibition/tri-con-2017
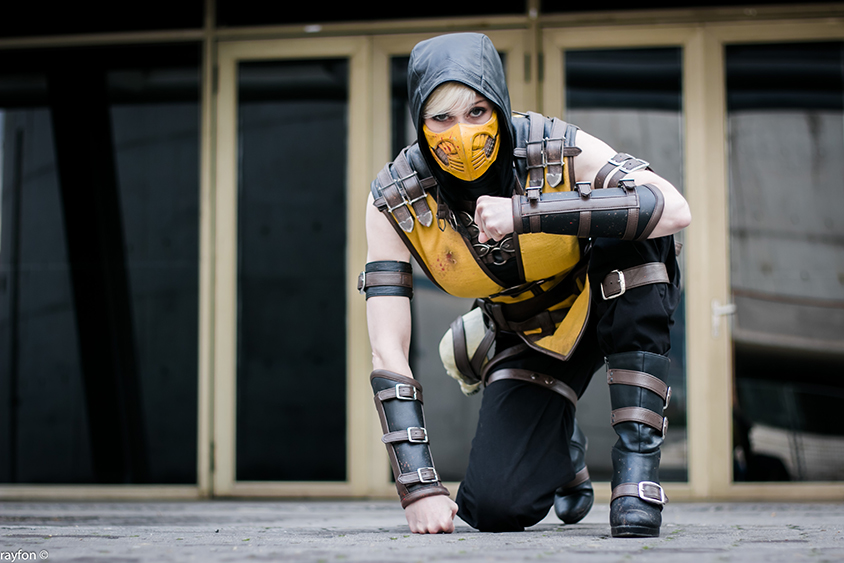
Photographer: Rayfon – https://www.facebook.com/rayfonresearch/
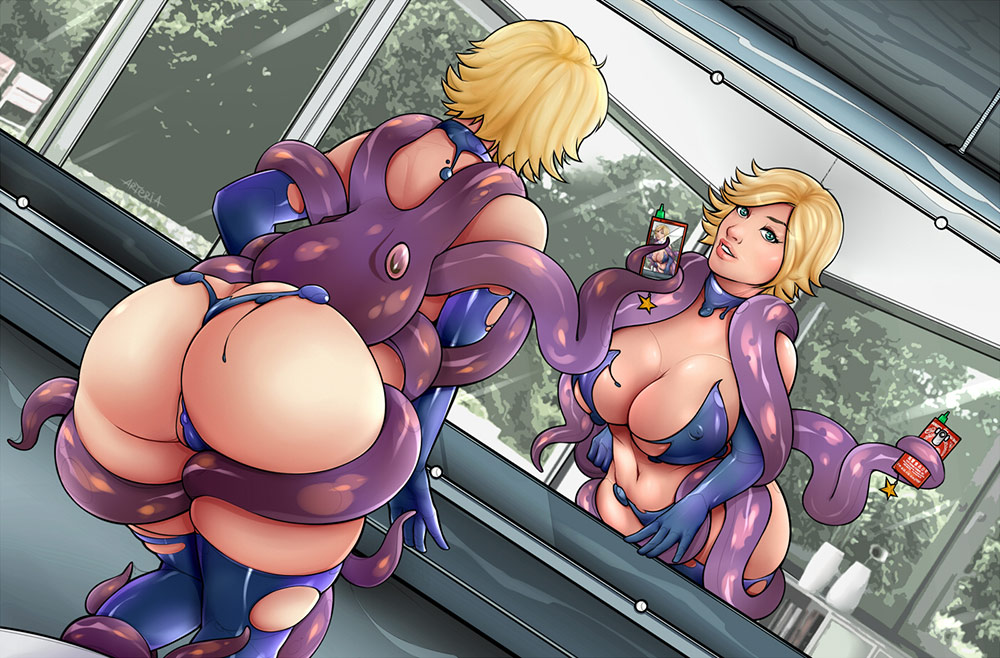
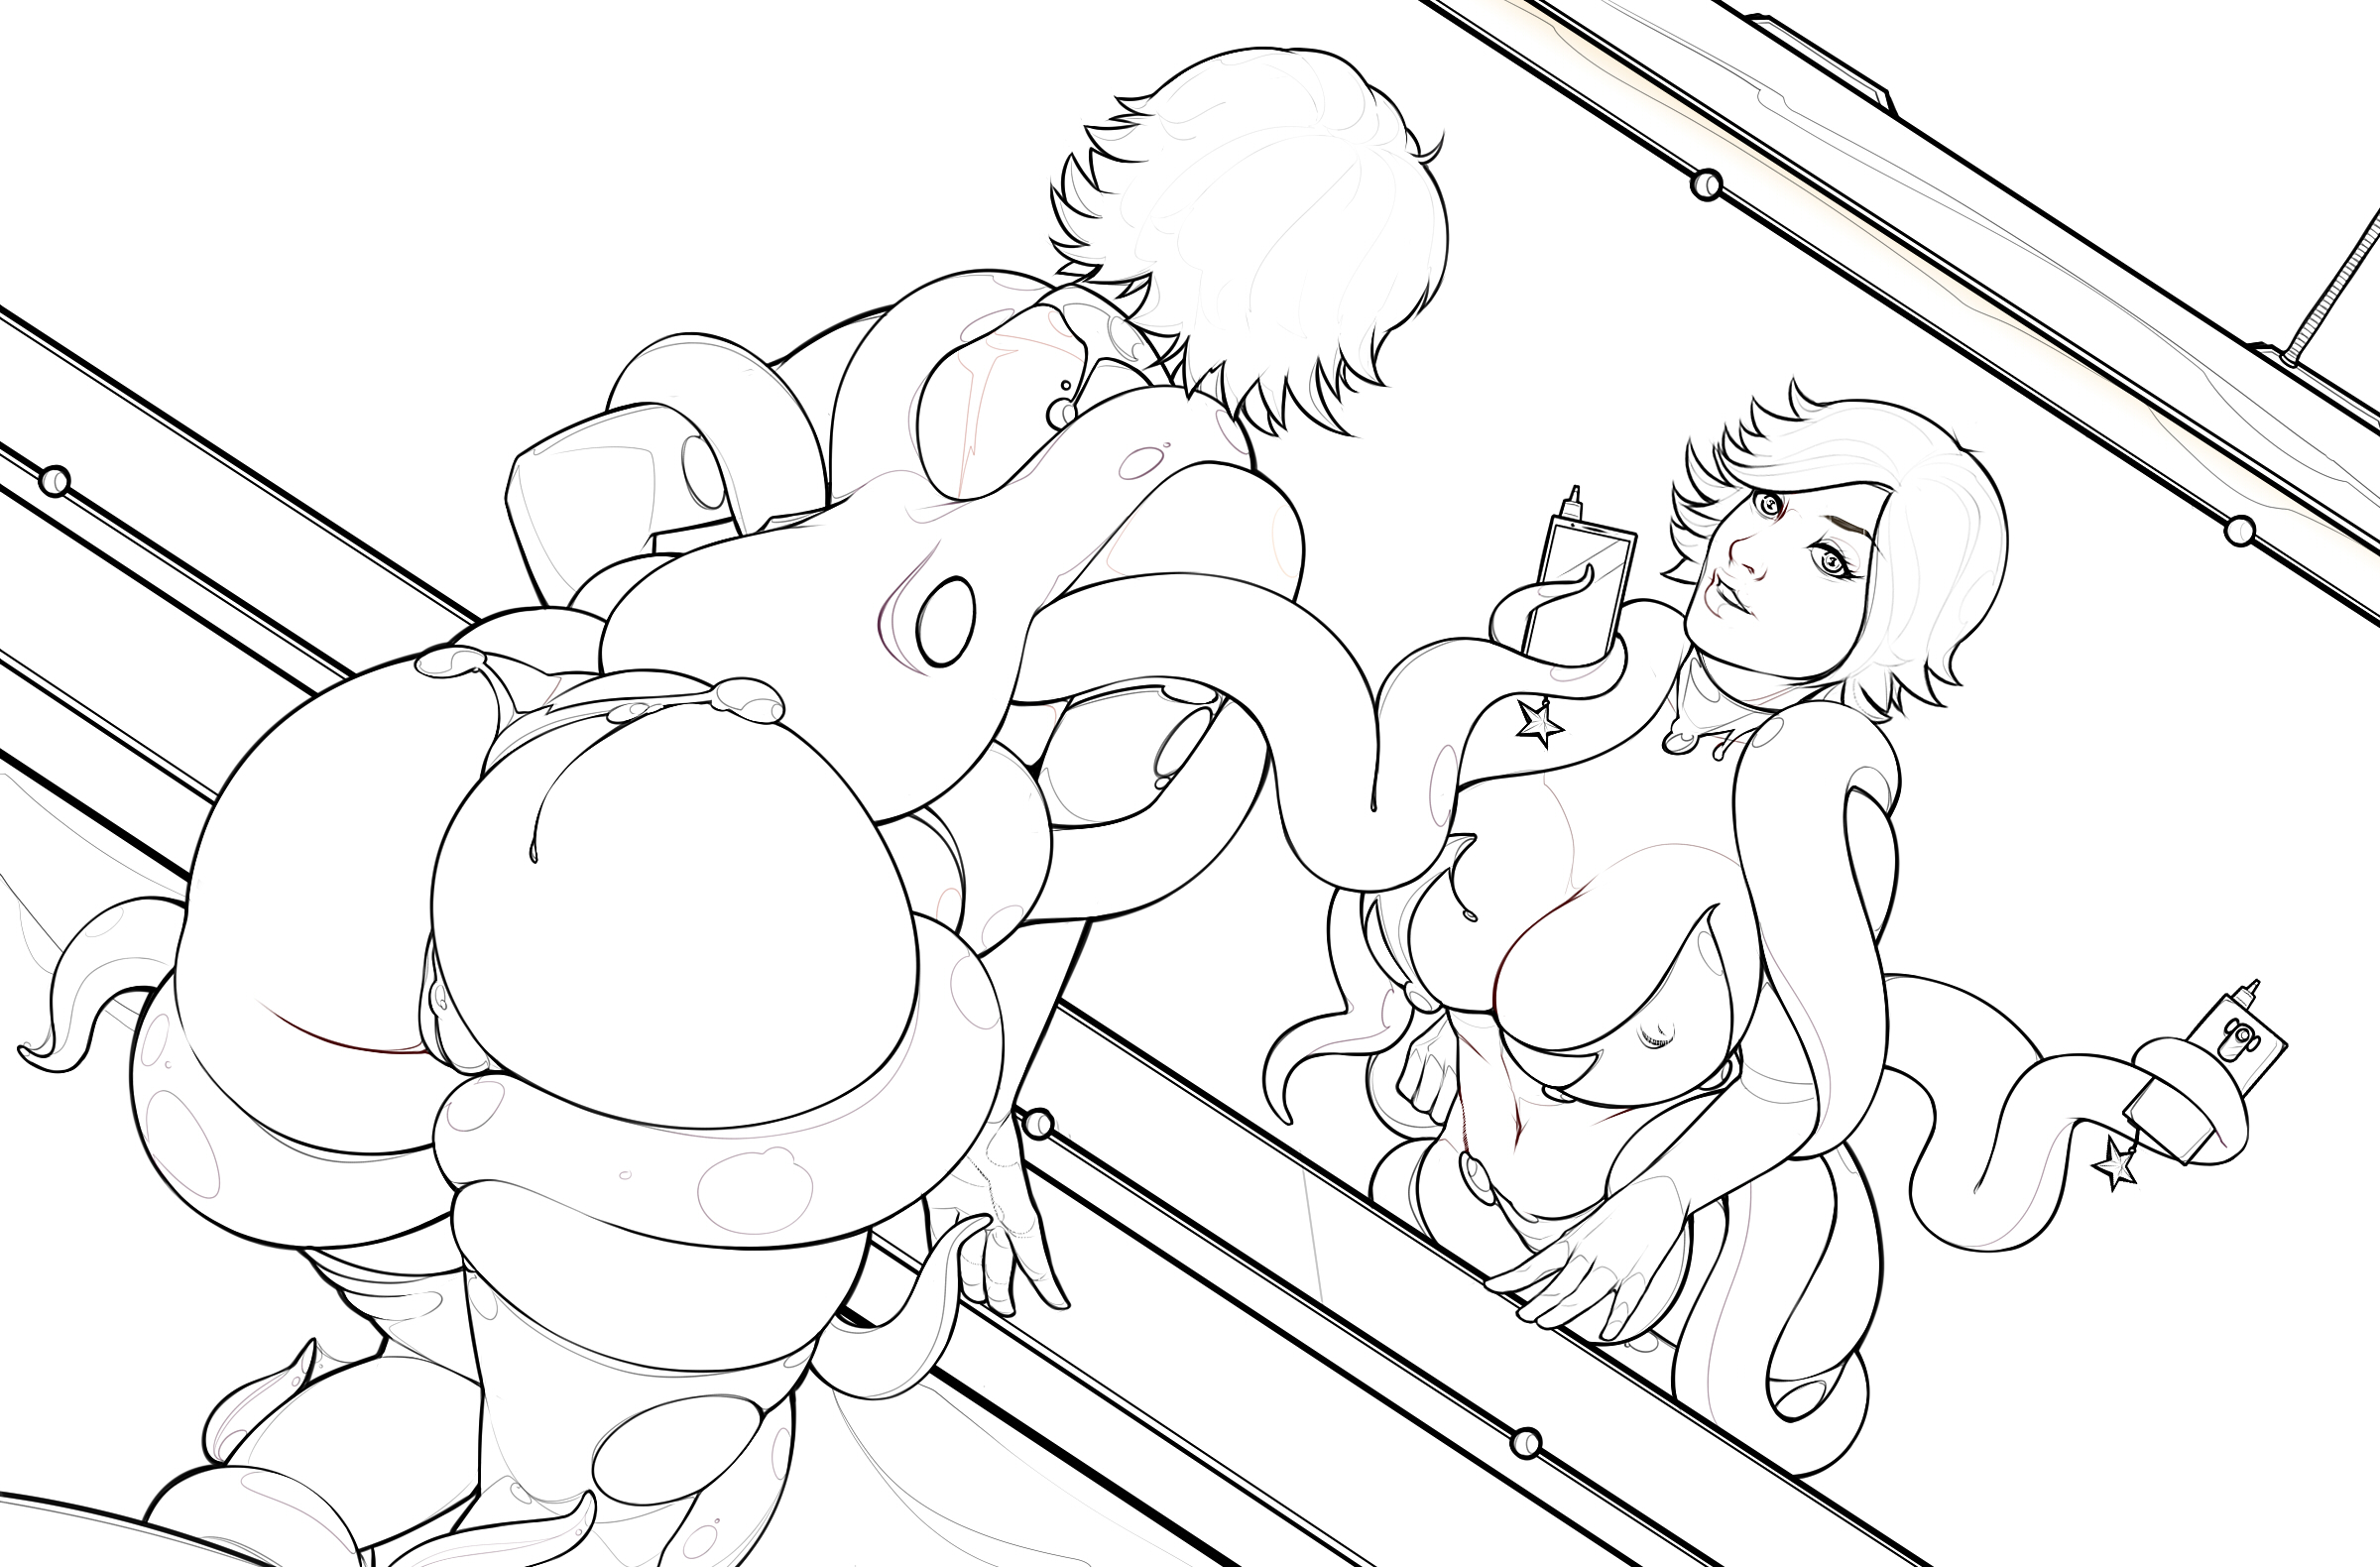
Tricky, tricky… Showing these weird tentacles and having a grasp at this big bulging head at the same time wasn’t easy, but it was achievable with the magic of this little narcissistic trick call a selfie. So here’s a triple portrait of Aimsee.
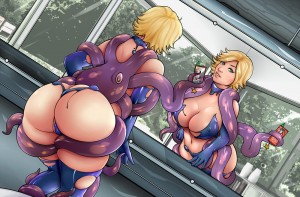
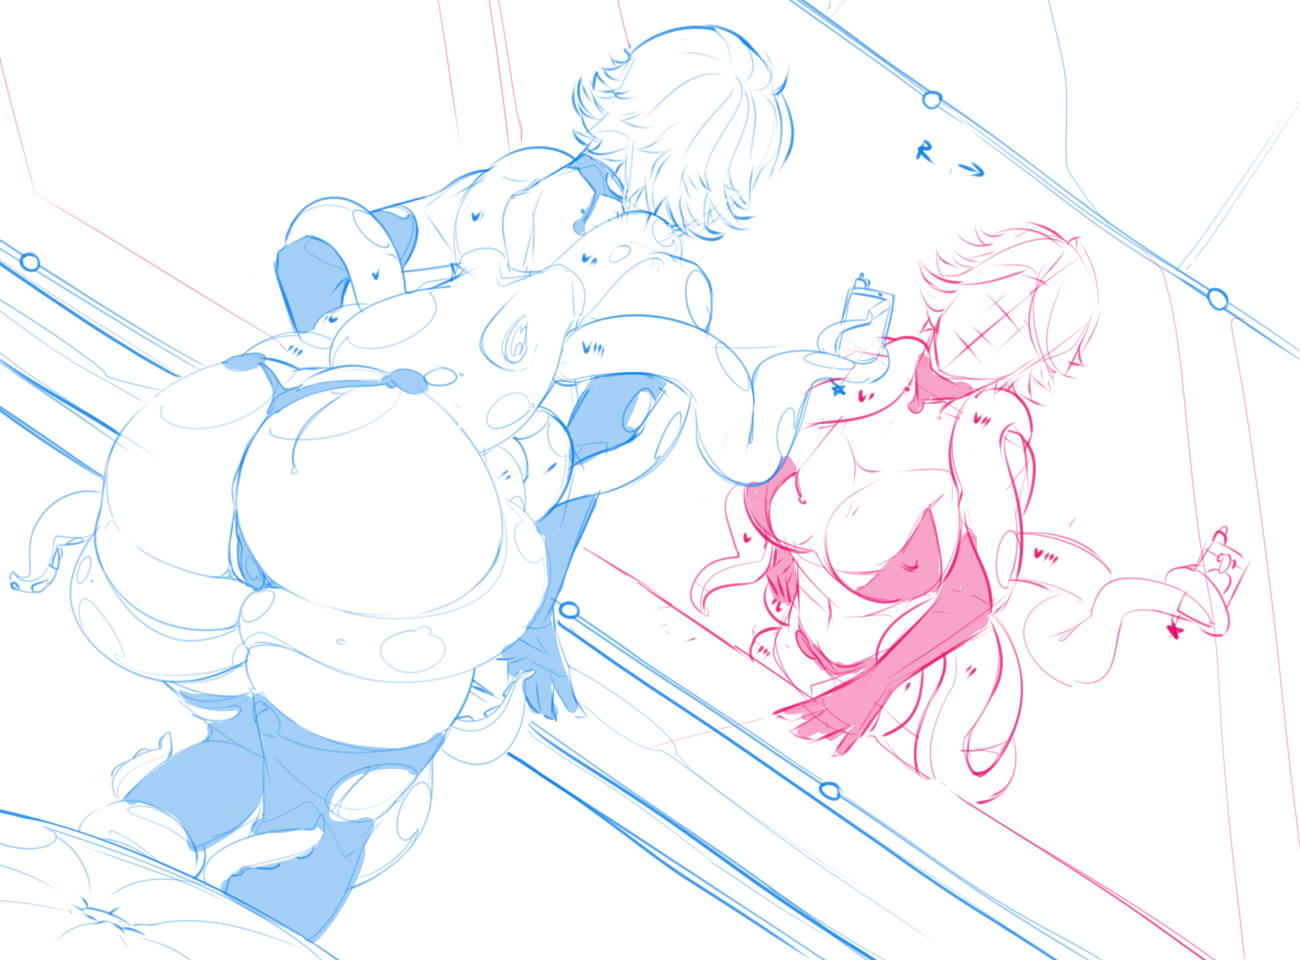
Cool bonus: the WIP pics courtesy of the artist.
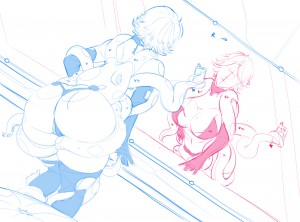
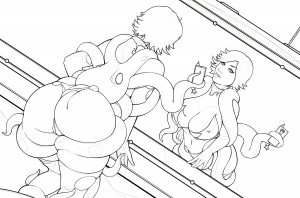
Want to join Arteria for commission? Go to Hentai Foundry to find how. Follow the link at your own risks.
(NSFW) http://www.hentai-foundry.com/user/Arteria/profile

I’m always really happy about the fact that artists accept to work with me on my OC and other stuff related to my projects. Even though I’m not commissioning xxx artwork, I don’t mind working with talented artists, men and women, who give into it. Talent is talent and to each his own.
It was a pleasure chatting with Kamina. I really liked the way he made artistic suggestions for my piece. My requests are usually pretty rigid, so that was a nice change. It’s never easy for an artist to translate someone else’s vision into an actual artwork and to give life to your idea. Thank you, sir!
Kamina’s NSFW website (Wait, mine isn’t SFW either :S)
Go check that out !
http://artofkamina.com

Tengo una buena noticia para mis amigos de México: soy una invitada por Megacon: Héroes y Villanos, 03-04 Dic’16 Mérida, Yucatán, Centro de Convenciones Siglo XXI ¡Y mi amiga la famosa cosplayer Vegas PG tambien!
I’m a cosplay guest for Megacon: Héroes y Villanos in Mérida, México, on December 3-4 2016. And guess who’s a guest with me? My lovely friend Vegas PG! Can’t wait to see you all there! And of course, I’ll stay a little longer in Mexico to enjoy the sun and the beaches!
http://www.megaconmid.com/

Great news! I’m adding one more convention date to my schedule in October and this time, it’s for a convention in the USA. I’ll be received as a cosplay guest for MegaCon Tampa Bay on October 28-30! Looks like I’ll celebrate Halloween under Florida’s sun this year!
http://megacontampabay.com/
Sitting on a spider
So we had the spider’s body holding by itself on its legs. That was very encouraging. And we had figured out a solution to the assembling/disassembling problem. This step was certainly the most complicated step from the whole building process and we were released that it was done. However, more challenges were waiting for us.
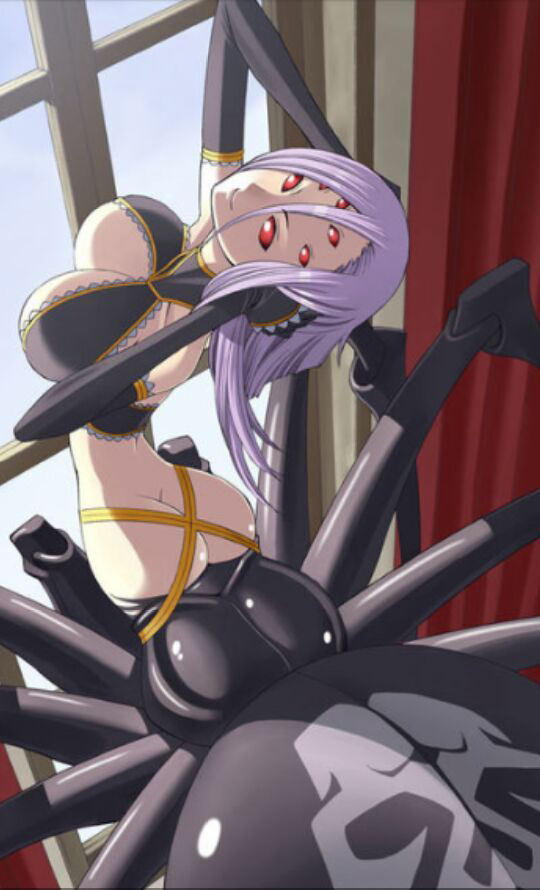
One of the questions that people asked me the most was: ‘Where are you gonna put your legs? Will they be hidden inside the spider’s body?’ On some of the drawings, you can see that the human part of Rachnera is attached to her spider body in a way that we couldn’t reproduce.

Even if my legs would have been hidden inside the body, there’s no way I could have kept my body in that angle for many hours in a row during the convention. The only logical solution was to have me sitting on the body. But what would we do with my legs? When you look closely at other Rachnera pics, you can see that she does have shorter ‘legs’ that are actually called ‘pedipalps.’

We thought that the best solution was to disguise my legs as the spider’s pedipalps. Making latex leggings for the costume would make my legs look as slick and shiny as the fiberglass spider body that would be shiny because of the automotive paint. The latex would imitate the spider’s ‘skin texture’ perfectly. But how would we integrate my feet in the pedipalps design? I tried various pointy high heel shoes, but it would always, in the end, look like shoes. It would have been disapointing to work that much on a fiberglass body to finally wear my Rachnera costume with simple shoes. So my friend and I built these fiberglass leg pieces that would cover my feet and give them a different shape. Of course, my legs would remain longer than Rachnera’s pedipalps, but at least, they would be covered by the same material than the rest of the structure, creating a camouflage effect.
Now that we knew that my legs wouldn’t be hidden inside the body and that I would be sitting on the body, we had to build my seat. It would be easy to create a fiberglass seat that would be part of the structure itself. However, it had to be a comfortable seat because I would have to stay there for a long time. Fiberglass remains fiberglass, not very comfortable, so the least we could do was to make sure that the seat would be… sculpted to fit my booty. I thought of older tractor seats. They had type of an ‘ergonomic’ shape. Remember that box containing the metal plate where the legs would be boalted? We cut a ‘seat’ shape in that box and sculpted a styrene lid. I would literally be sitting on the lid of the box giving us access to the legs’ assembling mechanism. On the next picture, notice the boalts coming out from under the seat, where the legs are fixed.
Then I tried to sit on our first attempt of seat. Since my legs were dangling off the edge, I had to hold my body to keep my balance. Otherway, I would fall down. It was clear that I couldn’t force my back and thighs muscles like this for many hours. We had to find a way to support me, to keep me on the seat. So we added that ‘bump’ in the middle front of the seat to support my crotch and keep my body in balance. It helped a lot. Plus, that part of the seat would be hidden by Rachnera’s loincloth. It was a good idea. But I still had to force my thighs muscles because the weight of my legs dangling off the edge of the seat was still pushing me down, making the under part of my thighs pressing very hard against the seat. After a couple of minutes, my thighs were numb already. And I wasn’t even wearing the fiberglass leg pieces that would add even more weight on my legs. That seat was far from being comfortable. That would be a bigger challenge than we had thought.
I suggested to add something on the front of the seat to support my legs as much as possible. We added 2 pads of EVA foam that we covered with fiberglass and integrated to the seat. If you look closely to the next picture, you’ll see these 2 little shapes in the front of the seat that we designed expressly to support my thighs. It wasn’t perfect, but I felt like it was as close as it could get to a ‘comfortable’ seat. We sanded and finished the edge of the seat so it wouldn’t hurt me. If we would have been building this for another model or cosplayer, I don’t think we coud have expected another girl to sit on this for a long time without feeling pain. But since we were building it for me and since I’m pretty resistant to muscle pain, I knew that I could stand it for the time of the convention. Anyway, we had to move on and we had no other choice. I would sit there and stay there no matter what.
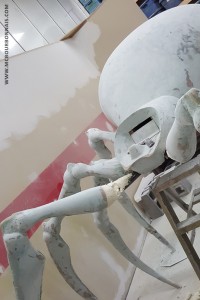
See the window wall on picture? Just so you know, that’s where my sewing room is. My sewing room is on the mezzanine floor in my workshop. Thanks to the window wall, when it’s summer time and when I work with the garage door of the workshop open, I can see outside even if I’m working in my sewing room. I love it!
Enough for today! Be ready for Part 6 of my making of blog! I’ll explain how the legs’ assembling mechanism was hidden by an intricate custom made lid.
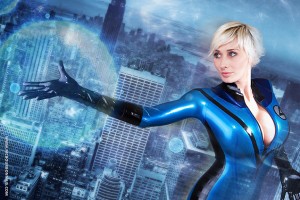
J’ai grand plaisir à annoncer que je serai de retour au Comiccon de Québec en tant qu’invitée cosplay les 22 et 23 octobre prochains! Venez me voir, ainsi que les autres invités, au Centre des congrès de Québec! J’aurai un tout nouveau costume que je dévoilerai bientôt. Pour plus d’information, consultez le site du comiccon:
http://www.comicconquebec.com/fr/accueil/
It’s a real pleasure for me to be received as a cosplay guest for Quebec City Comiccon this year! Come to meet me at the Québec City Convention Center on October 22-23. I’ll have a brand new costume that I will soon announce online! Fore more info, visit the comiccon’s website:
http://www.comicconquebec.com/en/home/
Rachnera’s legs: the magical assembling process
I’m showing you that picture of the spider’s body again because there are other details I want to point out.
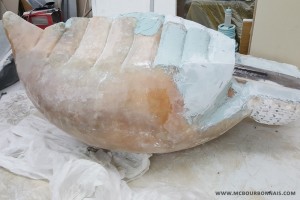
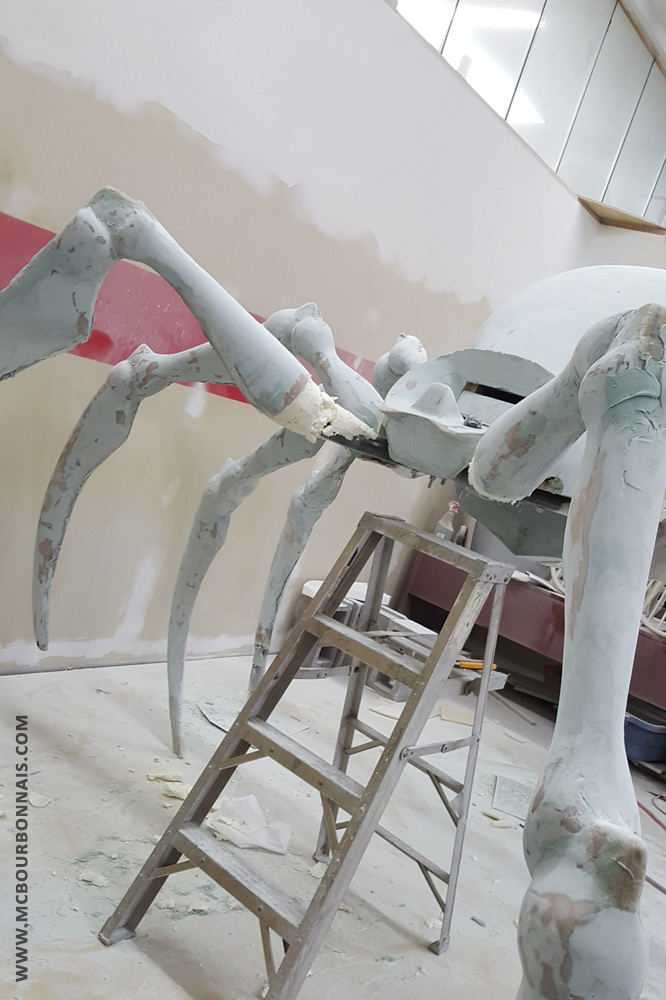
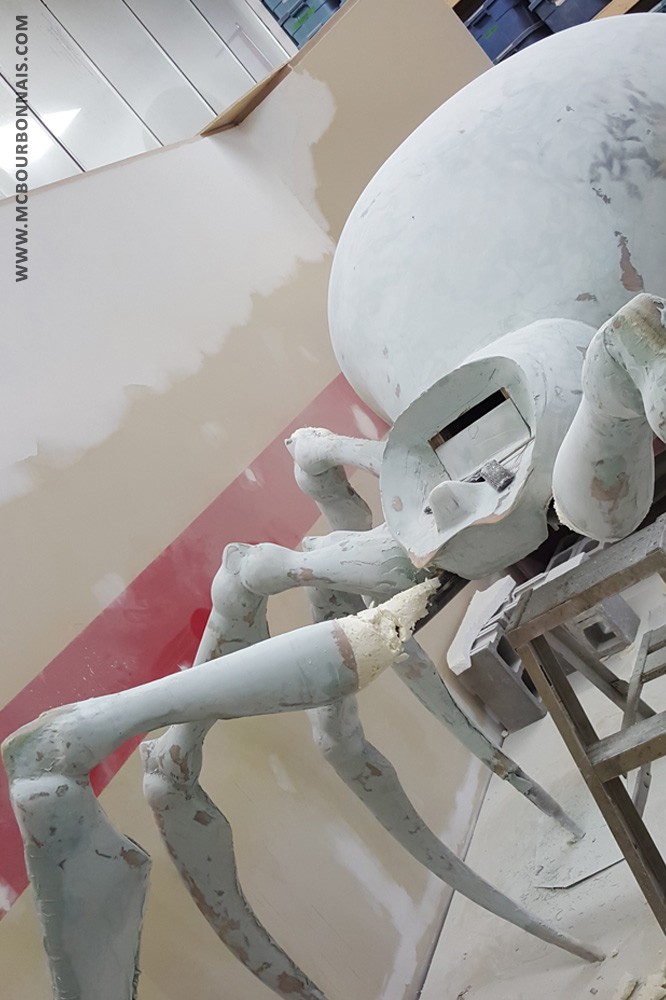
You can see that we had started applying batches of auto body filler all over the spider’s body. Experts will apply it more evenly. I do my best, but some intricate shapes are harder for me to cover evenly. The more little bumps, the more sanding I’m gonna have to do. At least, auto body filler is easy to sand. Easier than fiberglass. To apply body filler, I use a large variety of spatulas: rubber ones, plastic ones, metallic ones.
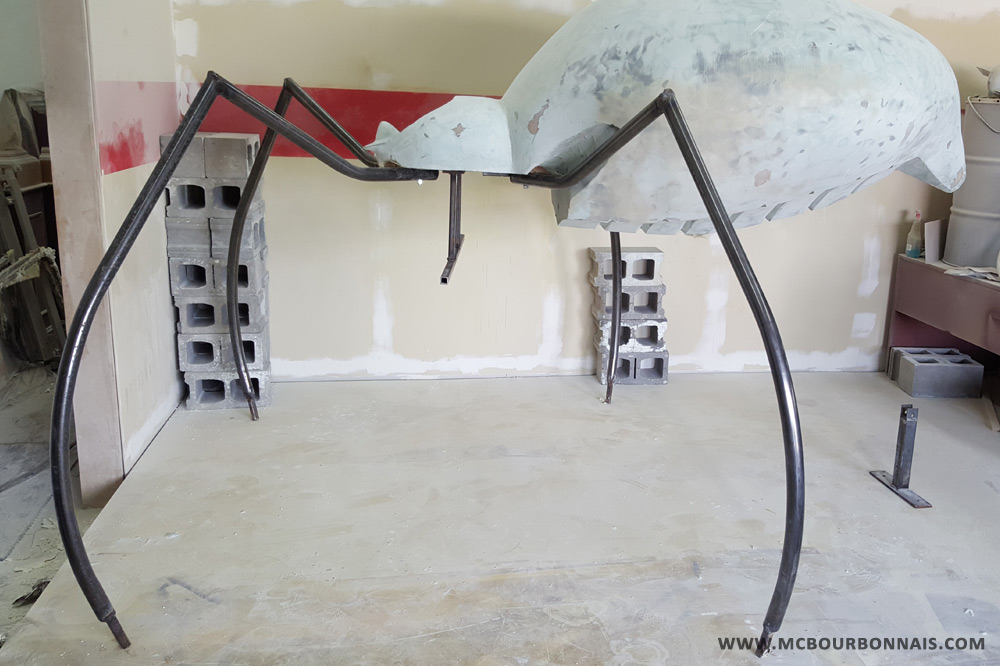
You can also notice a large metallic plate that comes out from the spider’s body and continues on the half sphere shape which is the front part of the body. The holes in that plate are where the legs will be boalted. Another half sphere fiberglass shape will be assembled there to cover and hide the top part of the legs. This second half sphere is removable because we need to have access to the legs to assemble and disassemble them. Now you can see that the 8 legs will come from the front part of the spider’s body. The biggest part of the body has no leg under it to support it. Just like a real spider. Which means that we needed the metallic support in the 4 big legs to be very strong.
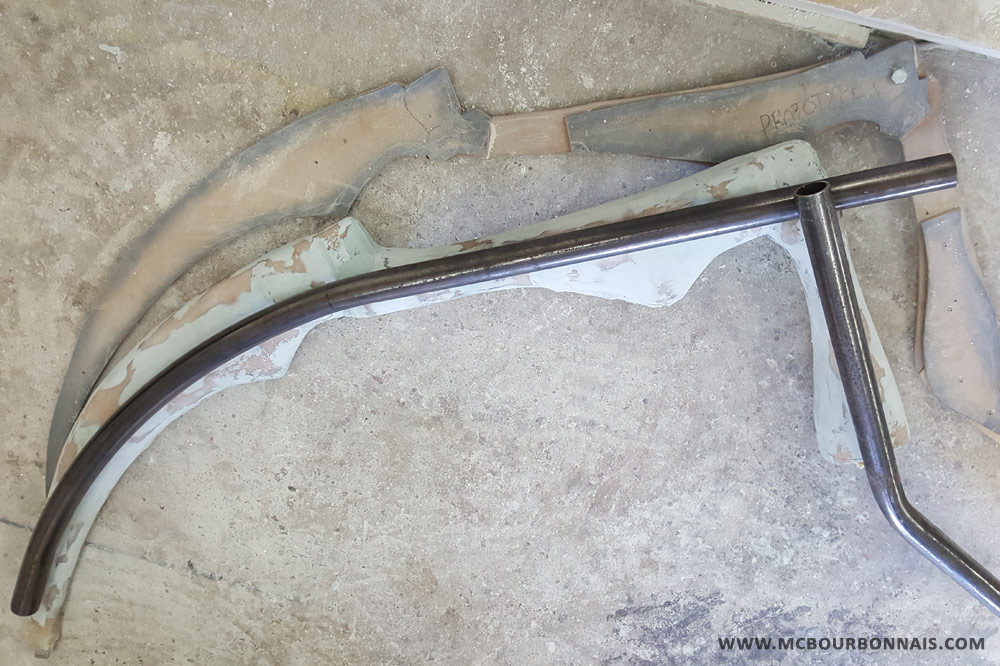
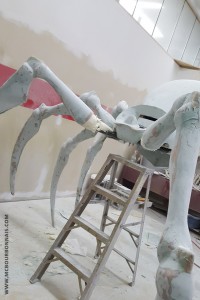
For the 4 bigger legs, we used a gigantic round tubing, 3’’ of diameter, 1/8’’ of thickness. It was probably way more than necessary, but since I would spend hours sitting on that structure, and since the 4 legs had to support all the weight of the spider’s body, we wanted to make sure that it would be super strong. The round tubings were bended and welded to follow the shape of the bigger legs. You can see on the next picture how the tubing follows the shape of the original template and of the final fiberglass leg.
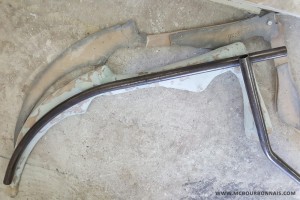
Wait. Yes, the leg is covered with fiberglass and the metallic structure is outside. Right. To insert the metallic structure inside the big legs, we had to cut them in halves with a buffer (which means fiberglass dust, awful step) and to take off the styrene and MDF template from the legs to keep only the empty fiberglass shell. Then we could put the round tubing inside and we patched the legs together again using the same method explained in my previous blog (see Part 3.)
Let’s take a look at the spider’s body holding on the 4 metallic tubings. Before going through the whole process of inserting the metallic tubings inside the legs, we wanted to make sure that they would really support the body. It worked well. Notice how the legs come out from the front part of the body. And notice how the spider’s belly was well sanded at that point. :) From sanders to single sanding paper sheets, anything you can think of that was created to sand, we used it. And we sanded a lot.
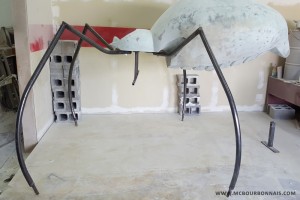
We were in the process of developing a concept that would allow us to lift up the spider’s body and install the legs. That body, even empty, was way too heavy to be held in the air by a few people while someone else would install the legs. Plus, its round shape was making it very hard to manipulate. And we knew that we couldn’t count on a 15 people team to help us installing the spider at the booth before Anime Expo. My friend and I really had to create a concept that would make the assembling and disassembling process doable by 2-3 people.
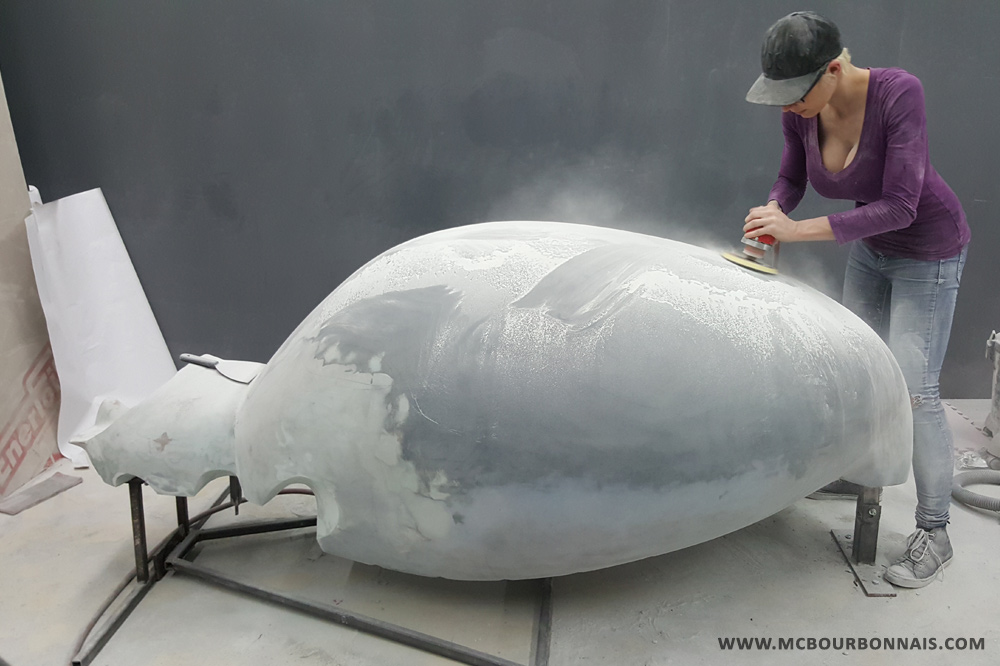
The most obvious way was to use the already existing metallic plate hidden in the spider’s belly, where the legs are boalted, as a part of our assembling/disassembling structure. There are 8 holes in the plate, one for each leg, and we used these holes to temporary fix the removable sturcture that would allow us to fix the spider’s body in its transportation box and to lift it up to assemble the legs. I’m skipping a couple of steps there, because it was later in the finishing sanding process, but I want you to notice, on the next picture, the metallic structures on the floor.
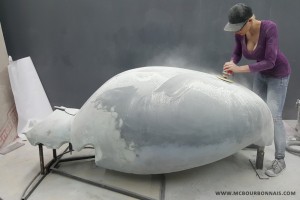
Before any of you make any comment about the fact that I’m not wearing a dust paper mask while sanding, please read Part 1 of this blog.
As it is on the picture, the metallic folded triangle and the metallic piece coming out from the spider’s tail allowed us to boalt the spider’s body to the bottom of its transportation box. See how we boalted it to the floor while we were sanding it. It was fixed the same way in the transportation box. To assemble the legs to the body, we had planned to take off the walls of the box and to let the tail of the spider boalted to the bottom of the box. We would then unfold the front part of the metallic structure, the triangle part, which would lift up the front part of the spider’s body, allowing us to fix the 2 first big legs. (I’ll share a picture of that step later, while I was actually installing the spider before Anime Expo.) Then, we could unboalt the tail from the bottom of the box, take off the metallic triangle from the front of the spider and fix it to the little part coming out from the tail, which would allow us to lift ut the back part of the spider’s body. At that point, the front of the body would hold on the front legs and the back, on the triangle metallic structure. We would then be able to boalt the 2 back legs, take off definitely the assembling structure pieces and fix the 4 remaining legs. It was a real engineering challenge to develope that process and when I think about it, I can’t believe that without any official engineering knowledge, we came up with that idea. And most importantly, I’m impressed that it actually worked. It was so much improvisation, but we had no choice, it had to work.
We’re getting closer and closer to see Rachnera alive! Watch for Part 5 of my blog to learn more!