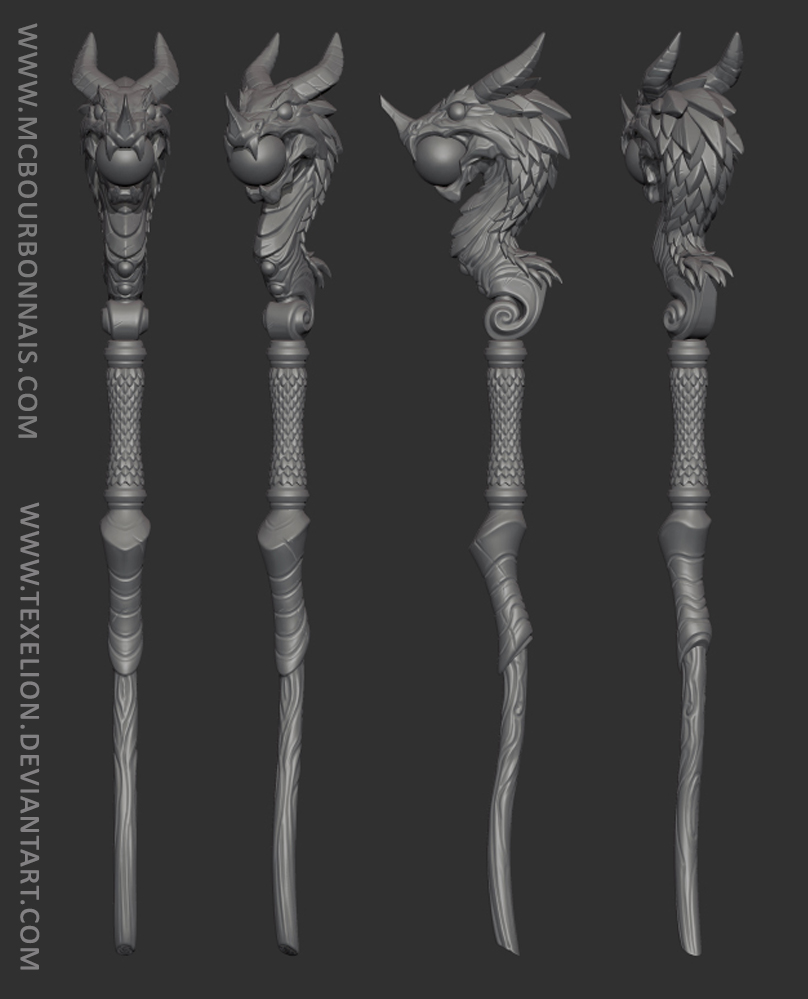
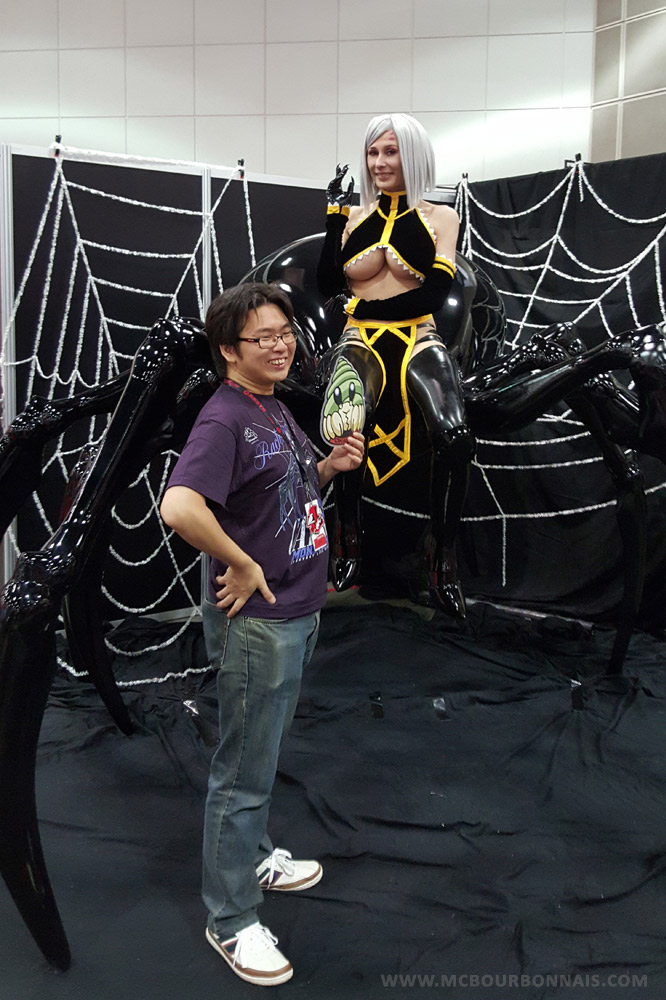
I’m happy to finally talk about one of Severina’s costume pieces I think you’ll be very excited about: the magical staff!

I hired Texelion, a 3D modeler from France, to do this 3D model. (Bonjour à mes amis Français!) As you can see, the original chibi art doesn’t show that much details, so I had to find other reference images of dragons, scales and textures that I sent to Texelion to give him an idea of the interpretation I wanted for my life size scepter. I’m very satisfied with how it turned out! Texelion pays great attention to details and understood exactly what I had in mind! You can see more of his work on his DA: www.texelion.deviantart.com
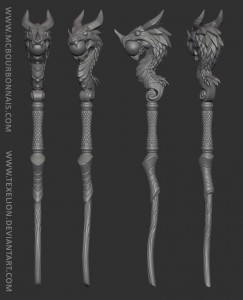
What an incredible design! I was excited just to look at that picture of the 3D model! Next step was to have the piece printed. A little while ago, I bought my own 3D printer. (Ultimaker 2 Extended +) 3D printing is new to me, I’m just starting to integrate that technology to my cosplays. I choose to do this costume especially to practice 3D printing, molding, casting, sanding and painting techniques. A lot of things I’m not specialized in. I’ll do my best to explain what I’ve learned. In any case, it couldn’t be worst than building a 10 feet tall fiberglass robot!
Before you put your file in the printer, you have to see how you’ll cut your 3D model to make it fit the printer. Because the staff is as tall as I am and my printer isn’t obviously that tall! lol The Ultimaker 2 Extended + has a build volume of 223 x 223 x 305 mm. To give you an idea, the dragon head needed to be cut in 6 pieces and the staff itself, in 3 pieces. The file was cut using a 3D slicing software called Cura. Choosing where and how to cut your 3D model and in which position each piece will be printed is important because it will have an impact on the support material needed to print and the 3D printing texture in the different curves of the object. (We call ‘support’ some material that the printer will print around the 3D model just to allow the piece to hold, but this support will be removed after. Some 3D printer will print the support in the same material than the rest of the 3D piece while other printers are designed to use a different material to print the support. Some types of support disolve in water. Other have to be removed with pliers.) A word about the 3D printed texture, the distinctive lines or ridges that are the undeniable proof that your piece was 3D printed and not made in any other way. For example, if you print half a sphere, the flat surface facing the floor, the final layers or ridges on top of the sphere won’t look as good as the ridges around the sphere. It’s hard to explain in words. If you’re curious about 3D printing, but not familiar with it, I’d recommend you to watch videos online. Videos are easier to understand. :)
Speaking of the 3D printing texture, the main challenge, when you 3D print a prop, is to get rid of it. The type of 3D printer, the resolution of the original 3D model, the size of the nozzle, etc. will all influence the quality of the final printed piece. With my 3D printer, I can use 4 nozzle sizes: 0.25mm, 0.4mm, 0.6mm or 0.8mm. The 0.25mm nozzle will obviously give a better results, but it will take way longer to print. Since the staff is a pretty big piece, I decided to use the 0.8mm nozzle. To give you an idea, even with the bigger nozzle, it took more than a week, day and night, to print all the pieces of the staff.
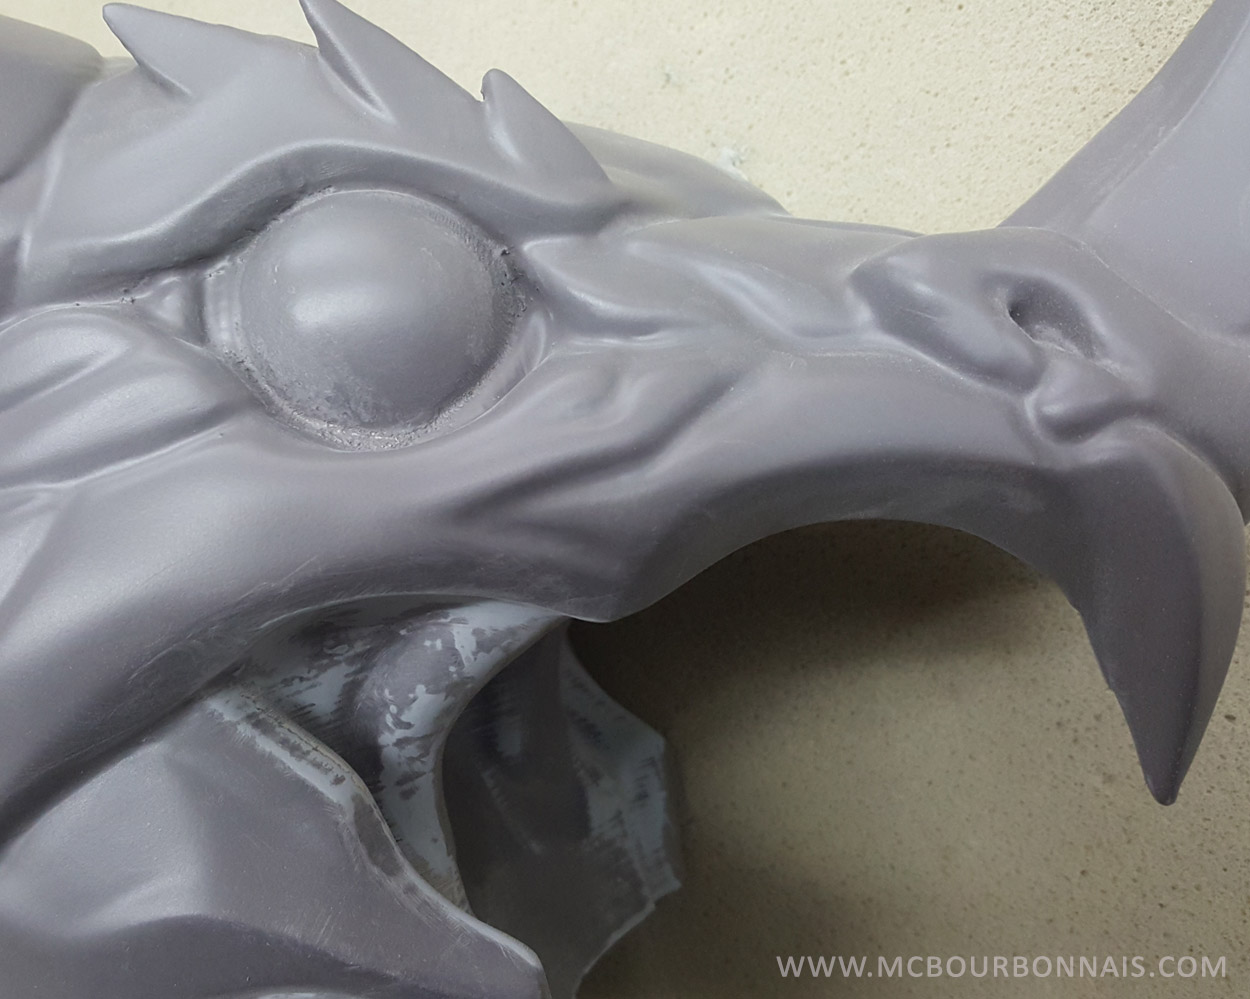
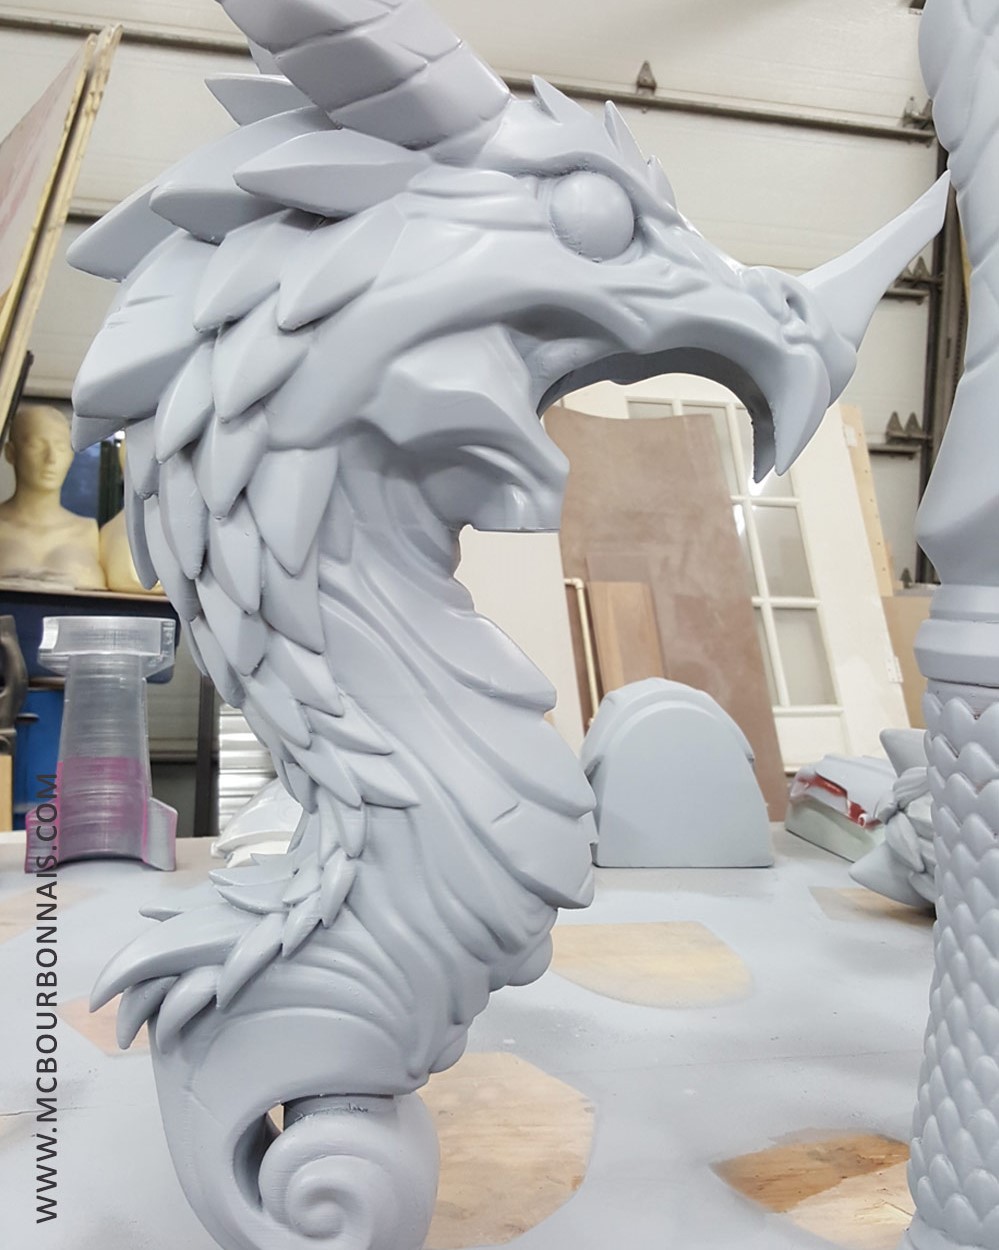
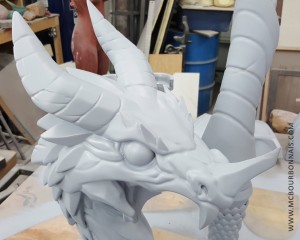
I’m using PLA to print and I saw online a popular technique where people expose their PLA 3D printed piece to an acetone vapor bath to give it a smoother texture. However, I think that this technique also smooths some of the more suddle details of the piece, so I realized that, just like it’s the case for fiberglass, the secret for a smooth 3D printed piece would be sanding and patience. I’ll talk more about the sanding process later. For now, I want to show you the dragon scepter at a stage where it was already sanded a lot and painted with a coat of automotive high coverage primer, the same Omni products I used to paint the fiberglass robot and spider for Ninja Division. (You can see my Rachnera Making Of blog for references.)
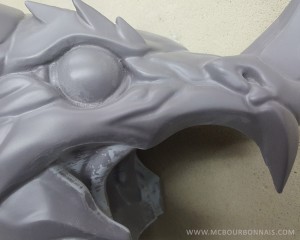
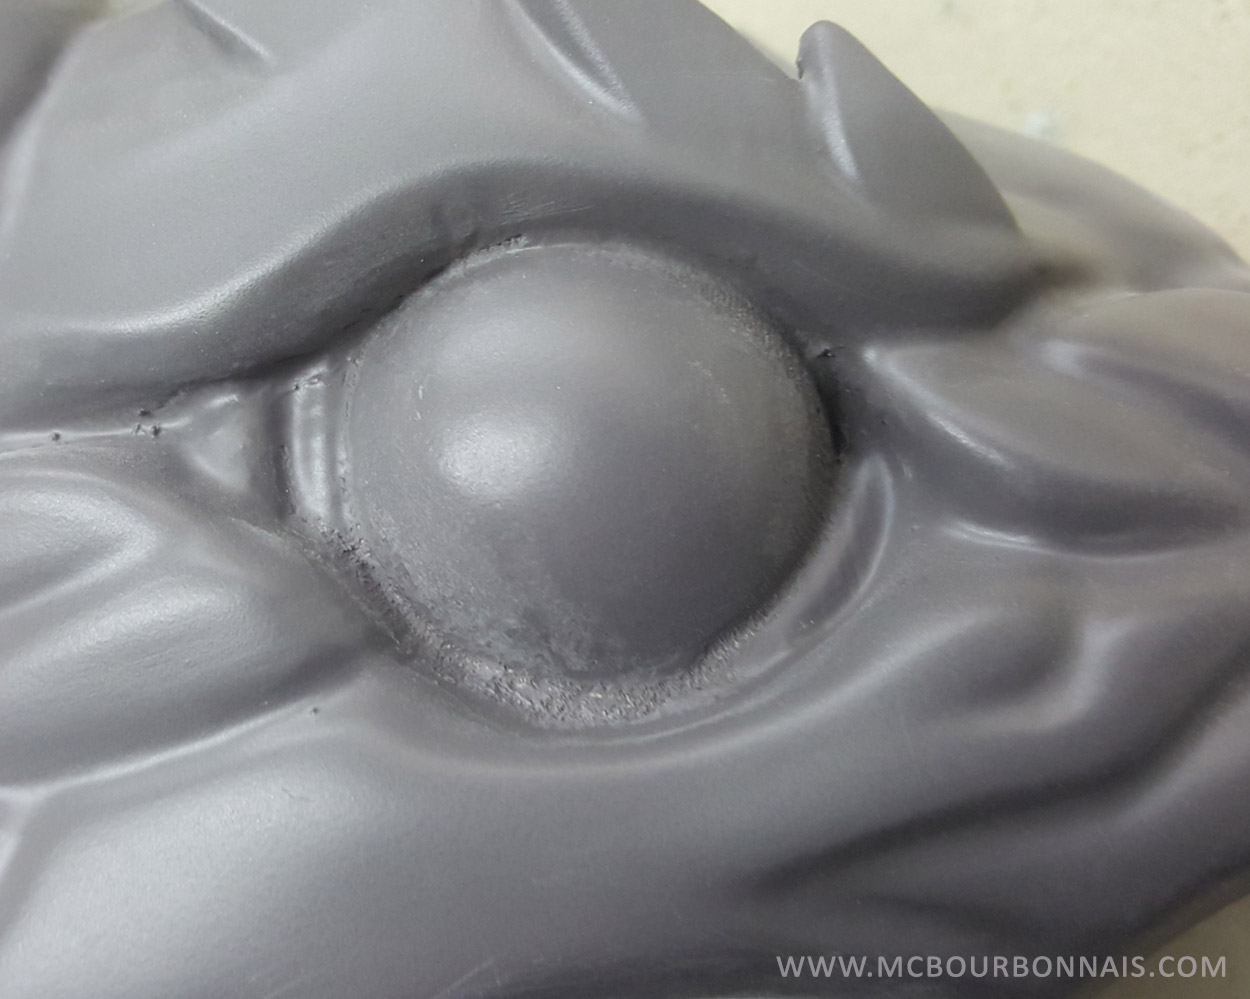
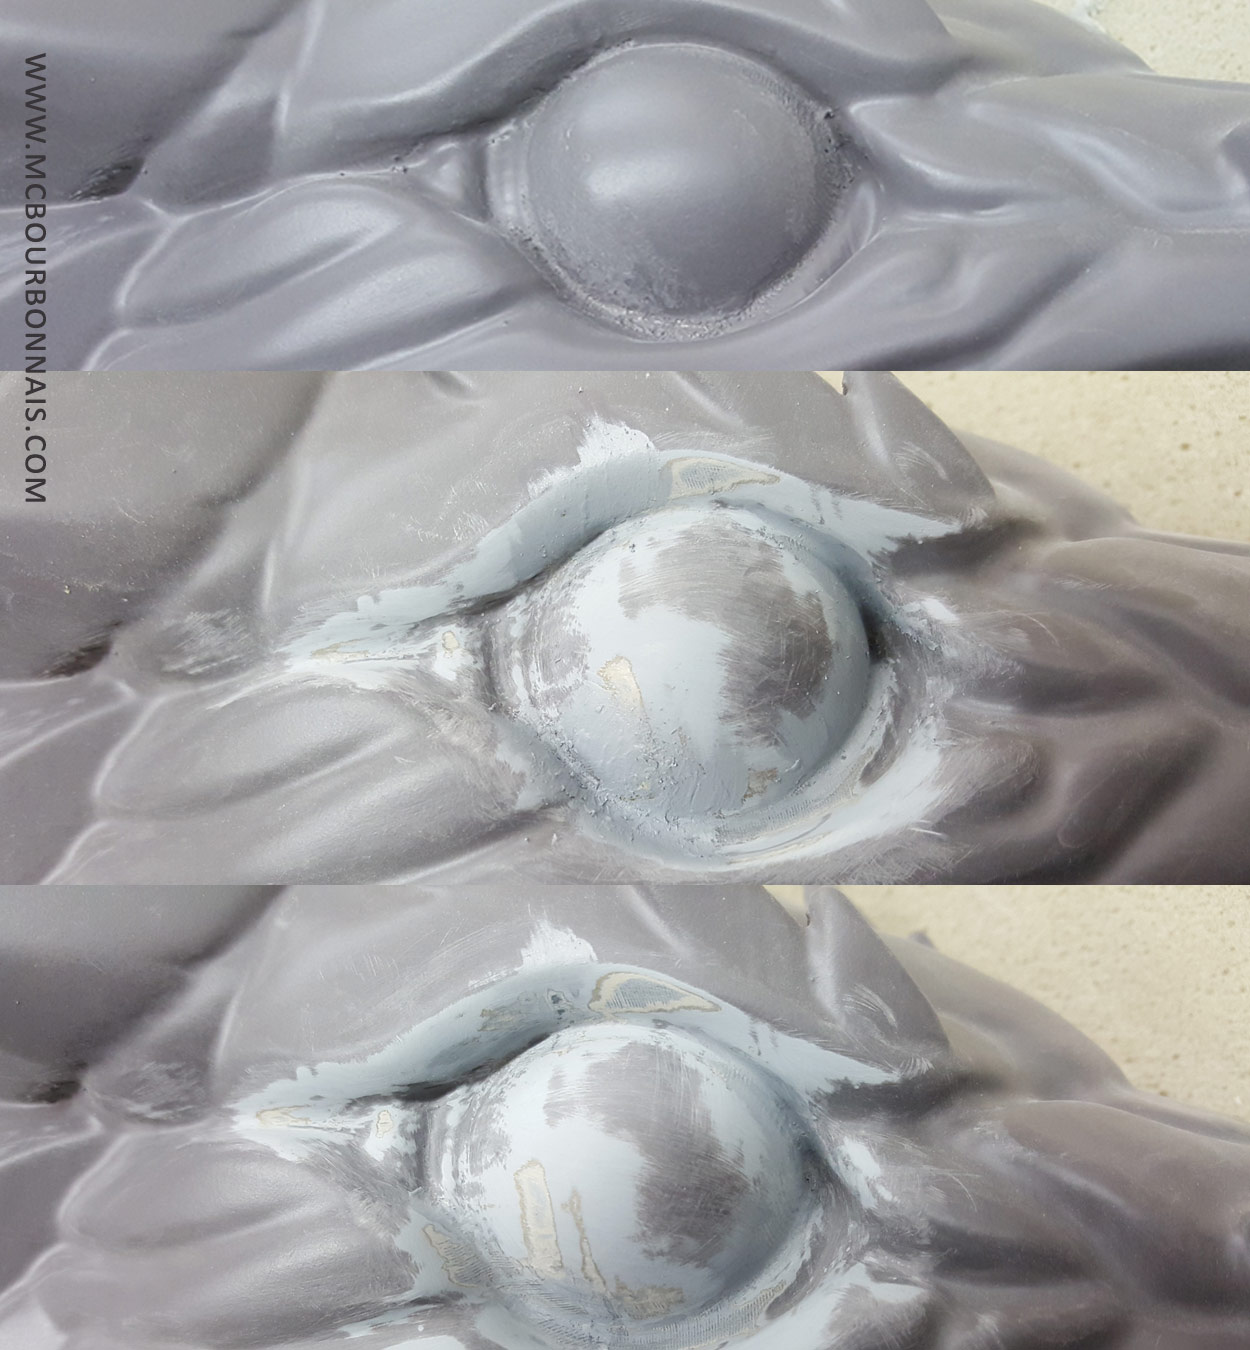
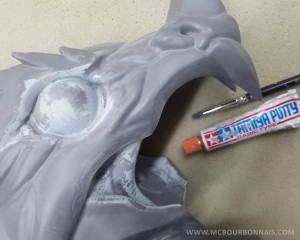
You can already see that most of the 3D printing texture doesn’t show anymore, but there’s still work to do on the details and smaller areas. Many hours of sanding were required to reach this level of smoothness. A vapor bath would have been faster, but I keep thinking it would have flatten down too much of the nice details Texelion had carefully 3D modeled. Here’s a closeup so you can see better what was done and what still has to be sanded.
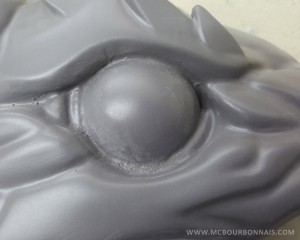
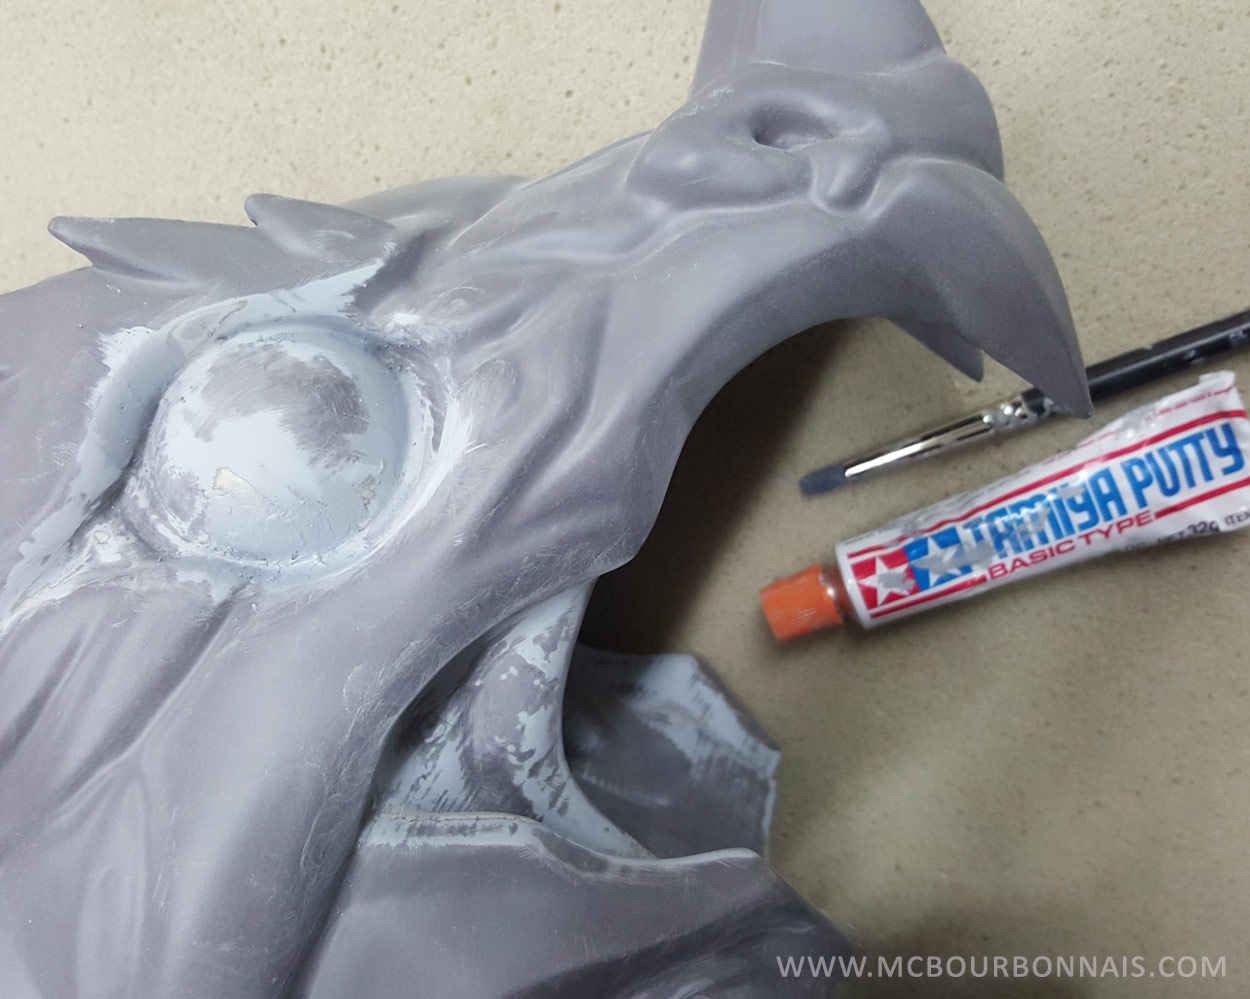
I found out that the Tamiya putty they use for miniatures works well on PLA. It’s fine enough to fill up the very small imperfections and 3D printing texture. To apply this putty, I’m using a rubber brush, I don’t know how else I could describe this tool. It’s literally a sharp piece of rubber on a paint brush tip. It’s sold as a sculpting tool, but it’s very efficient to apply putty.
I might not be the best at applying putty in these little corners. If you don’t evenly apply it, you just have more stuff to sand. But using very fine sanding paper grade and very fine files (and have I mentioned a lot of patience?) you can make miracles. Here’s a before/after pic so you can compare the details once they were corrected with the putty and sanded. Don’t hesitate to download the image in its full size to see better.
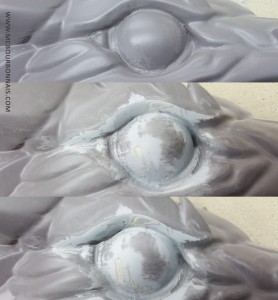
Yes, every little part of the huge magical dragon staff was sanded like this. Under each scale, eveywhere. I don’t calculate the hours I spent sending this prop. But I really wanted to get rid of all the typical 3D printed texture. When I was working on my Jesse Quick costume, which had a 3D printed helmet, I tried to sand 3D printed PLA with my small orbital sander. I realized that high speed sanding was heating the PLA, making it sticky and the sanding paper would then be useless. I had to find a way to sand PLA without heating it up. This is when I started water sanding the PLA pieces and it worked super well! They sell in my local hardware store this very fine sanding paper I had never used before. It’s made to be wet and to sand under the water. Yes, the sanding paper and the surface you’re sanding are wet… and it works! If water sanding is common for you, there’s nothing there that will surprise you, but I was personally surprised to learn that some wet sanding paper would still sand! lol And it turned out that it worked very well on PLA. With a lot of sanding, tiny files, Tamiya putty and lots of patience, I could make my dragon look the way I wanted it to look.
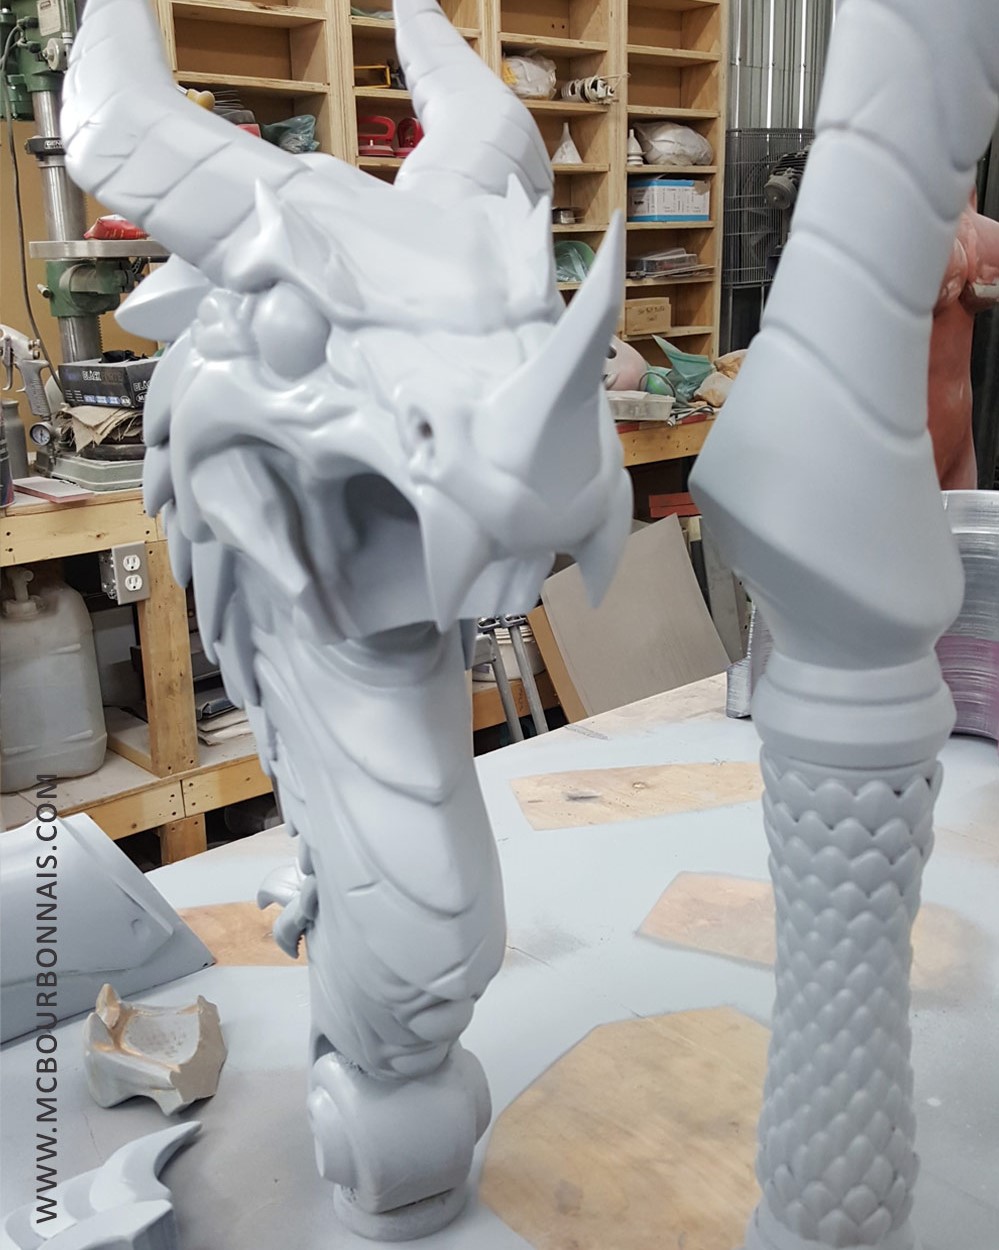
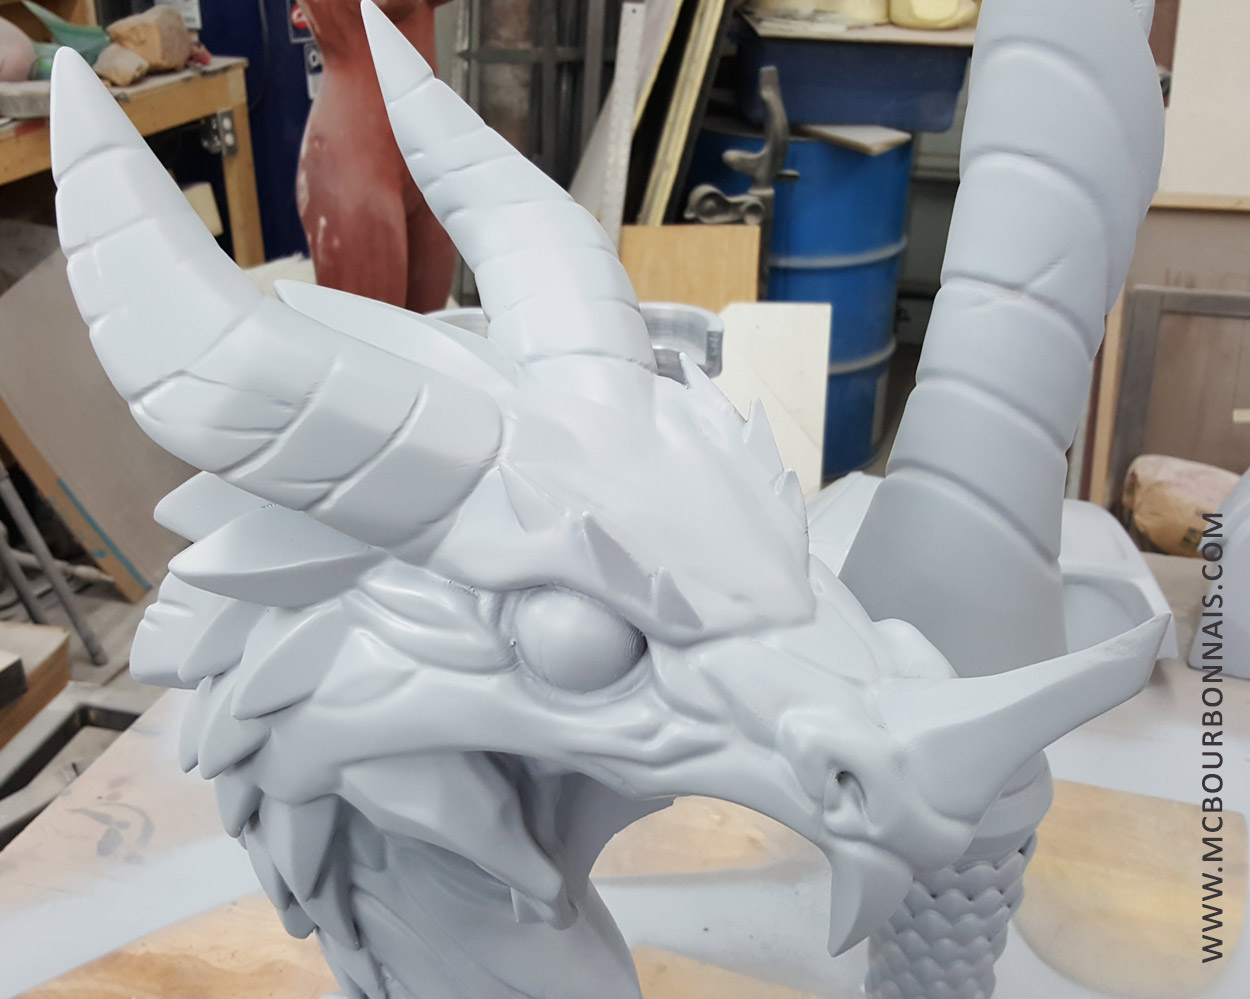
Here a larger view of the dragon staff so you can see how it looks from various angles.
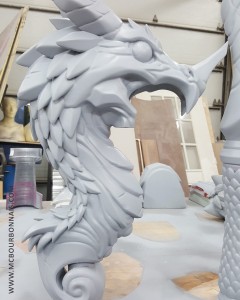
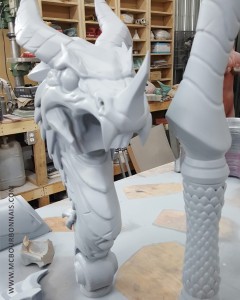
On this last picture, you can clearly see that some of the details, in the dragon’s scales and eyes, still needed some sanding. But there was already a lot of work done.
I’ll post pics of the finished magical staff later! More work in progress pics to come! Hope you enjoyed my 3D printing/sanding adventures! lol
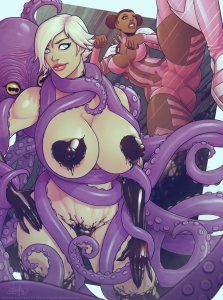
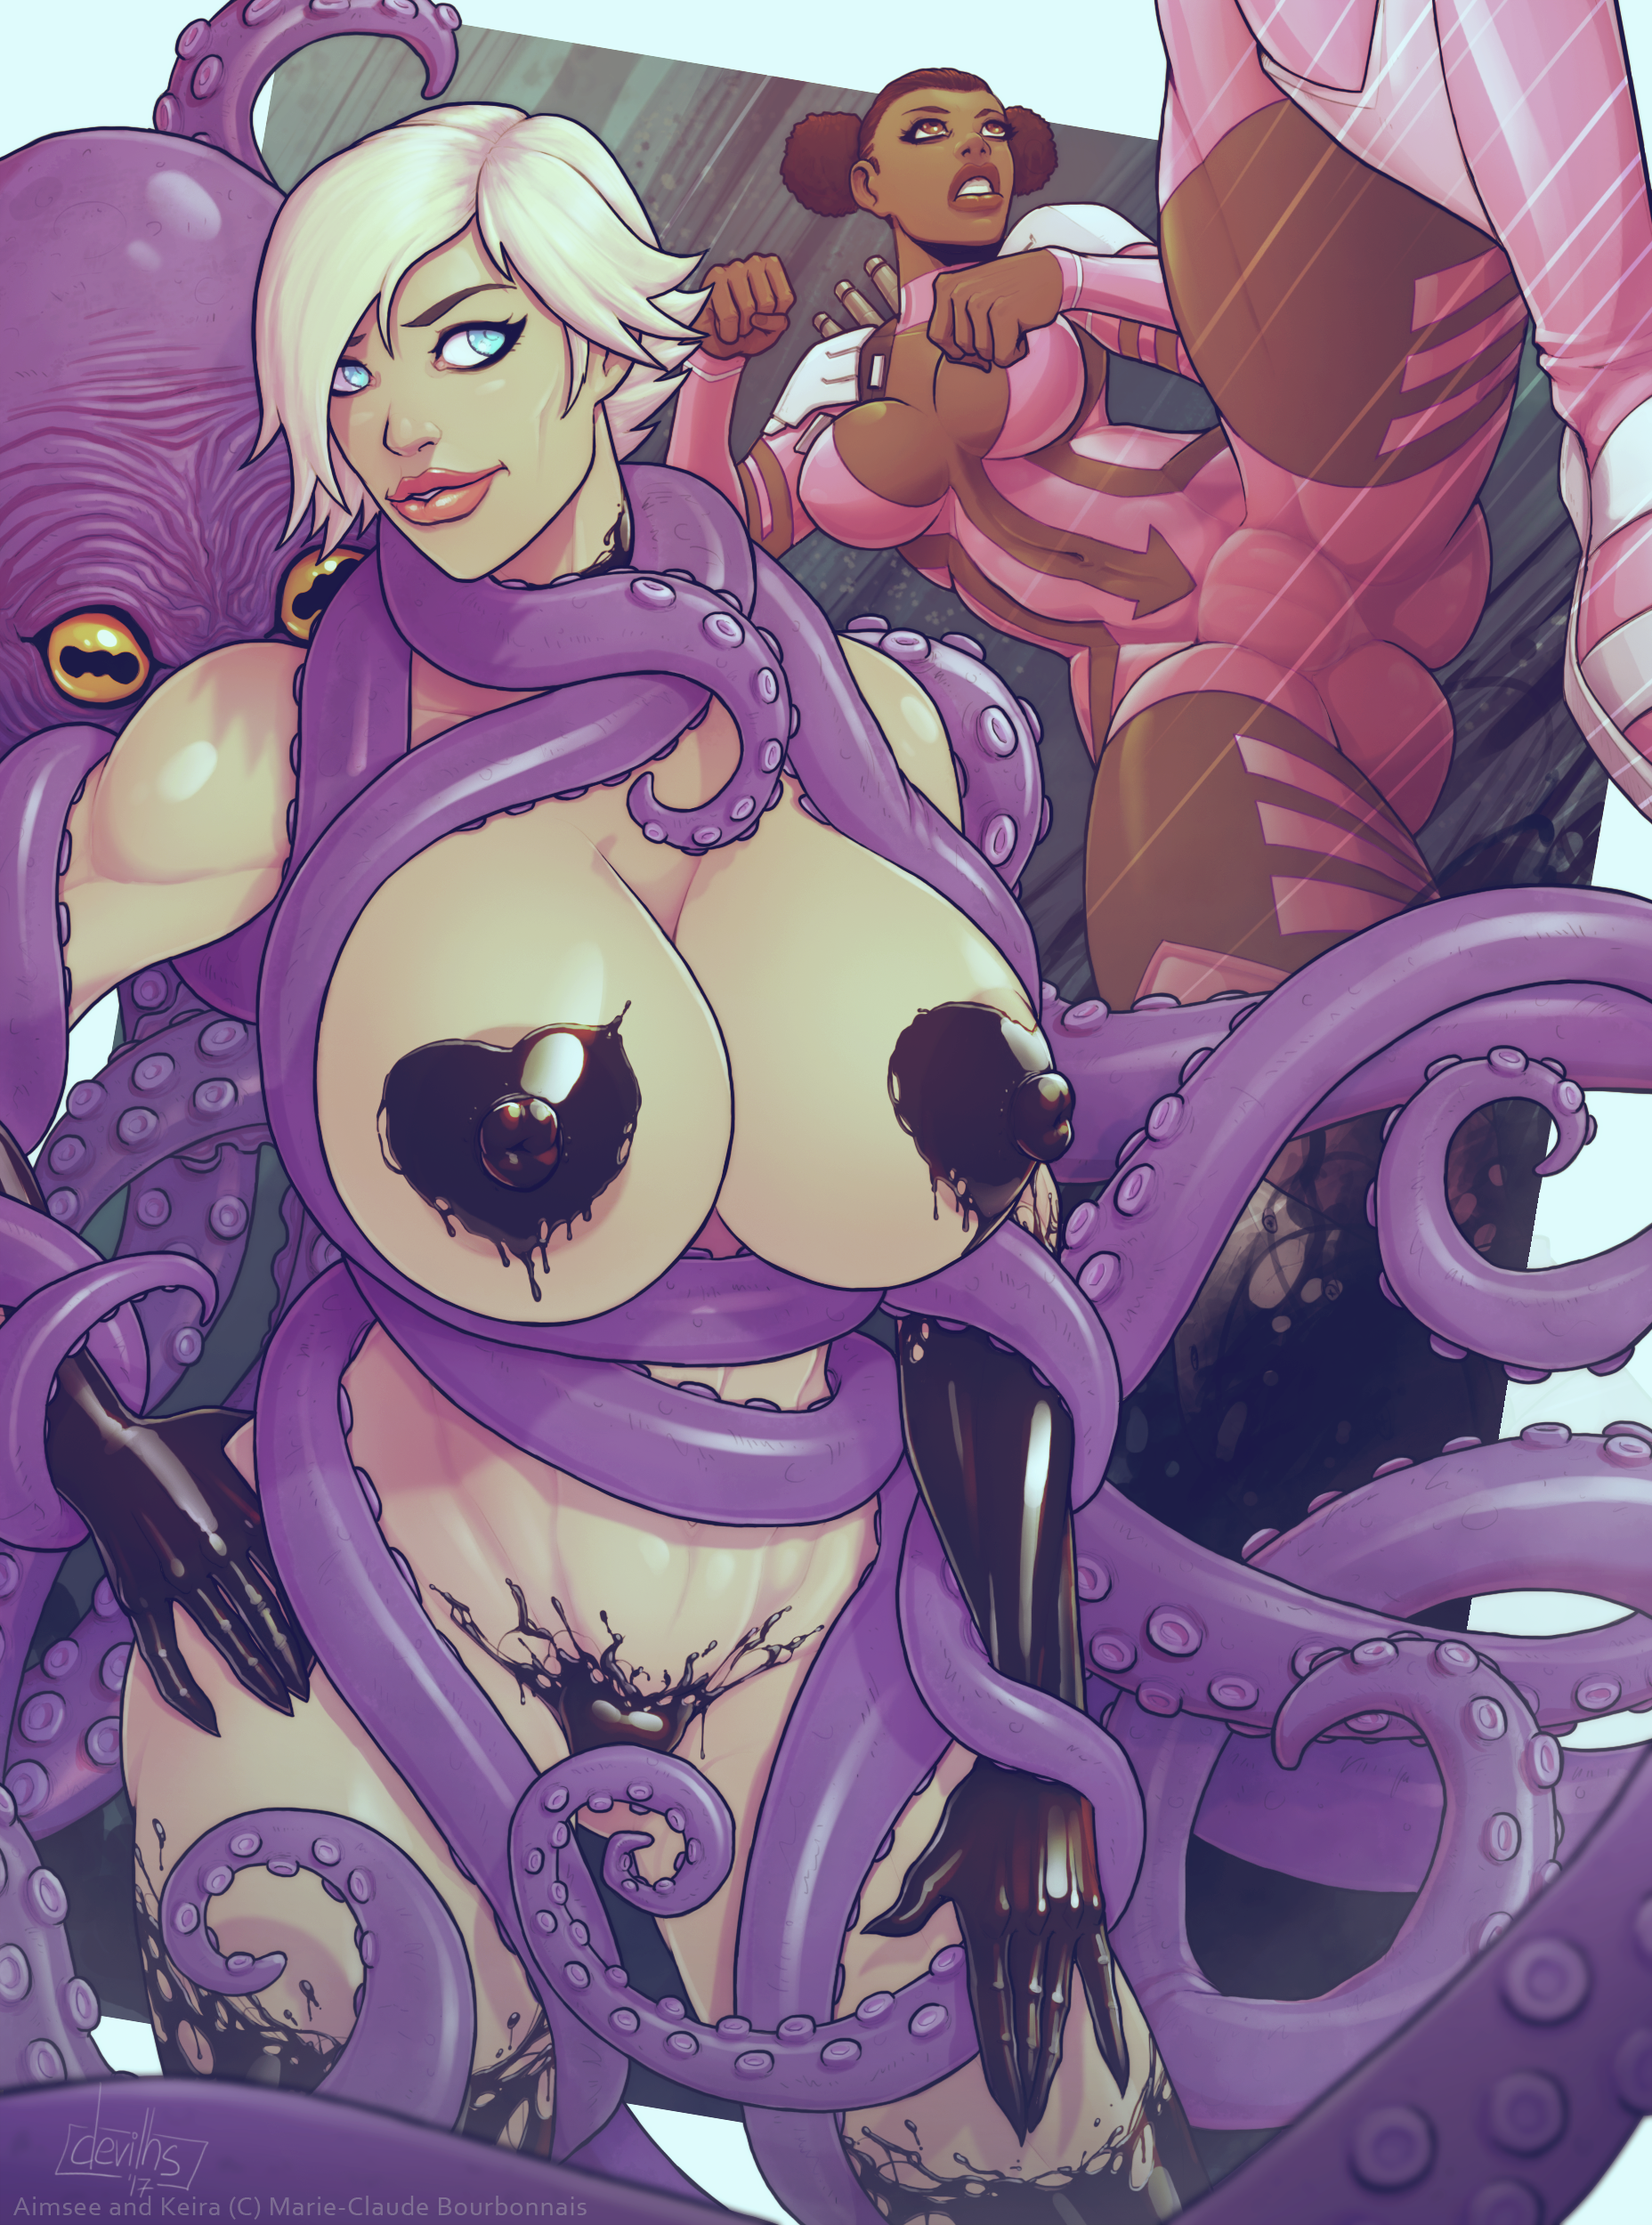
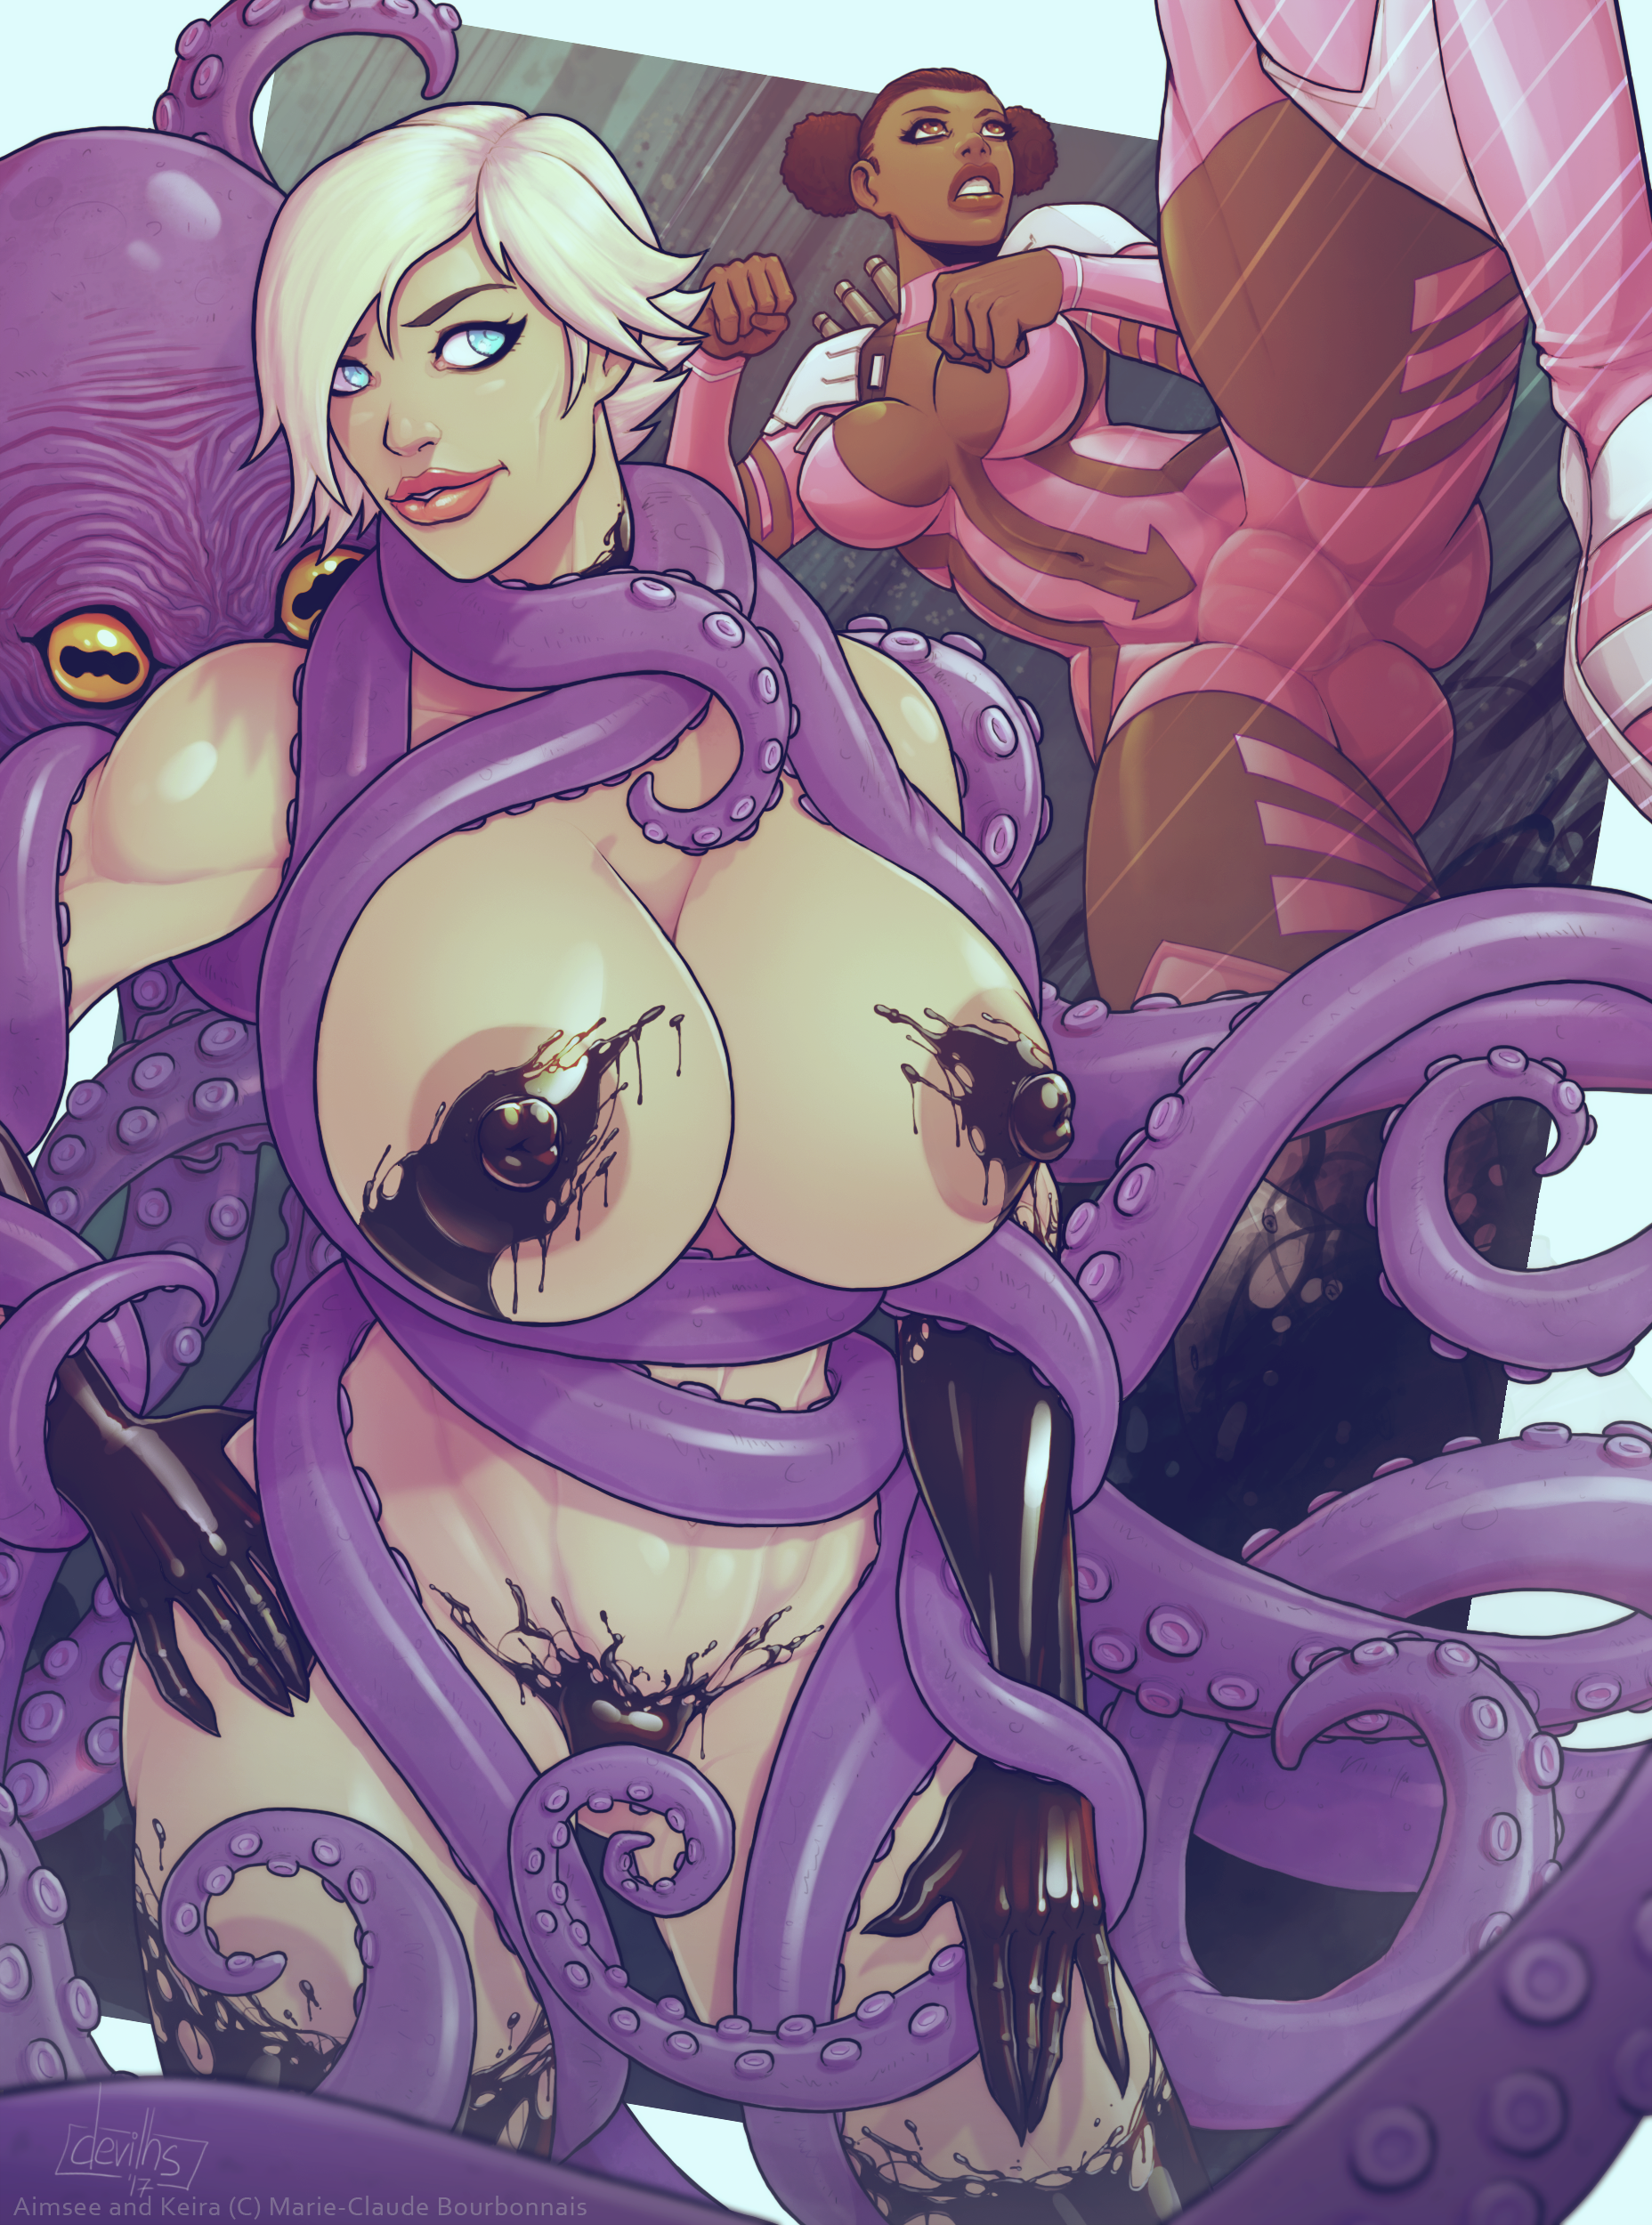
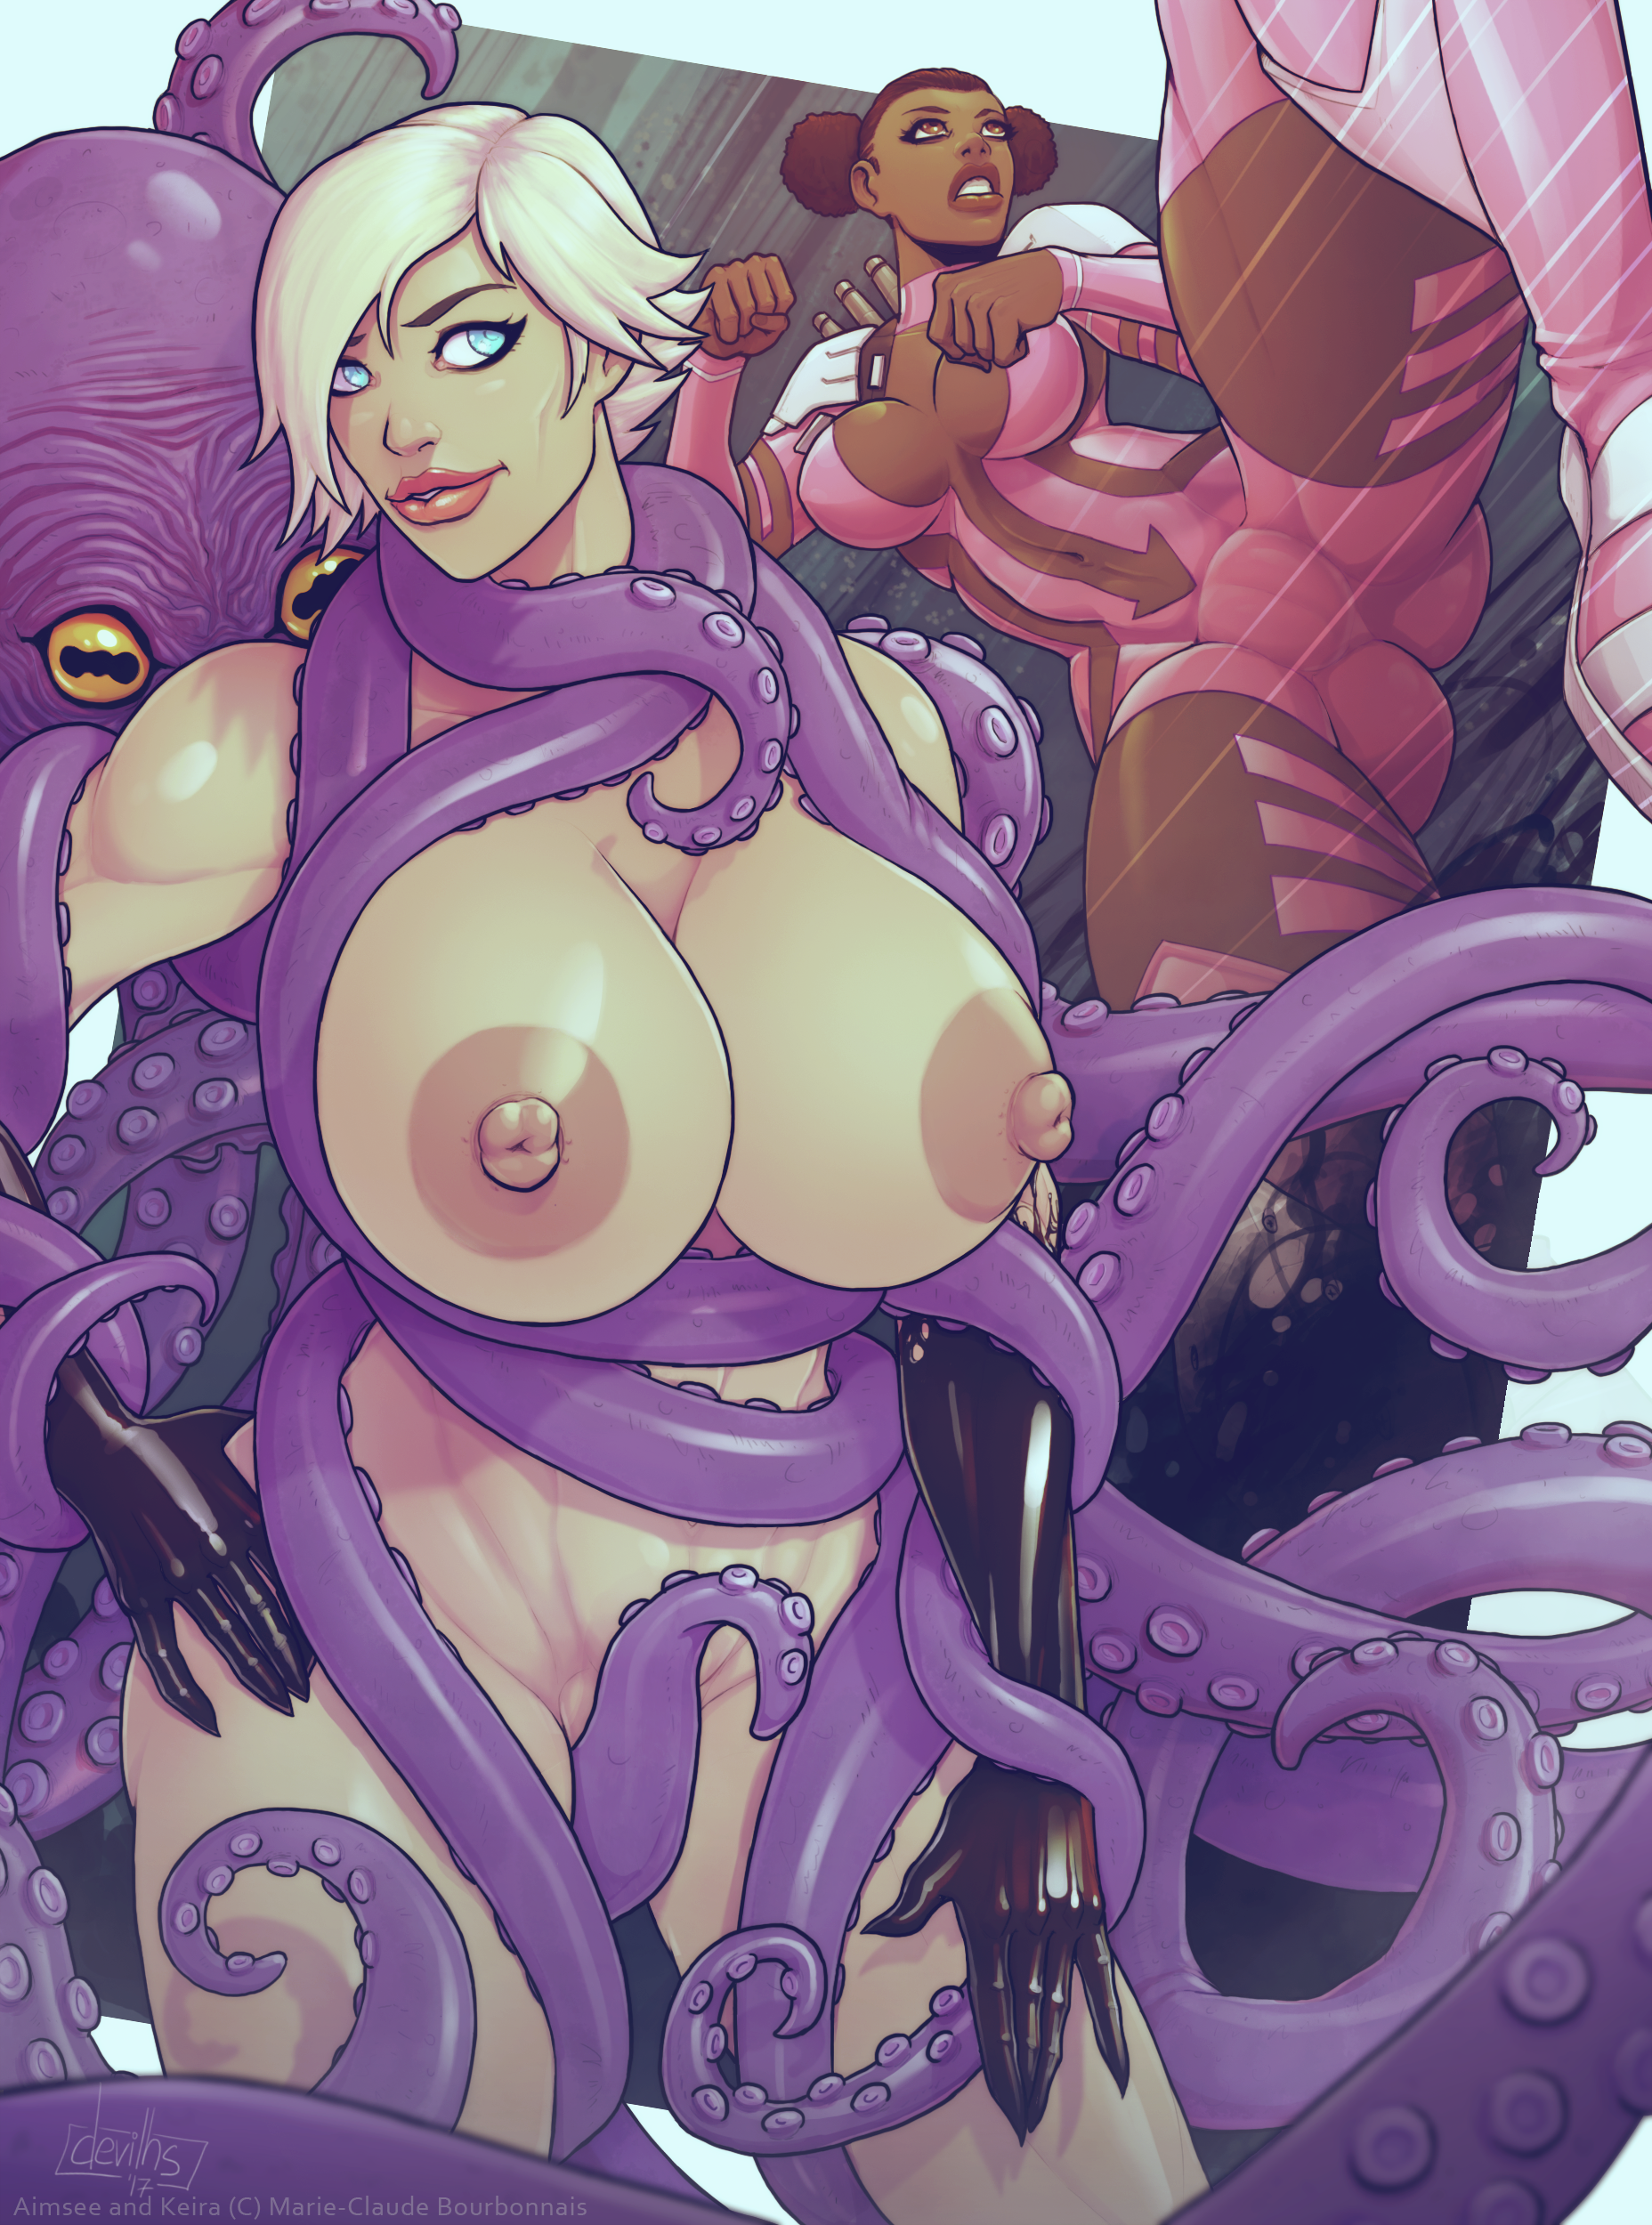
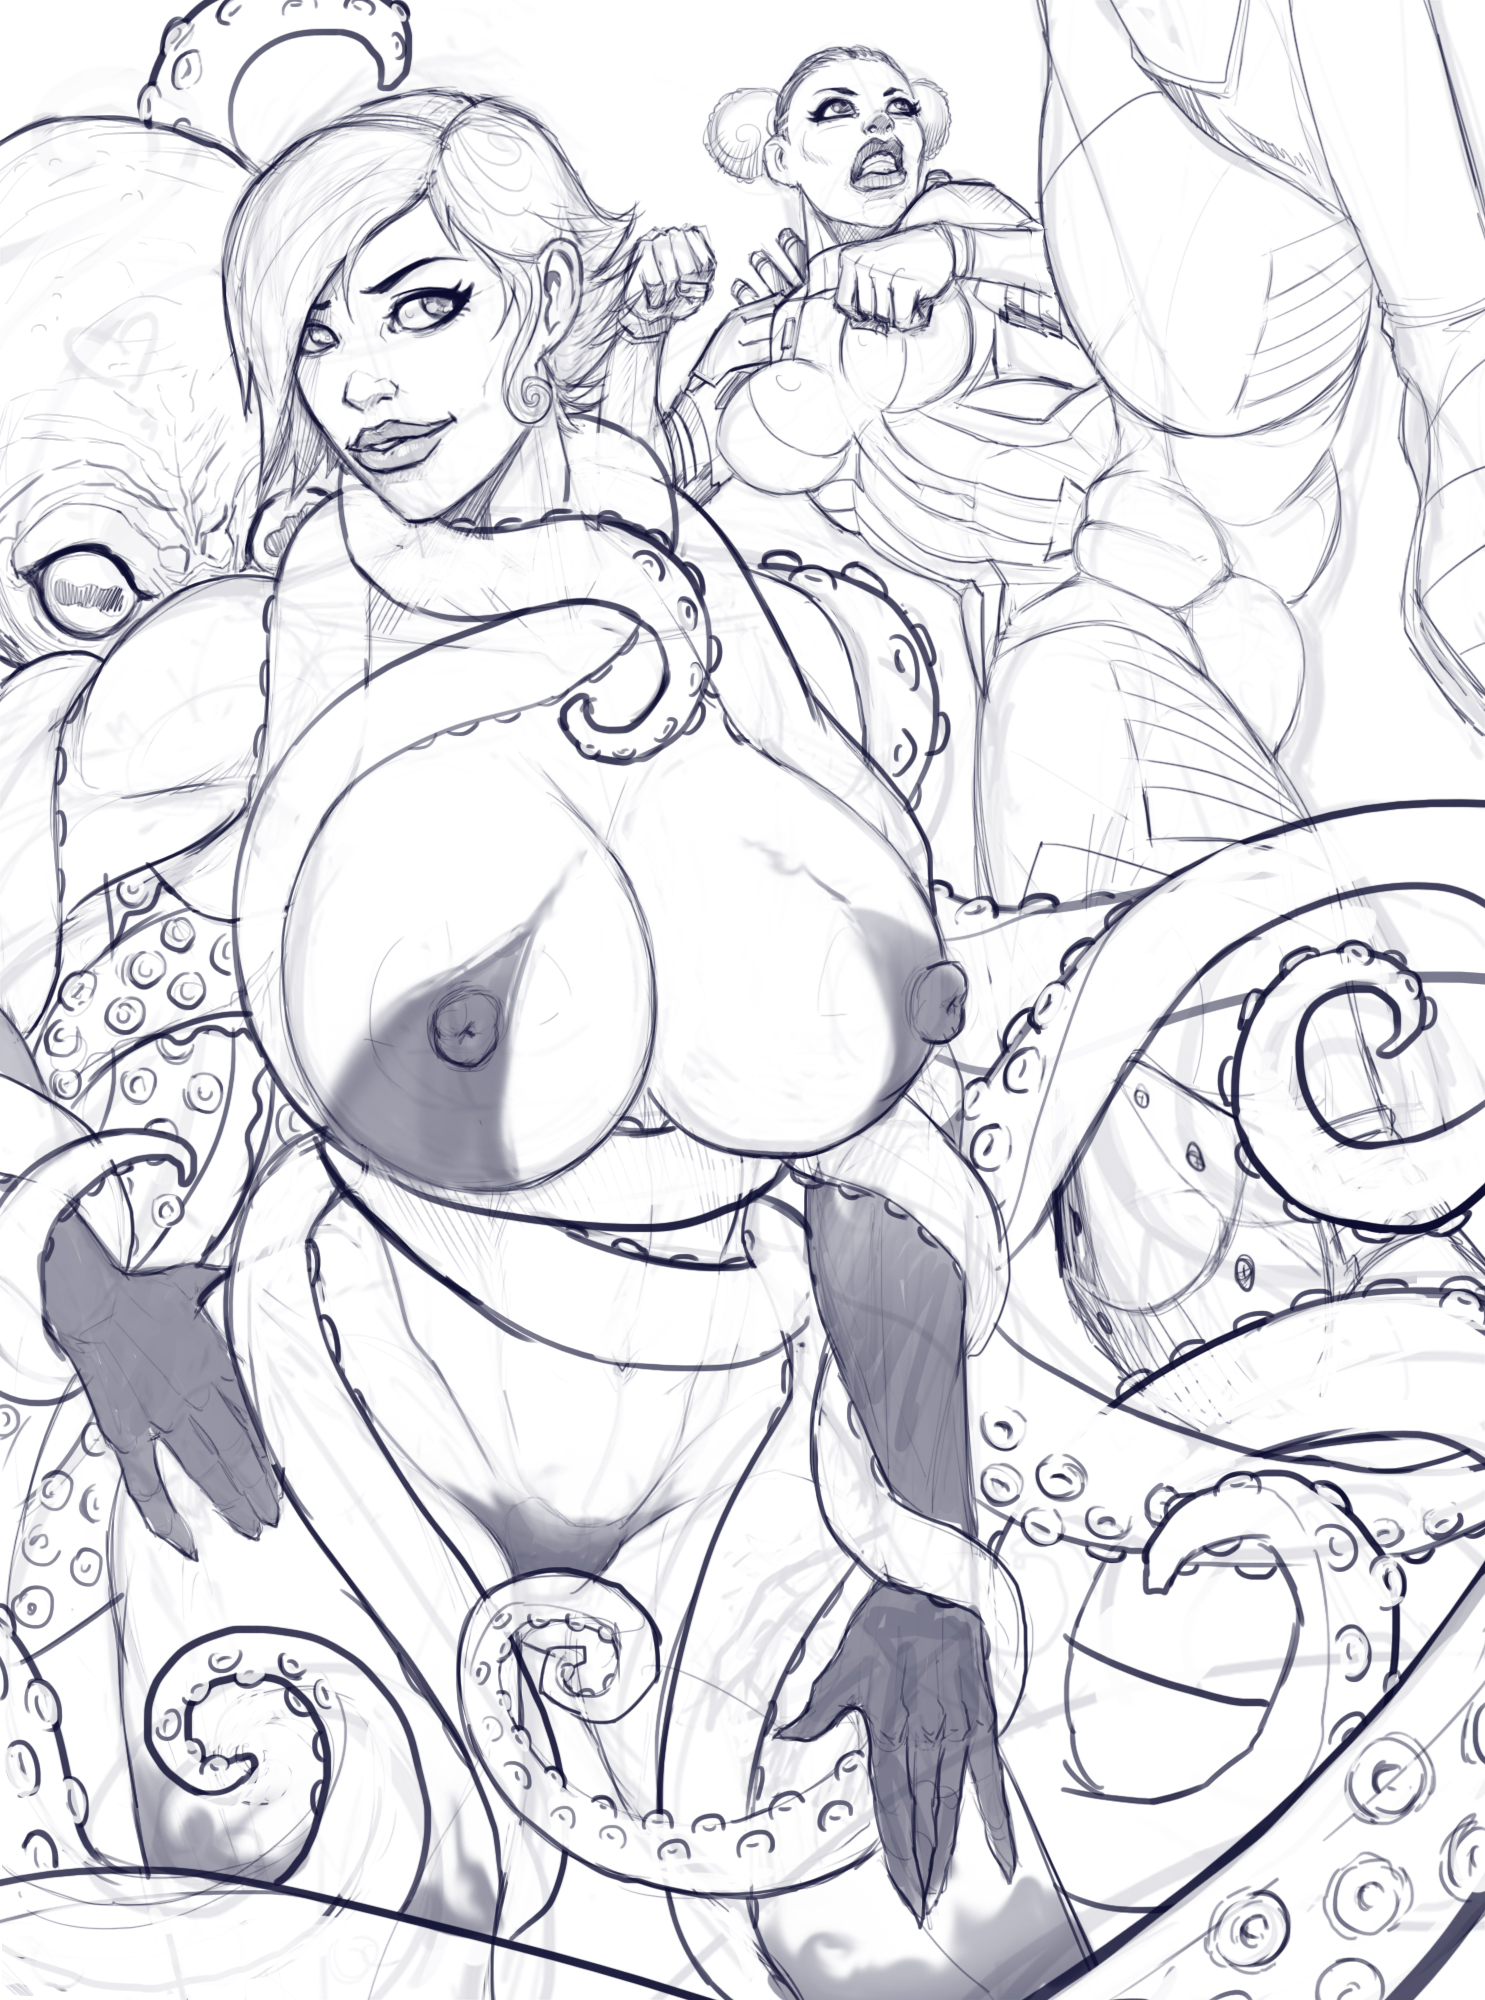
I’ve been pretty slow at working on my storyline for Aimsee and at creating other characters to develope her universe. (Costumes don’t build themselves alone, you know…) But I’m very excited to finally introduce a new character! The cutie in the background is called Keira and she’s the new girl in town! Keira’s the oposite of Aimsee. She’s tidy, serious and always focuses on what she has to do.
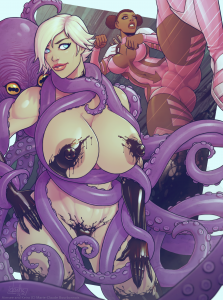
This awesome artwork is by Devilhs. What more could I say? The guy drew the piece and variations so fast I still can’t believe it! Make sure to check out all the variant versions he suggested me! He’s literally producing quality sketches one after the other on tumblr and DA. It’s a really enjoyable experience to have somebody translating your vision into a finished piece and I’m always so appreciative that talented artists lend me their hard earned skills!
To find Devilhs:
Deviantart: http://devilhs.deviantart.com
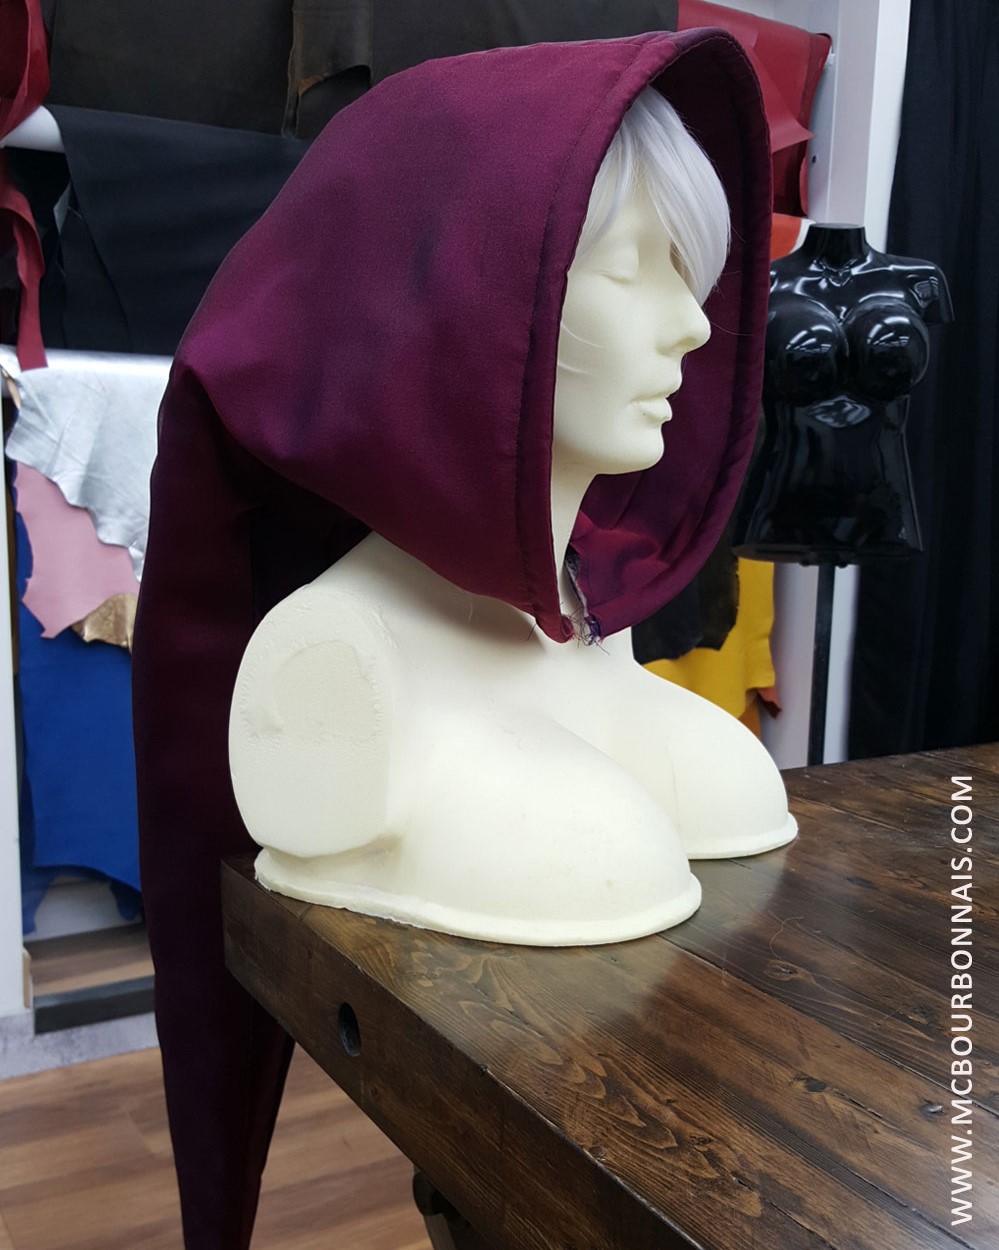
Finally, after all the hood prototypes, I could start working on the final one. :) Here are the fabrics I used. One layer of iridescent, see through burgundy organza, one layer of purple poplin that I used as a lining and one layer of polyester padding fabric. The padding fabric will be enough to give the hood some structure without having the exaggerated effect of the stuffed version I had made. (See Prototype 3 in Part 1 of this blog.)
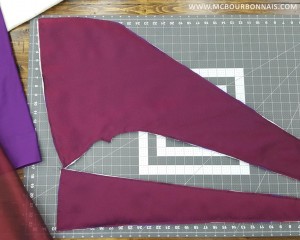
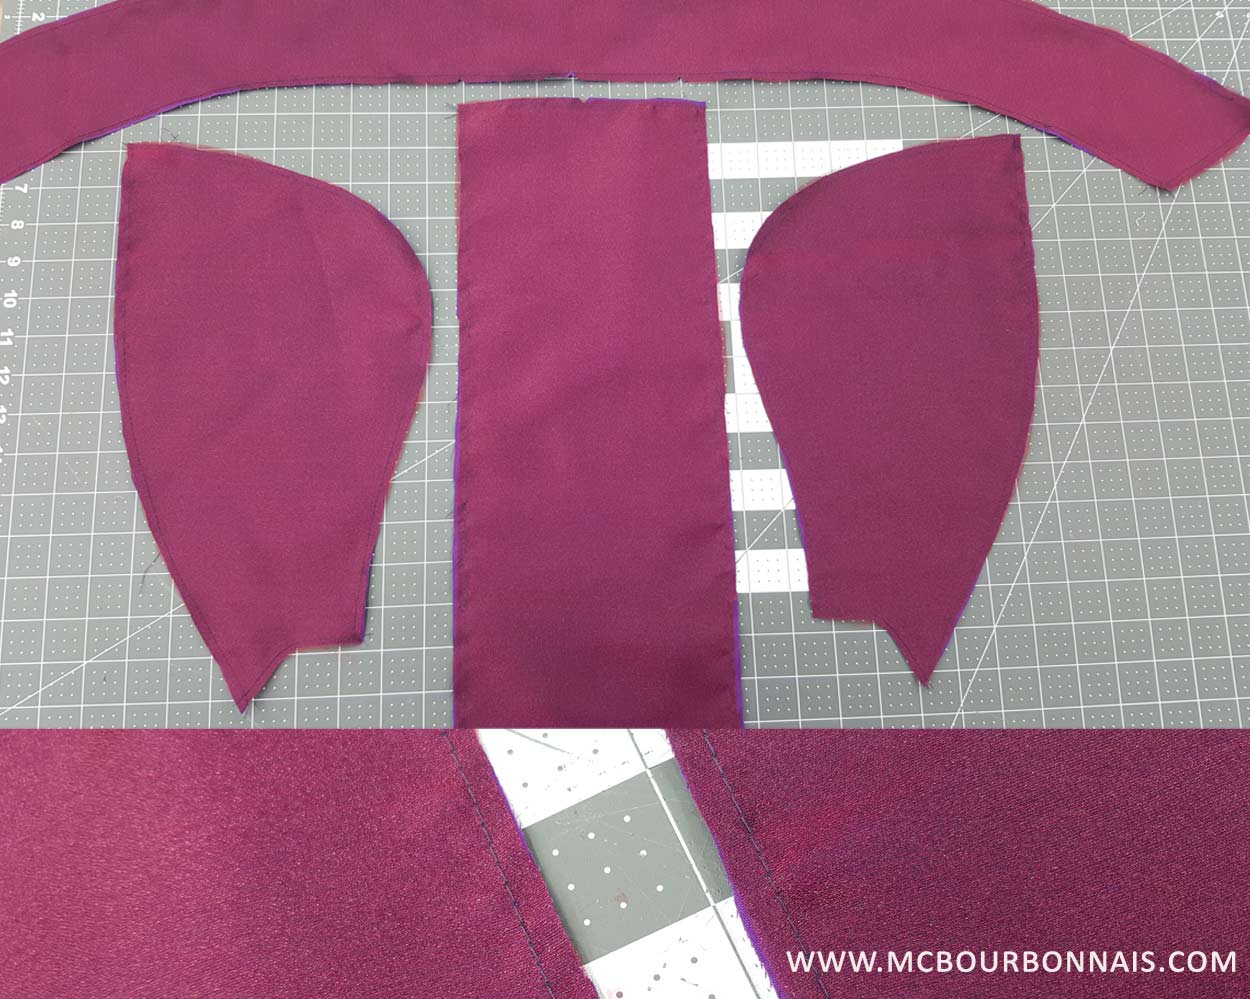
I wanted the hood to be lined, of course, with the same fabrics. Note that the lining doesn’t have the same shape than the outside of the hood. If the hood itself is very long, the lining is just a regular hood. Less fabric was required to do that. The hood’s lining isn’t padded, just the outside. See how each piece of organza was first stitched on top of the purple poplin before the assembling process.
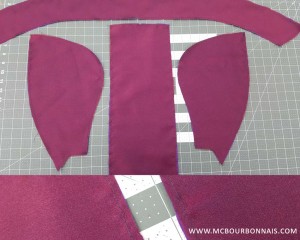
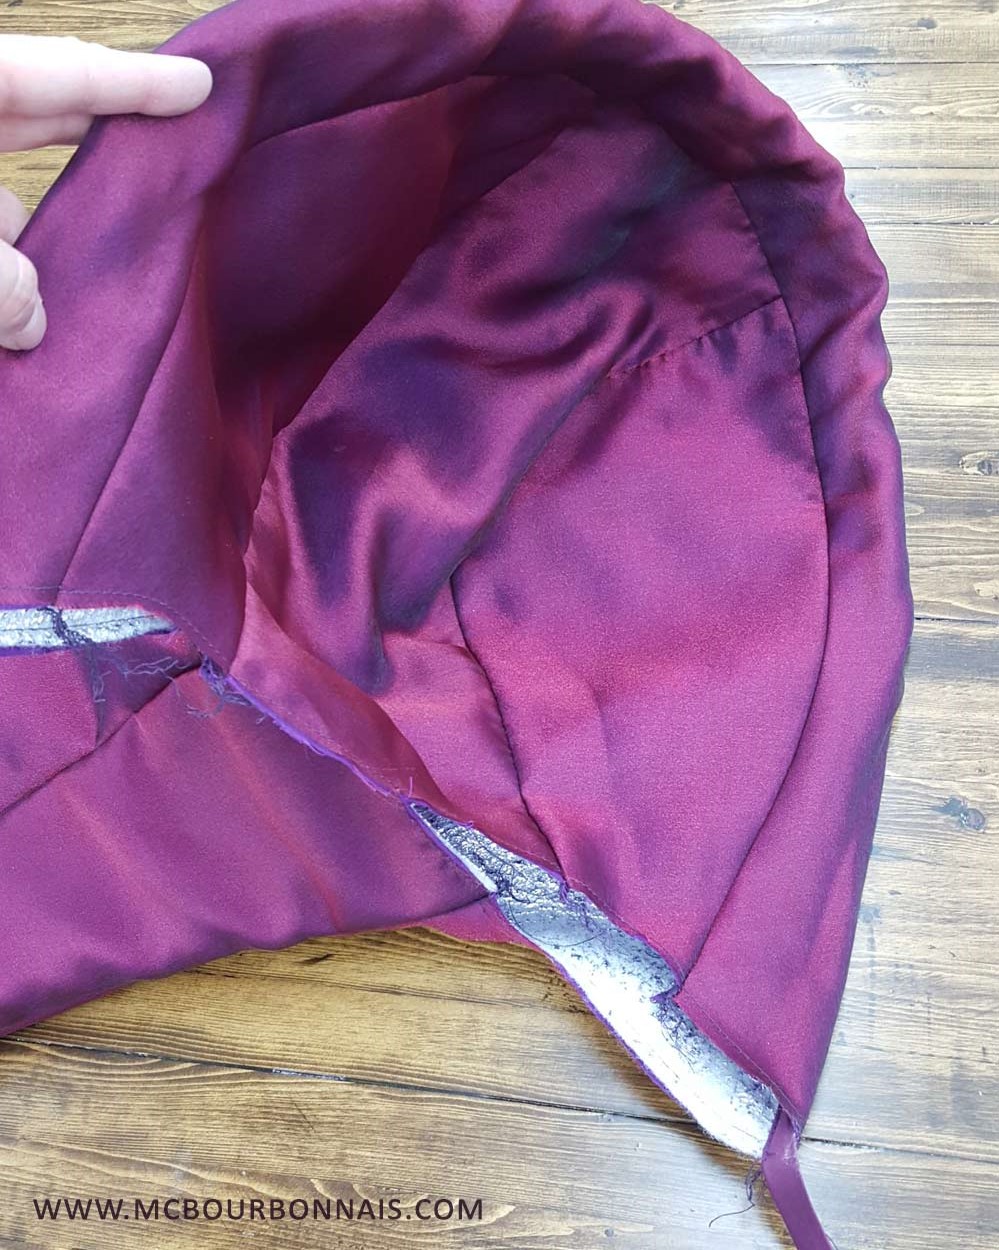
Here I have sewed together the outside of the hood and the lining (the inside of the hood). Notice how the inside hood is smaller, just like a ‘regular’ hood your would see on any basic hoodie.
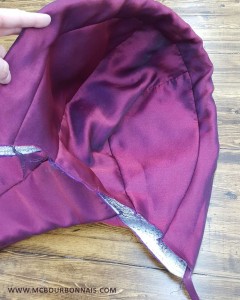
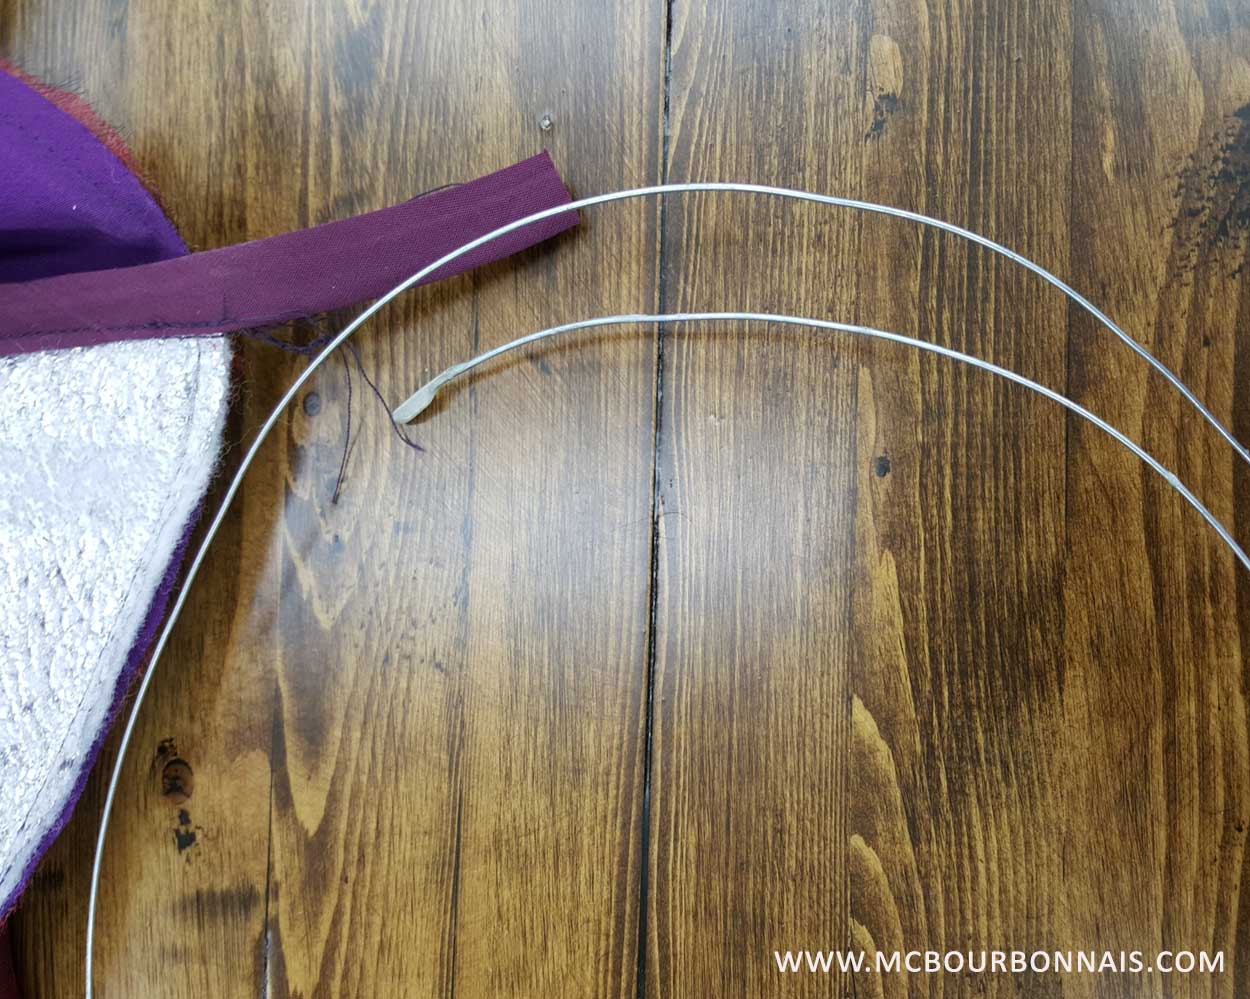
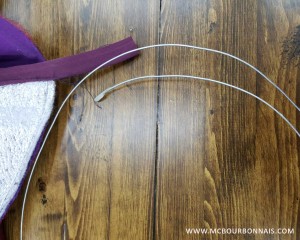
Notice the purple bias tape coming out from the bottom of the hood. I will use it to insert a metallic wire. To prevent the wire from piercing of tearing the fabric, I bended the ends of the wire and dipped them in a type of plastic I use for casting. They do this for bra wires too.
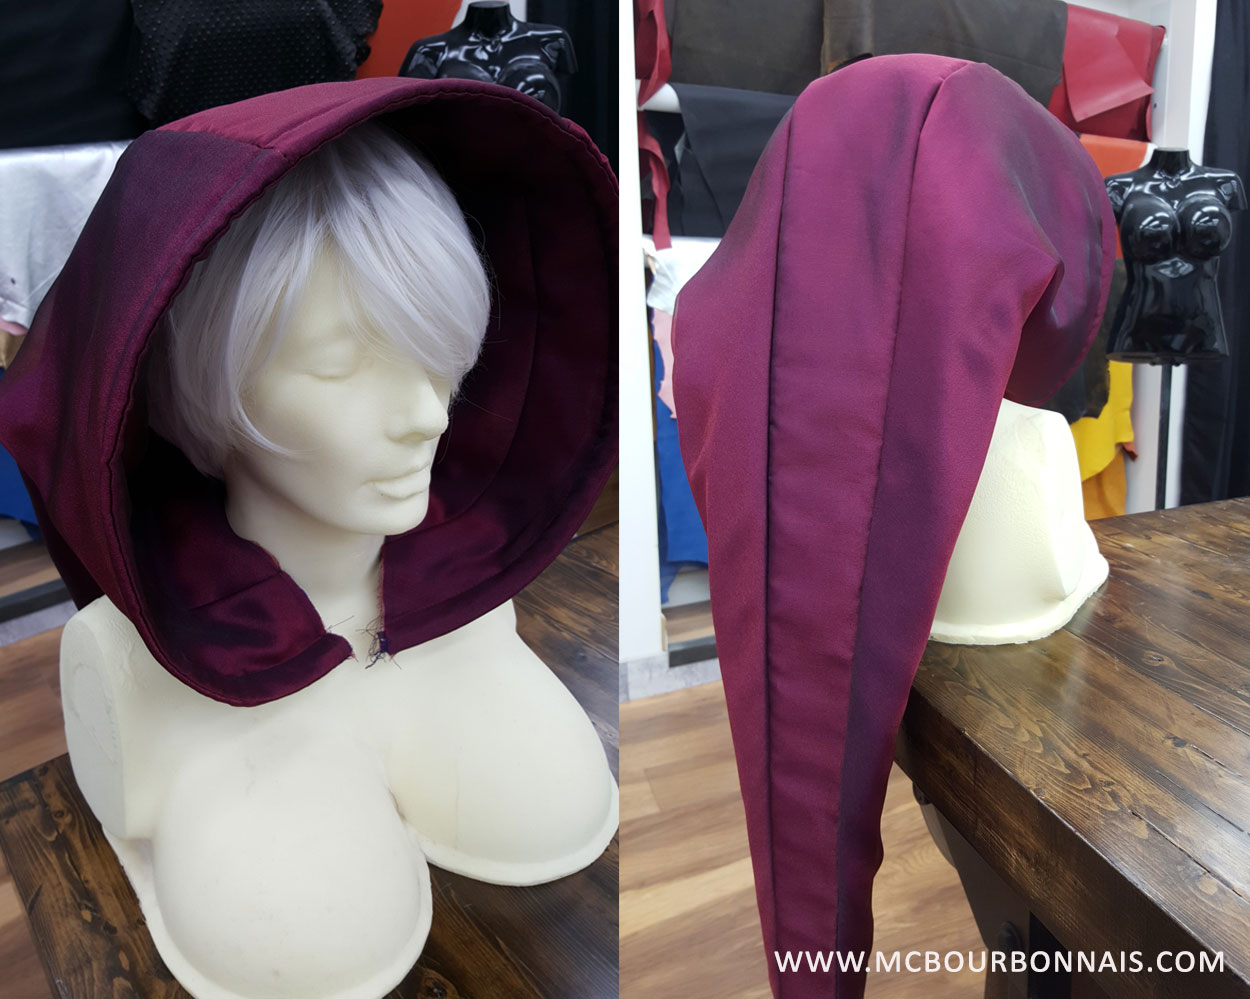
Last step was to make a topstitch around the hood. It will keep both layers in place and will emphasize the defined shape due to the metallic wire.
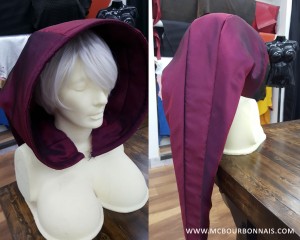
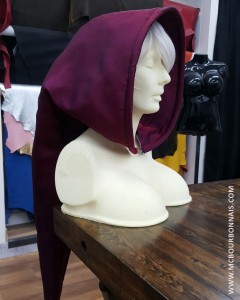
Now all that will be missing is the base of the hood, a type of collar that will be sewed to the hood and to the bra straps. Part of the bra will be casted in resin, but it will be supported by a fabric top attached to the collar and hood. For those who’d be wondering, yes, it’s a cast of my bust. :) I had my bust molded many years ago and was able to mold the original cast. I can now make my own casts in various materials. This one is a foam cast. It’s very useful to style wigs because you can pin the wig in.
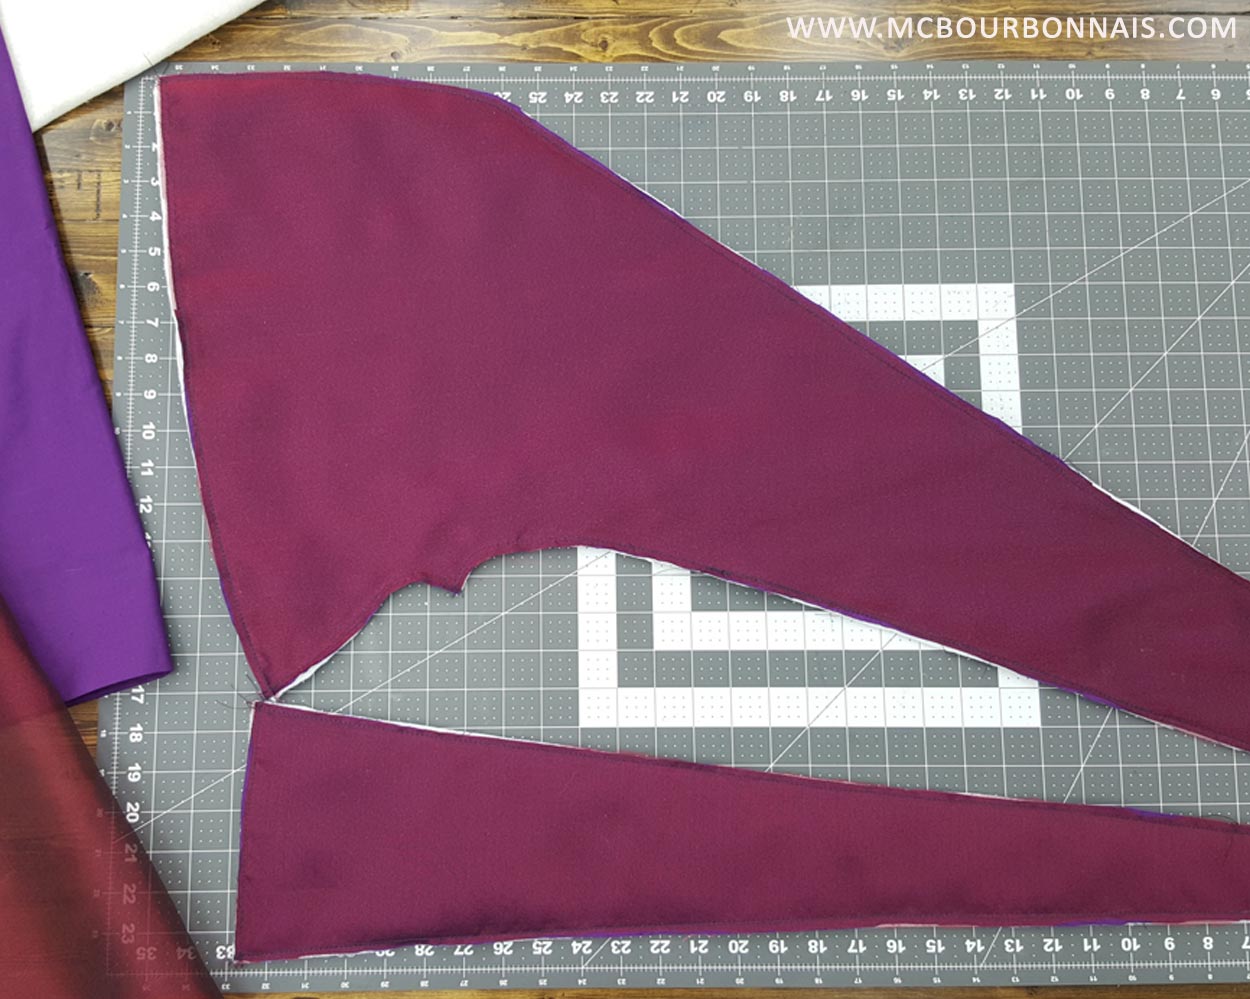
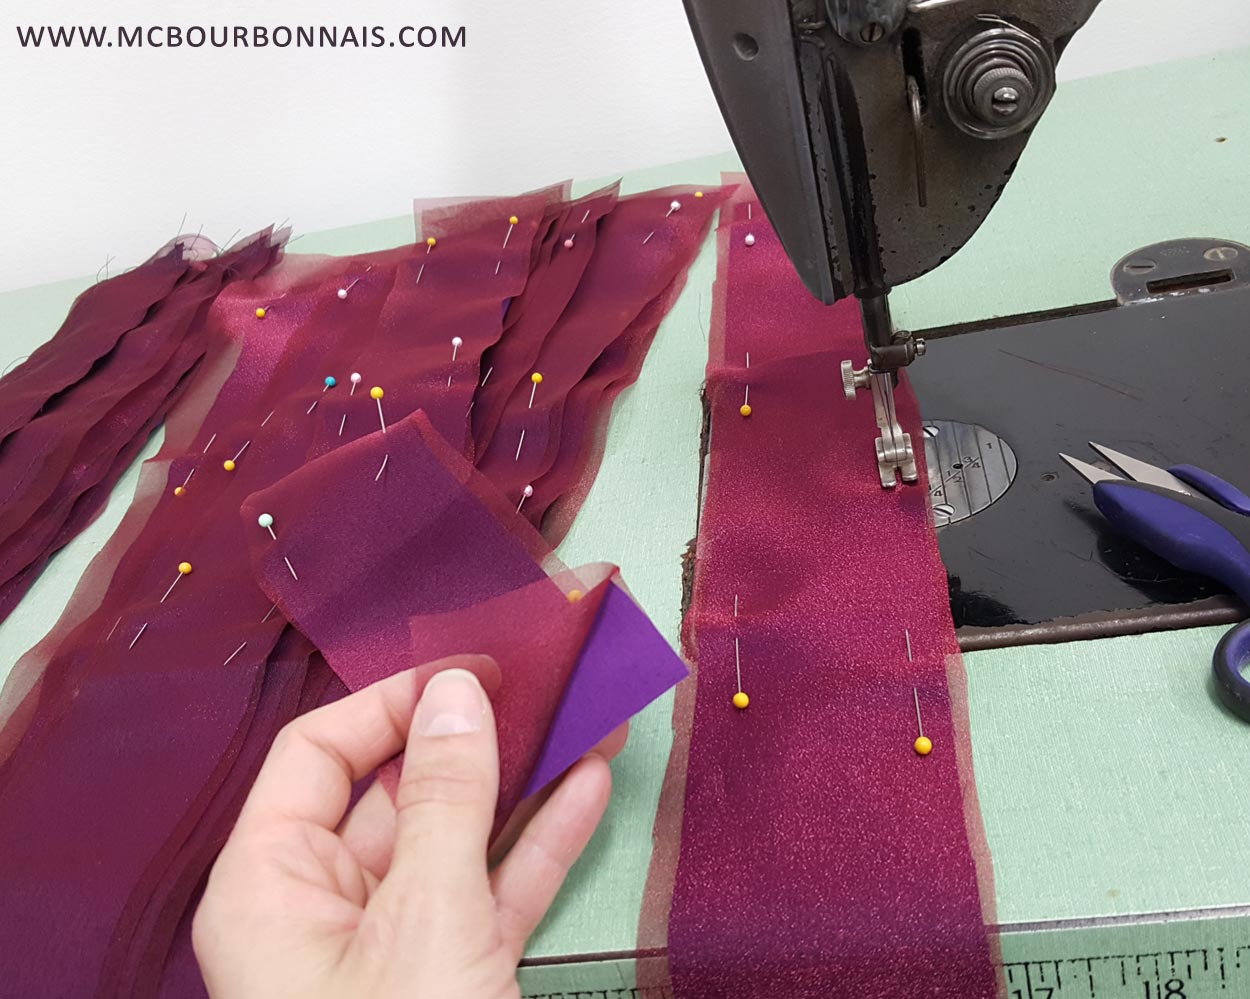
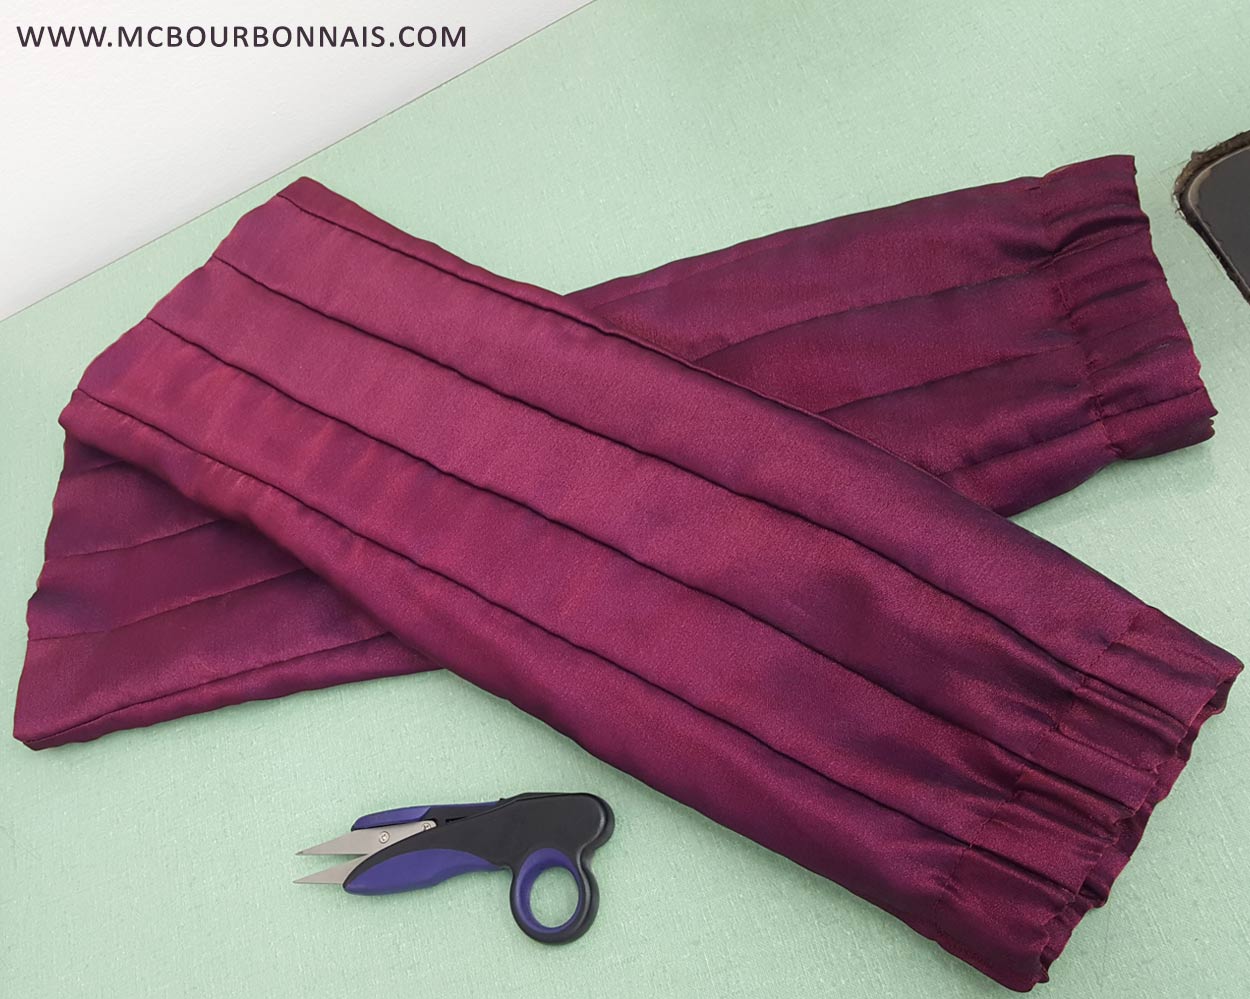
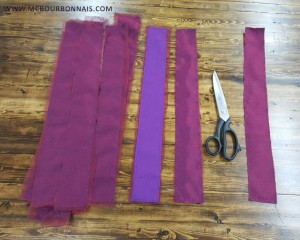
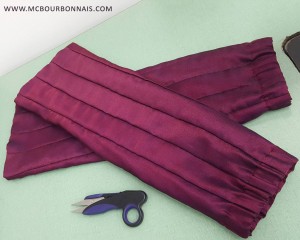
Now let’s move on to Severina’s sleeves! I started by sewing together stripes of iridescent burgundy organza over a layer of purple polyester poplin. Organza moves a lot when you cut it, so I choose to cut larger pieces that I separately stitched on each purple stripe.
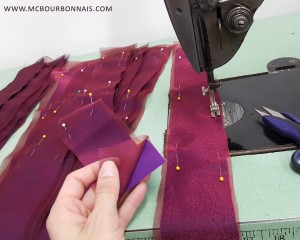
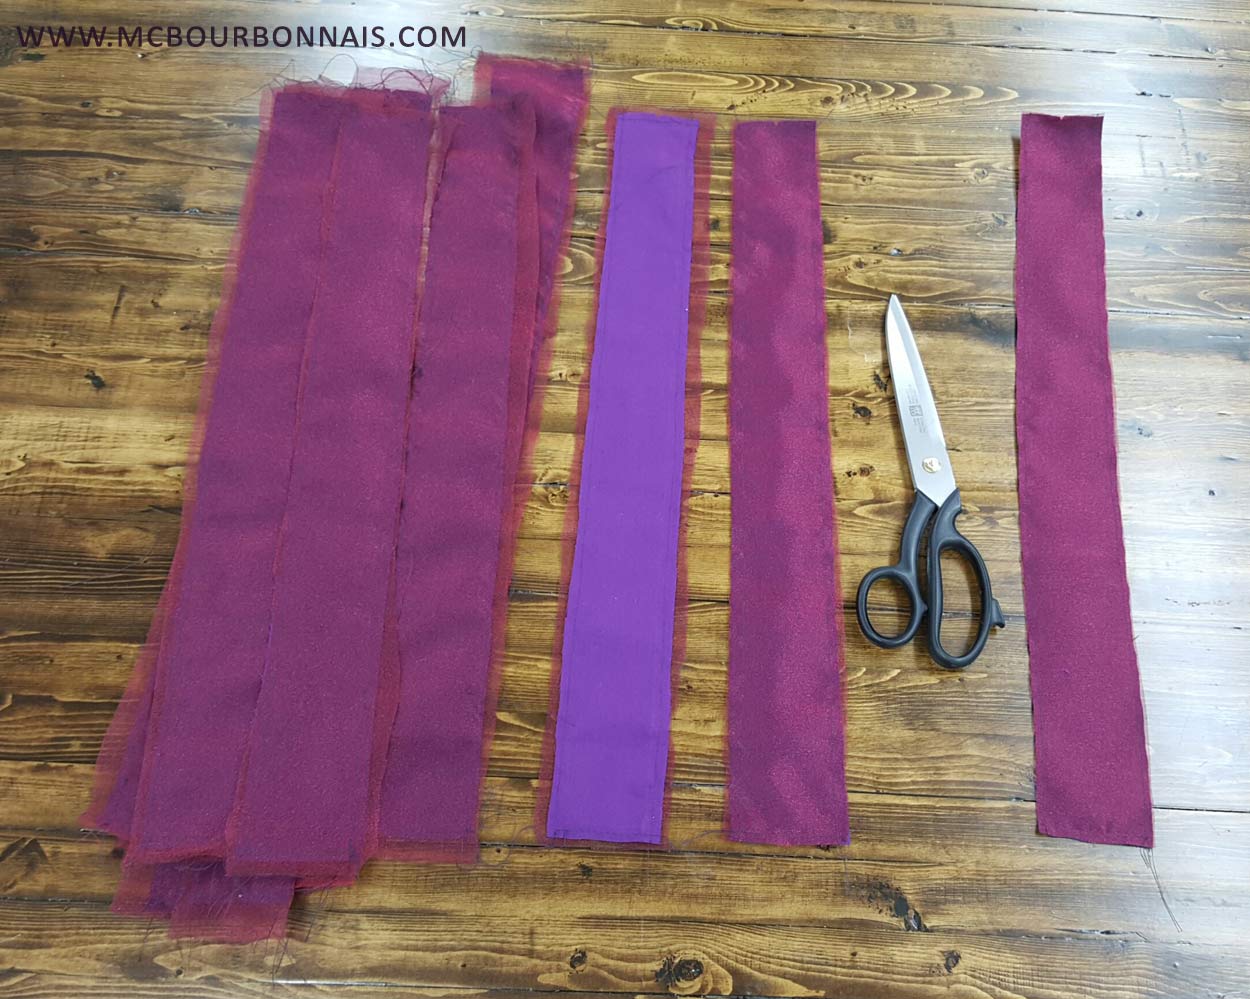
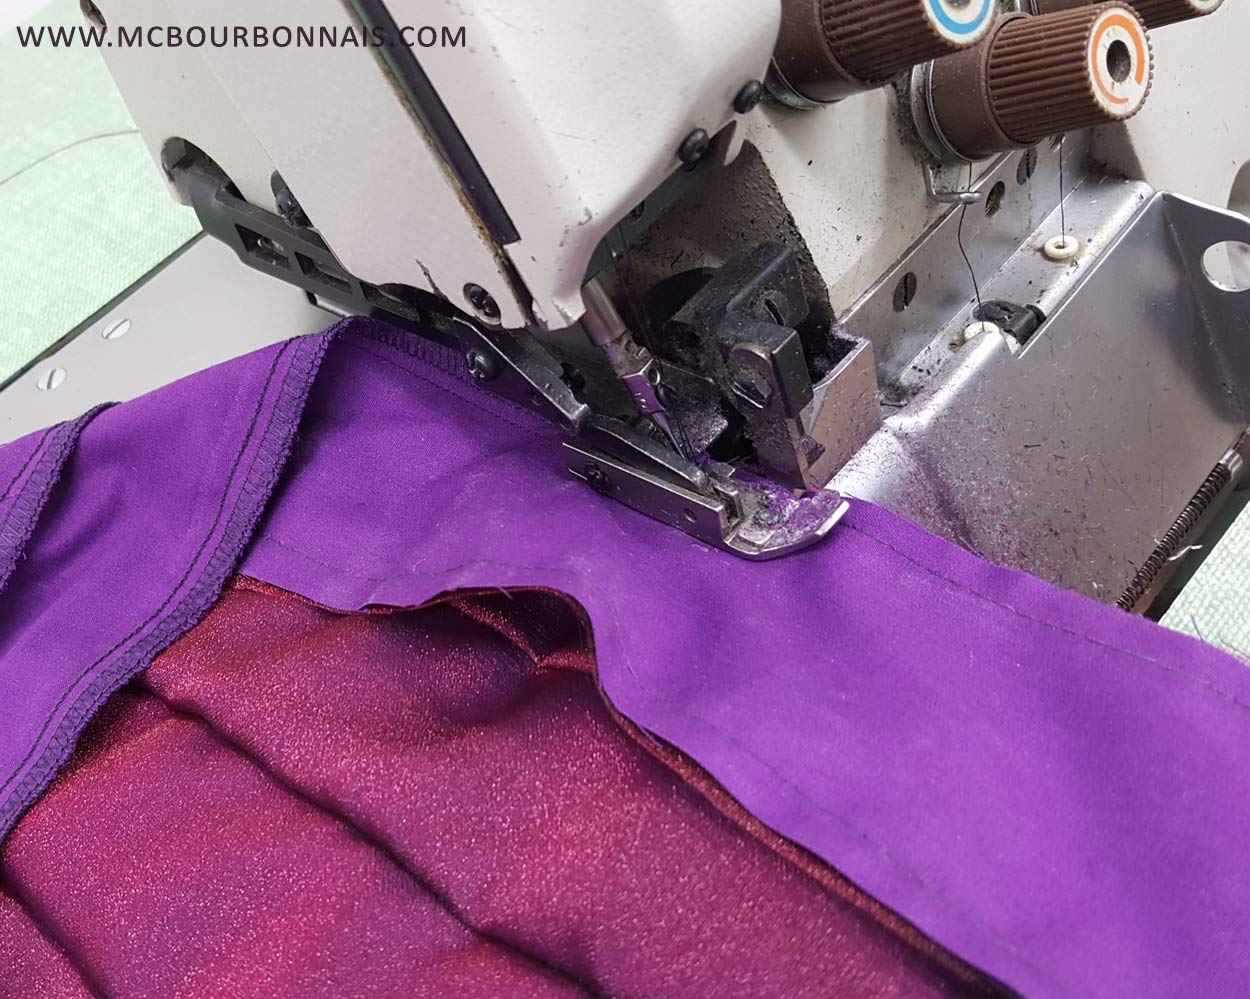
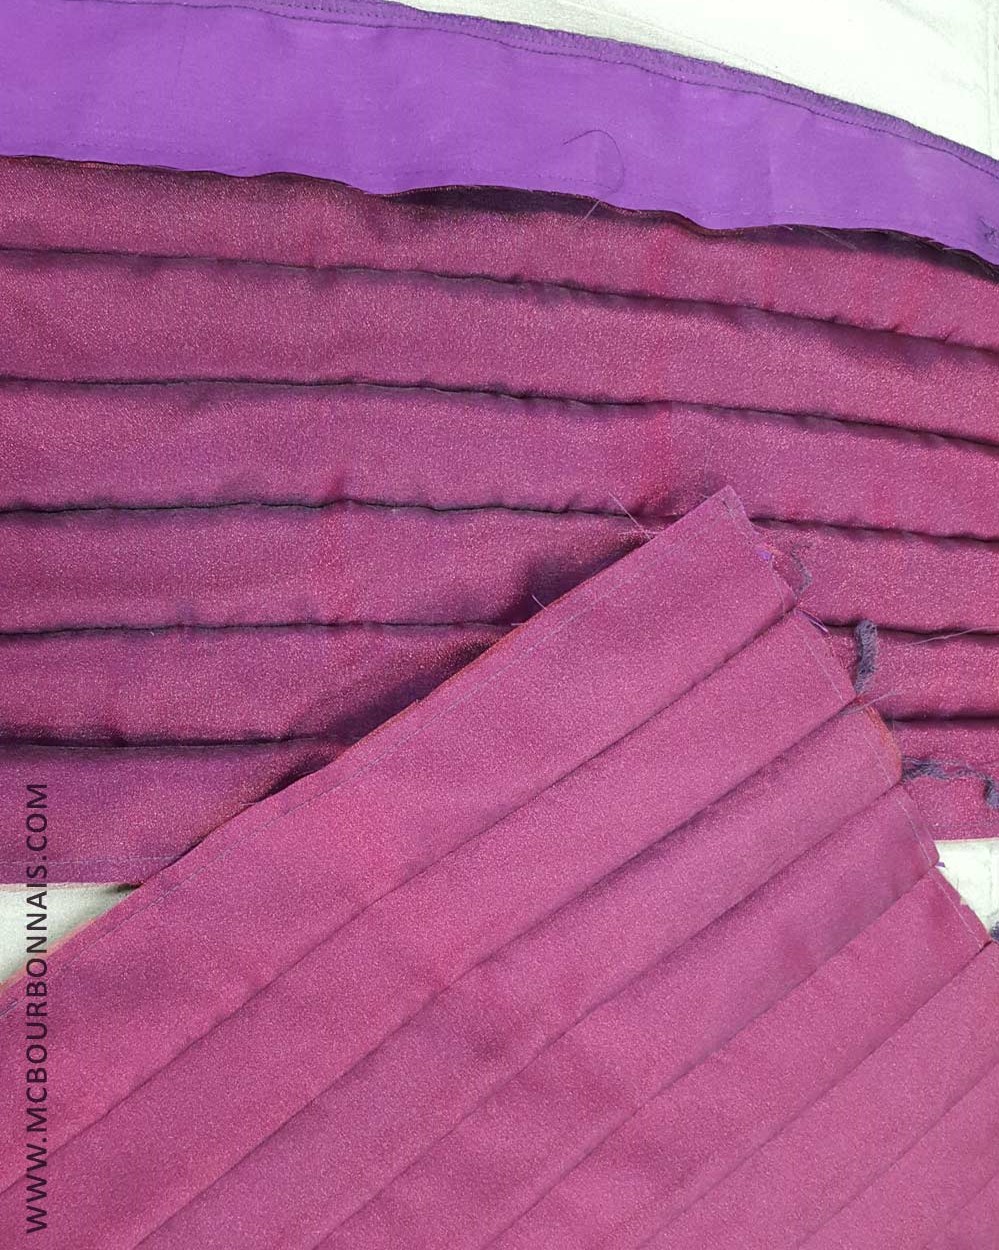
Next step was to trim the excess organza around each stripe before sewing all the stripes together.
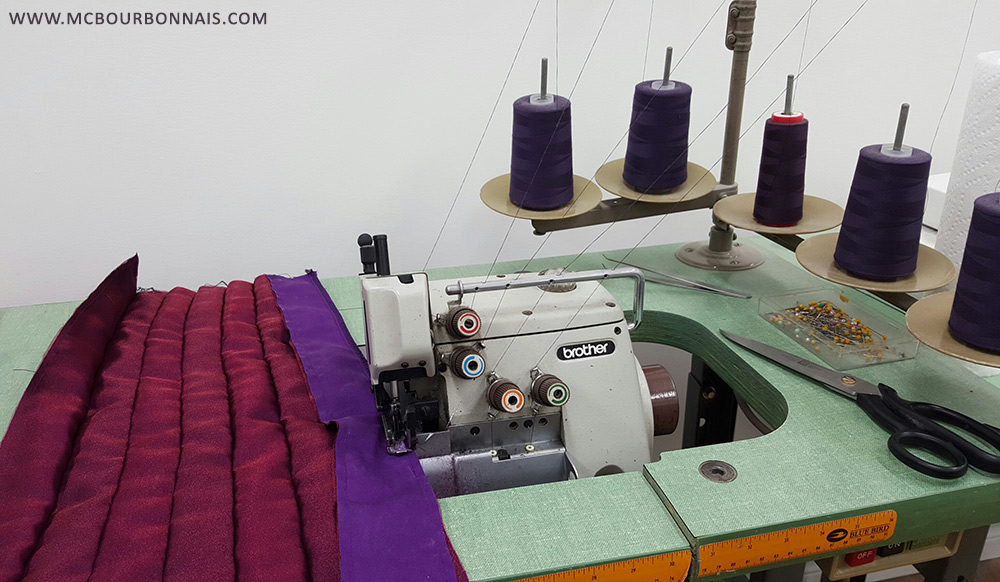
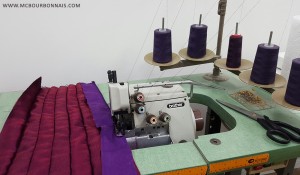
That 5 threads industrial sewing machine is a type of serger for non stretch or very slightly stretch fabrics. If you’re wearing jeans right now, look at the seams inside. Your jeans were assembled with that type of serger.
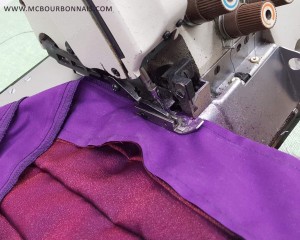
All the stripes sewed together, before and after ironing.
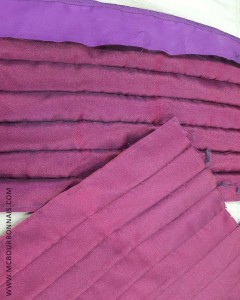
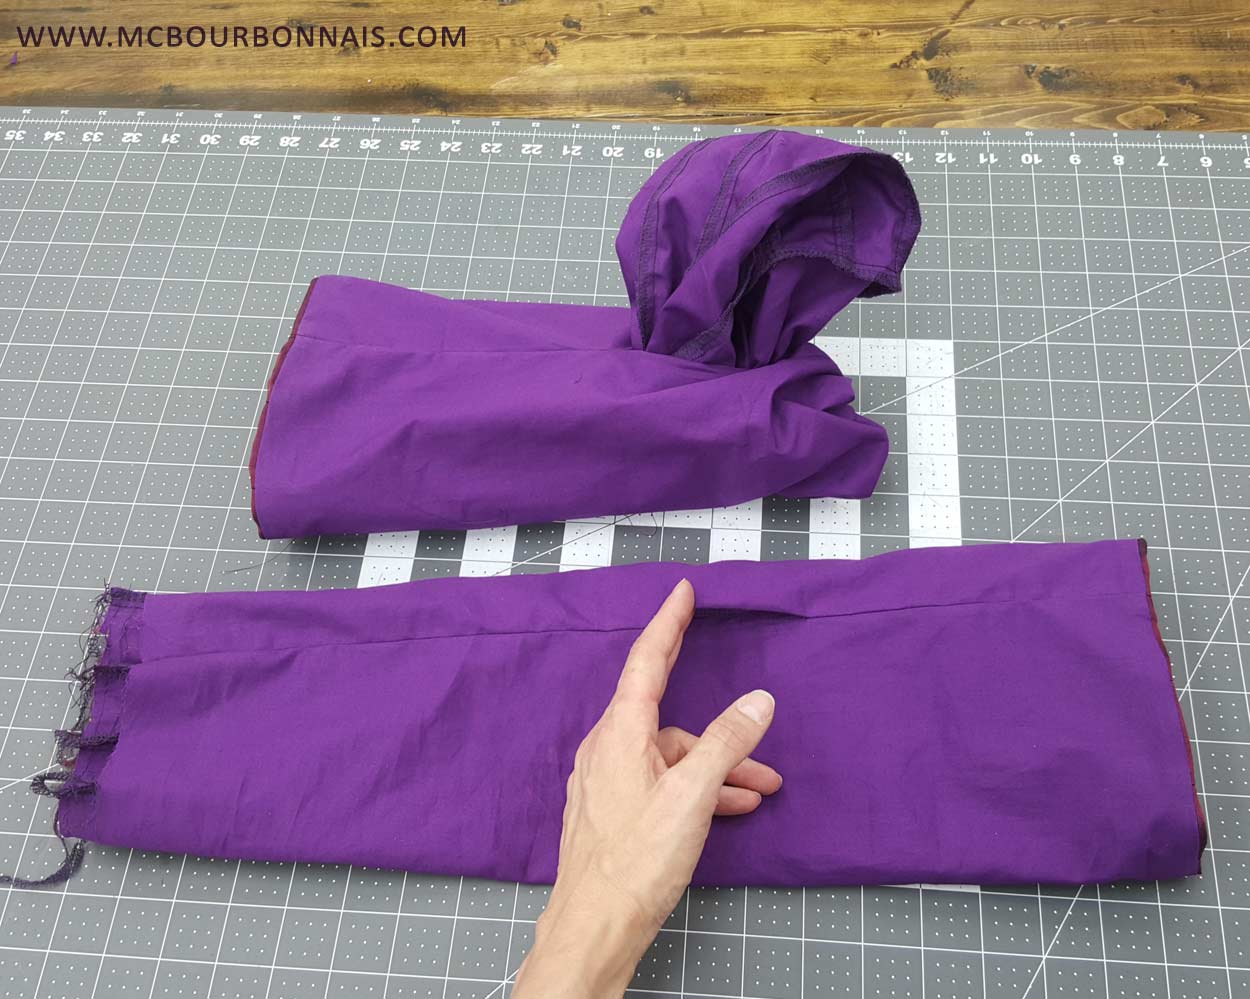
For a nicer look, I wanted the sleeves to be lined. When you sew a lined piece of clothing like a jacket or a coat for example, you have to sew the lining and ‘shell’ facing each other. But you always need to keep an opening in the lining to be able to turn everything inside out at the end. In a jacket, this opening will usually be a seam not entirely stitched inside the lining’s sleeve. This opening has to be in a hidden place.
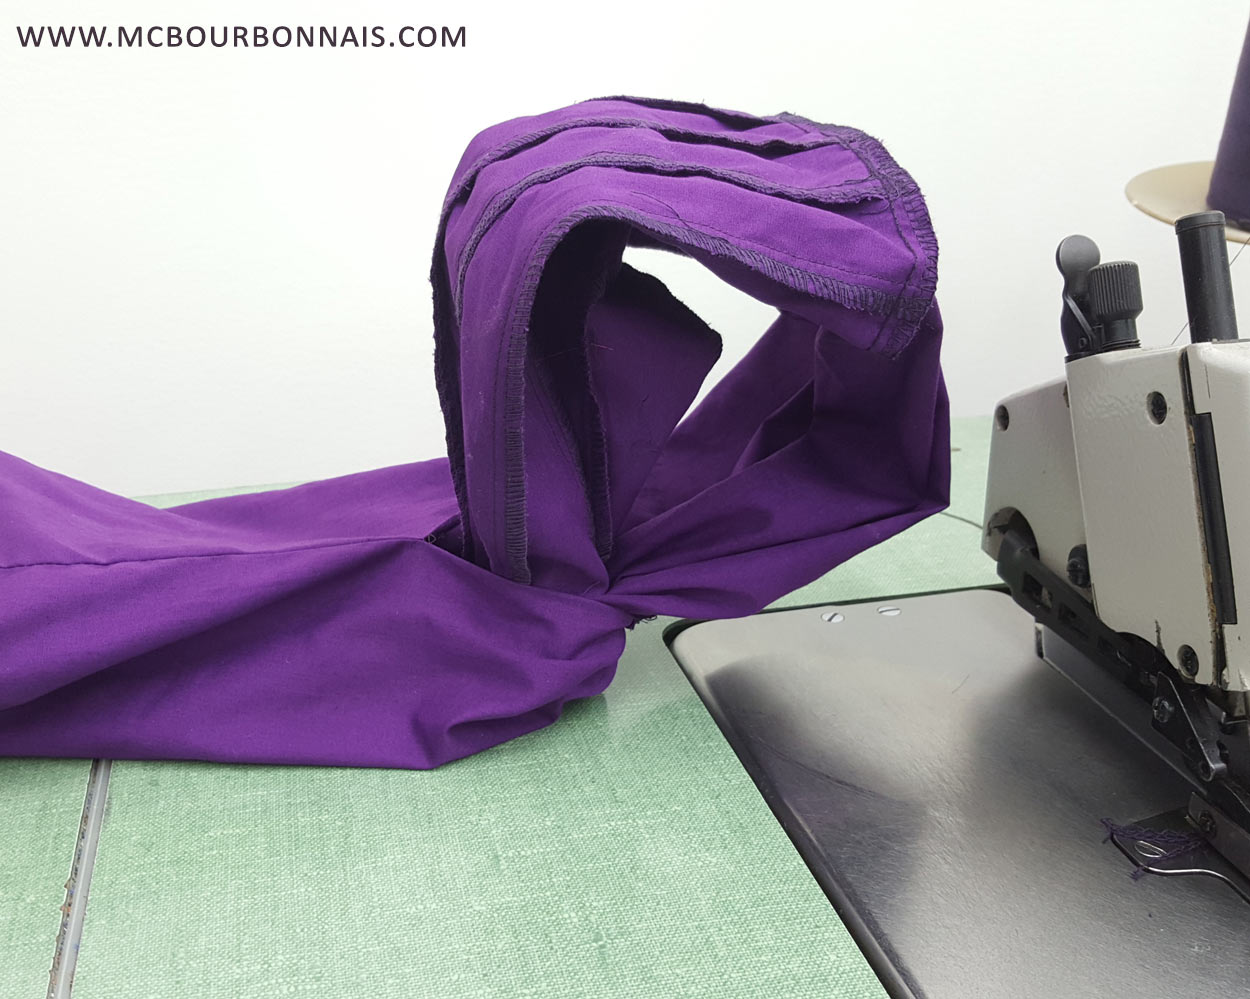
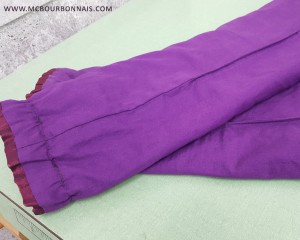
Here are the sleeves inside out. I sewed the bottom of the sleeves together already and kept an opening in the lining to access the other end from the inside. You can see the second end of the sleeve coming out from the opening of the lining. If you’re just starting into sewing, I have to admit it’s not an easy step to understand and to make. Many things can go wrong there.
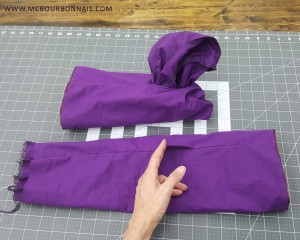
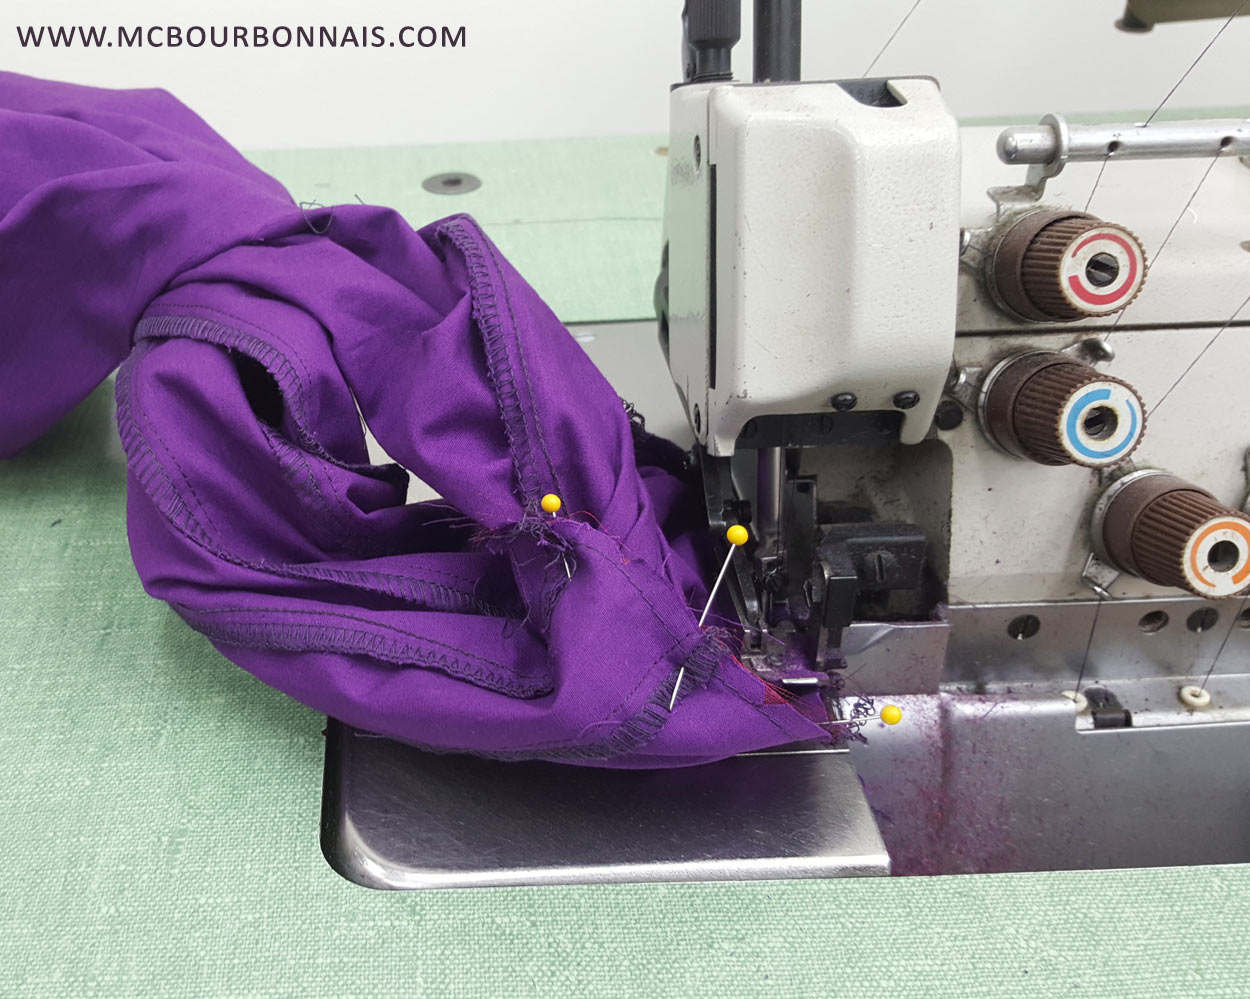
Next step is to sew together the other end of the sleeves using the same 5 thread serger. Some companies use only a plain sewing machine to assemble linings. But organza frays very easily, so I’d rather use the serger and avoid that. The serger keeps the fabrics from fraying.
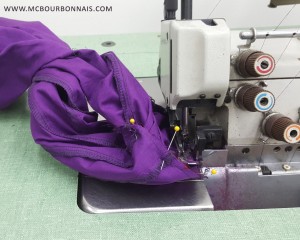
The sleeve, still inside out, with the other end sewed. I know, it looks like nothing.
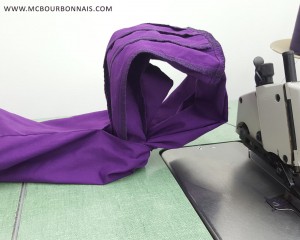
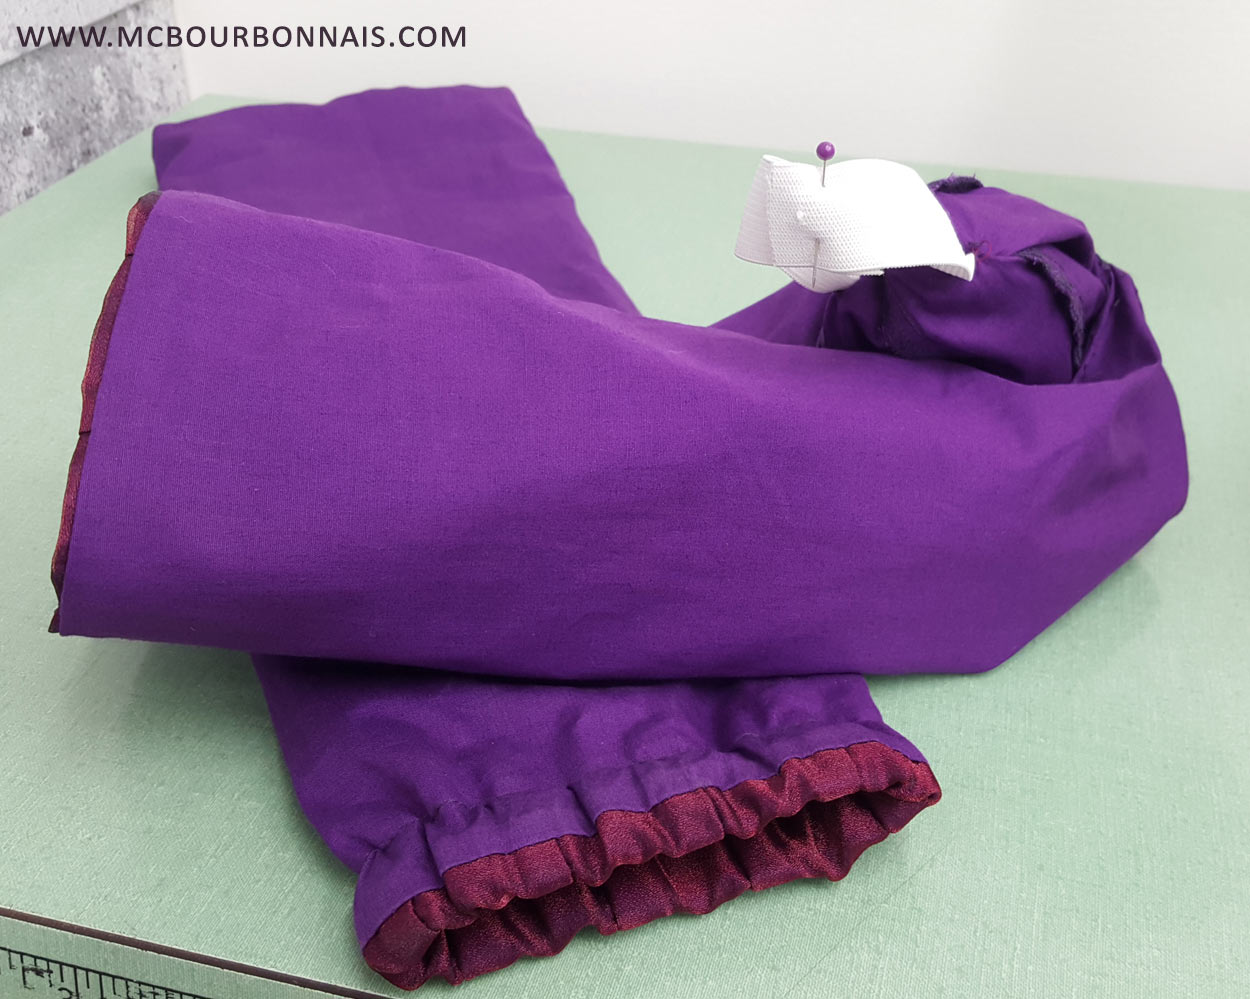
Pulled out the top end of the sleeve from the lining and made a topstitch to insert an elastic so the sleeves will hold on my arms. Again, I’m using the same opening I left in the middle of the lining’s seam to access inside the sleeve and insert the elastic.
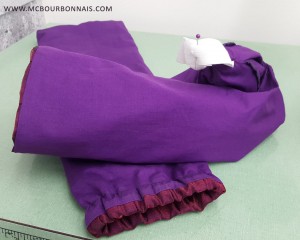
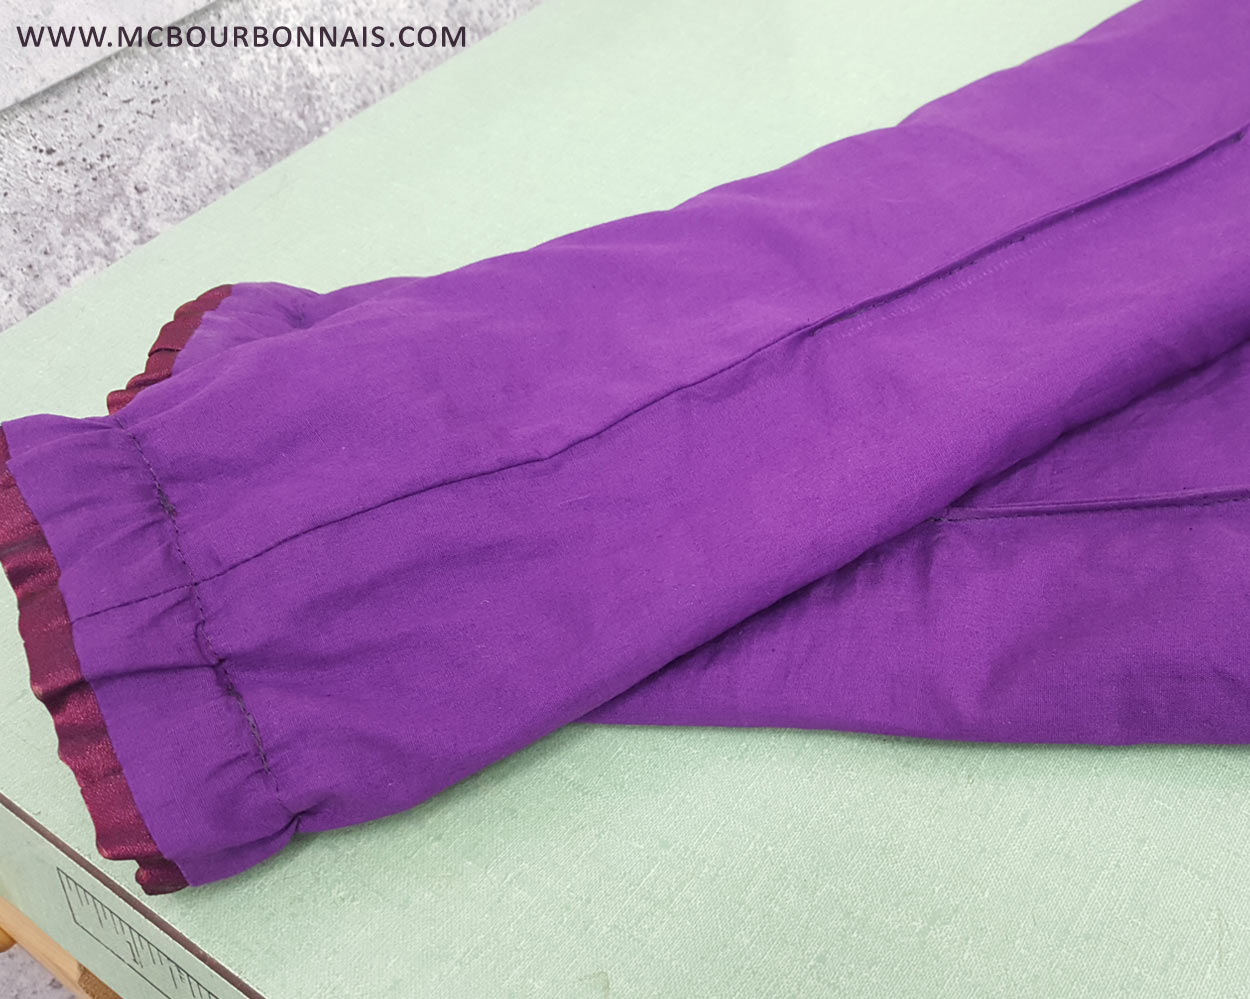
Finally, I closed the opening in the lining with a topstitch. As simple as that. If you have a lined jacket, look inside the sleeves, you should find the place where they ‘closed’ the lining at the very end.
Turn the sleeves inside out… Done! Cute little Severina sleeves are finished!
Coming up next in my Severina making of blog: the 3D printed dragon head staff!
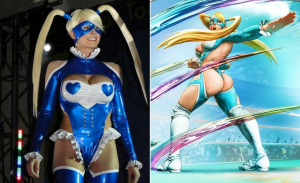
Looks like the little cosplayer from Québec made it again! Look who is number 14 in that Cosplayers list! :)
http://www.thegamer.com/hot-cosplayers-compared-character/5/
Thanks to Pascal who sent me the link!
As I mentioned it in my first post, Severina’s costume will be a different type of challenge for me because the main part of this costume is an ‘armor’ bra and a big prop. The fabric part is limited to the hood, sleeves, skirt and boots. For the bra, skull, bones and dragon staff, I intended to use my 3D printer and to try new Smooth-On casting resins instead of fiberglass. I hired someone to 3D model all the solid pieces and in the meantime, I started working on what would be the ‘easy’ part for me, the fabric.
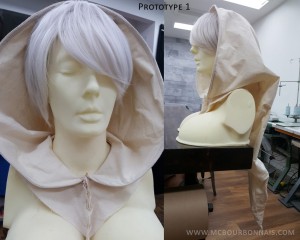
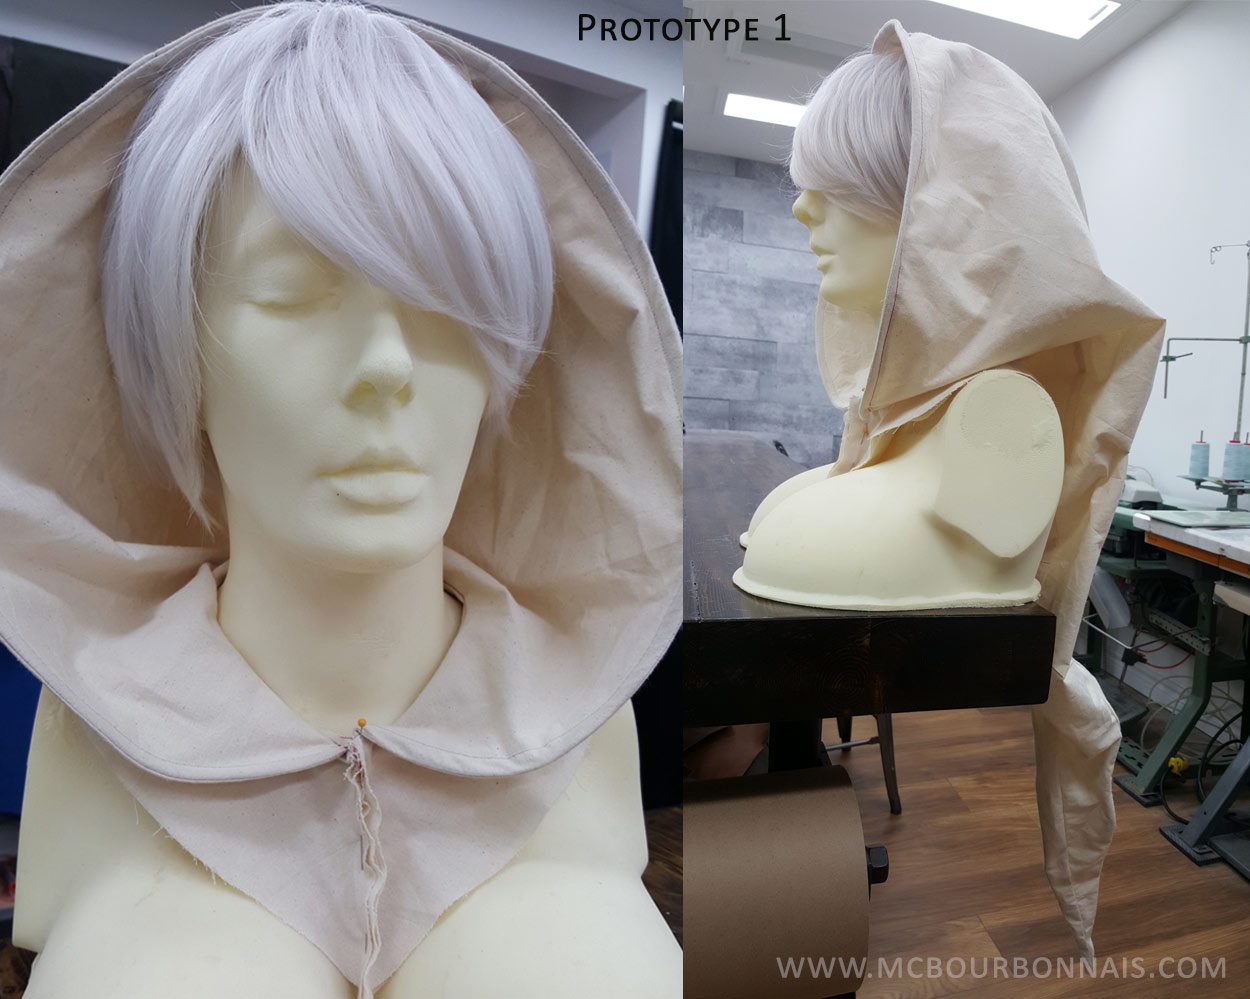
I made a first hood prototype and the general shape was pretty simple. The hood had 4 seams on its lenght and I inserted metallic wires in each seam. I wanted to reproduce the movement in the hood on the original drawing. I also put a metallic wire around the opening of the hood so it would keep a perfect shape. This gave me an idea for a second prototype. I was curious, I just wanted to see how this other idea would look like.
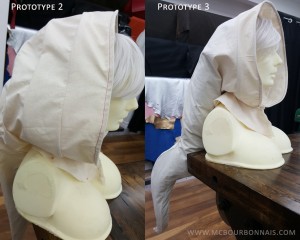
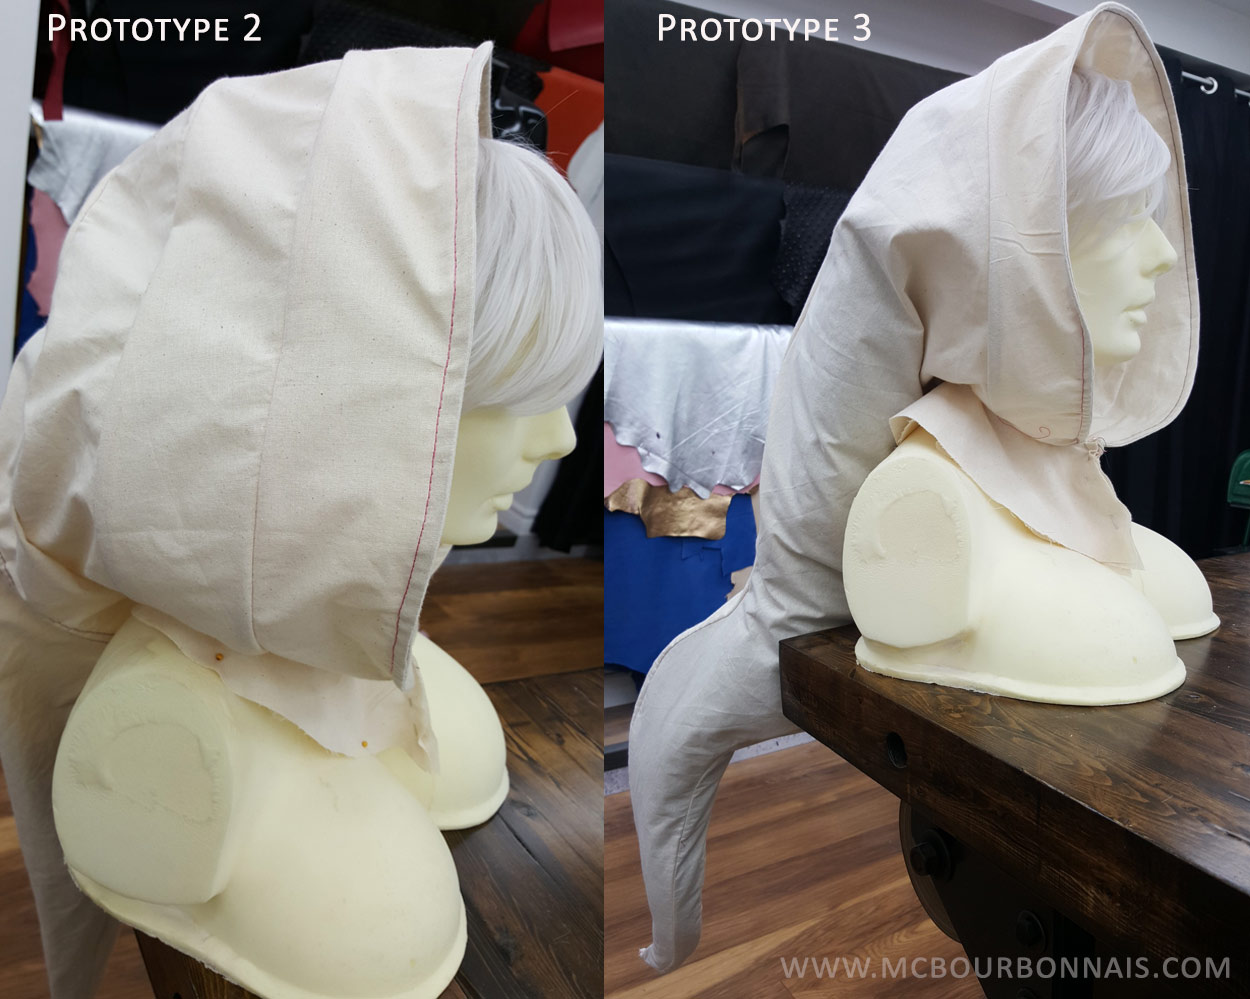
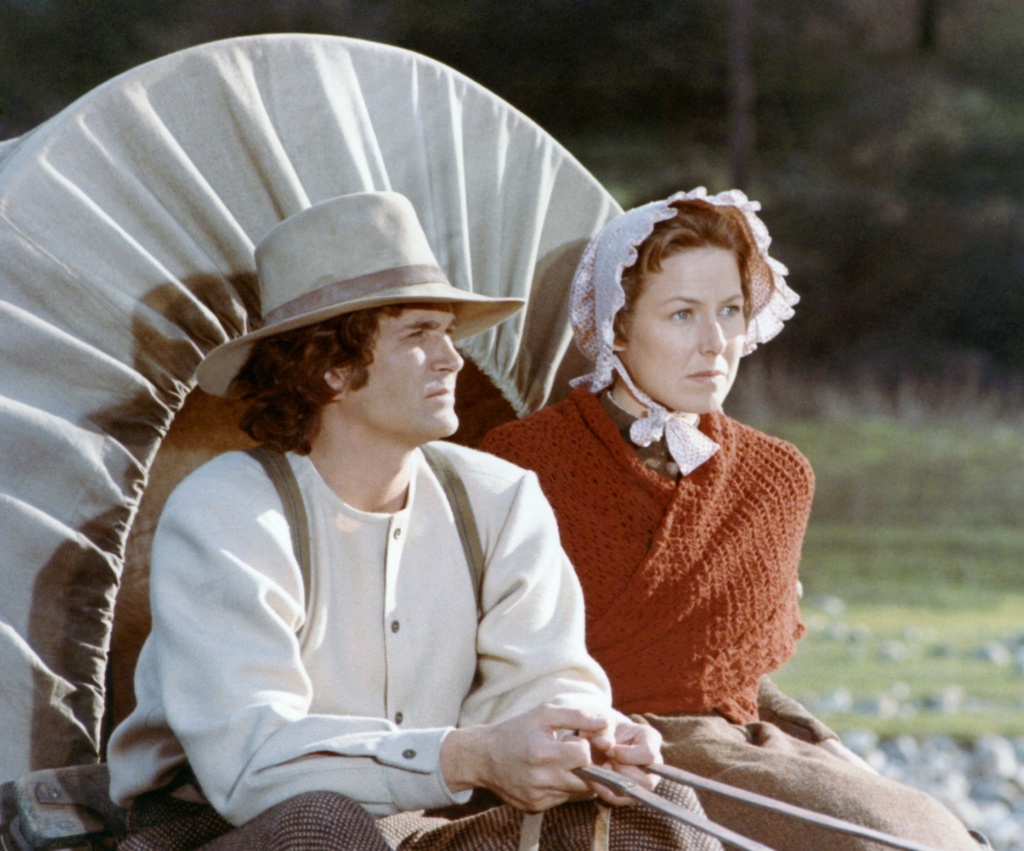
In my second prototype, I removed the 4 seams in the lenght of the hood and replaced them by circular yokes. In each seam of each yoke, I inserted a metallic wire. The final look made me think of a diligence from the Little House on the Prairie… so all of a sudden, I wasn’t so sure about that look anymore. See, the diligence… :S

LITTLE HOUSE ON THE PRAIRIE — Pilot Episode — Air Date 03/30/1974 — Pictured: (l-r) Michael Landon as Charles Philip Ingalls, Karen Grassle as Caroline Quiner Holbrook Ingalls — Photo by: NBCU Photo Bank
I decided to make a third prototype, coming back to my first idea: 4 seams in the lenght of the hood with a metallic wire in each seam. But this time, instead of trying to reproduce the movement from the drawing by bending the wires, I drafted the pattern with a shape already. To emphasis that funny snake shaped hood, I even stuffed it with plastic bags (good, cheap trick to stuff something when you don’t want to add too much weight.) I was very excited about that prototype until I tried it on and realized how big and ridiculous it looked on me. Sorry, snake shaped hood, you wouldn’t be the chosen one.
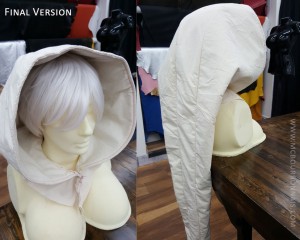
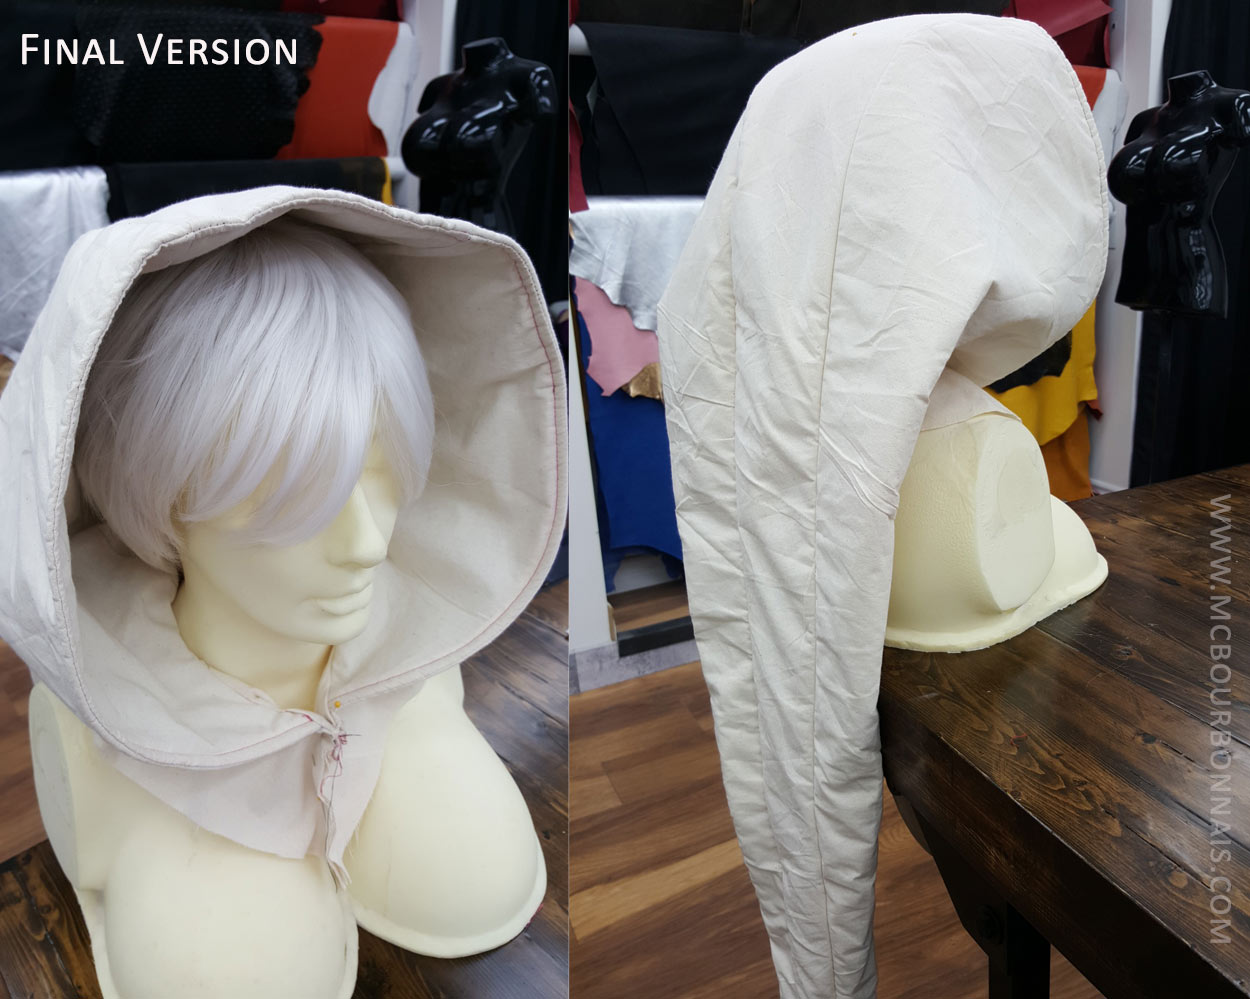
After a few more unsatisfying prototypes, my last version was finally very close to my first prototype. The simpler the better, that’s what they say, right? Well, it’s rarely the case in my costumes, but this time, it was. Severina’s hood would have 4 simple seams on its lenght without metallic wire. Instead of stuffing the hood like a plush toy, I padded it. Each pattern piece was lined with padded fabric to give the hood some structure. I decided to put only one metallic wire around the opening of the hood. That’s all. It took me way too long to develope this hood. I have to remember to keep things simple (sometimes.)
Next time in Part 2: the final hood in its real fabric and the sleeves!
Great news! I’m very excited to unveil today one of the costumes I’ve been working on for the past months! From Ninja Division – Soda Pop Miniatures’ game Way of the Fighter, another character based on me! :) Her name is Severina and I’ll be wearing the costume from this lovely chibi version for Gen Con! I had never made any medieval-dungeons-and-dragons-league-of-legends-armor type of costumes, so it’s a new challenge for me! And I intend to put my 3D printer to good use to undertake this challenge! Work in progress and making of pics coming soon!
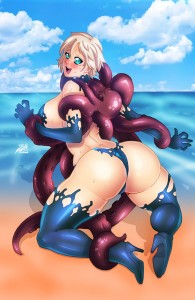
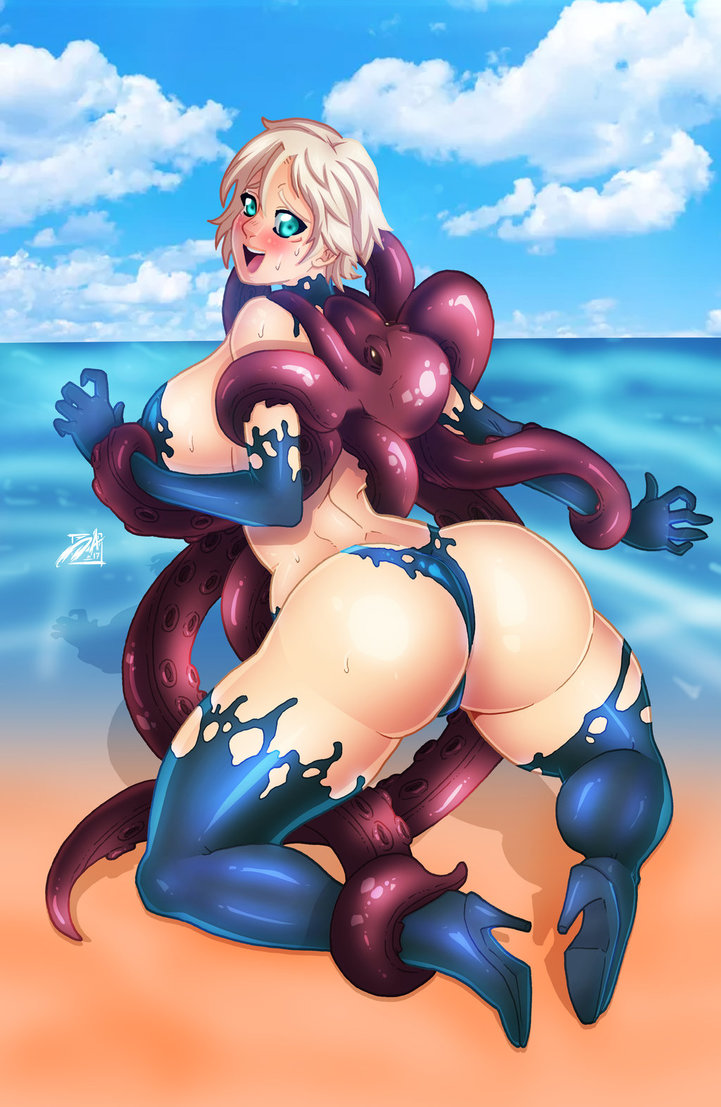
Nothing could make me happier than seeing that my original character Aimsee is loved and appreciated by you, guys! A little while ago, a fan named Adrian contacted me saying he had commissioned an artwork of Aimsee. He was nice enough to send me the artist’s work in progress drawing so I could have a look and give him my impressions. How cool is that? :D I gave Adrian a few inputs and extra details about Aimsee’s background story so he could send the info along to the artists. Now you can enjoy the final piece. Cute, isn’t it? :)
Digital sketch artist: DarkerEve: http://darkereve.deviantart.com/
Digital painter: Mesiasart: http://mesiasart.deviantart.com/

If you feel like reading a little something, check out who’s the cosplayer of the week on theScore esports’ website! ;) A full interview with pictures, enjoy your reading!
https://www.thescoreesports.com/news/14390-cosplayer-of-the-week-marie-claude-bourbonnais
Photographer: Grumpy Bear Productions
Print available on my store.
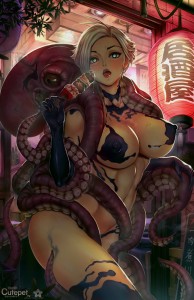
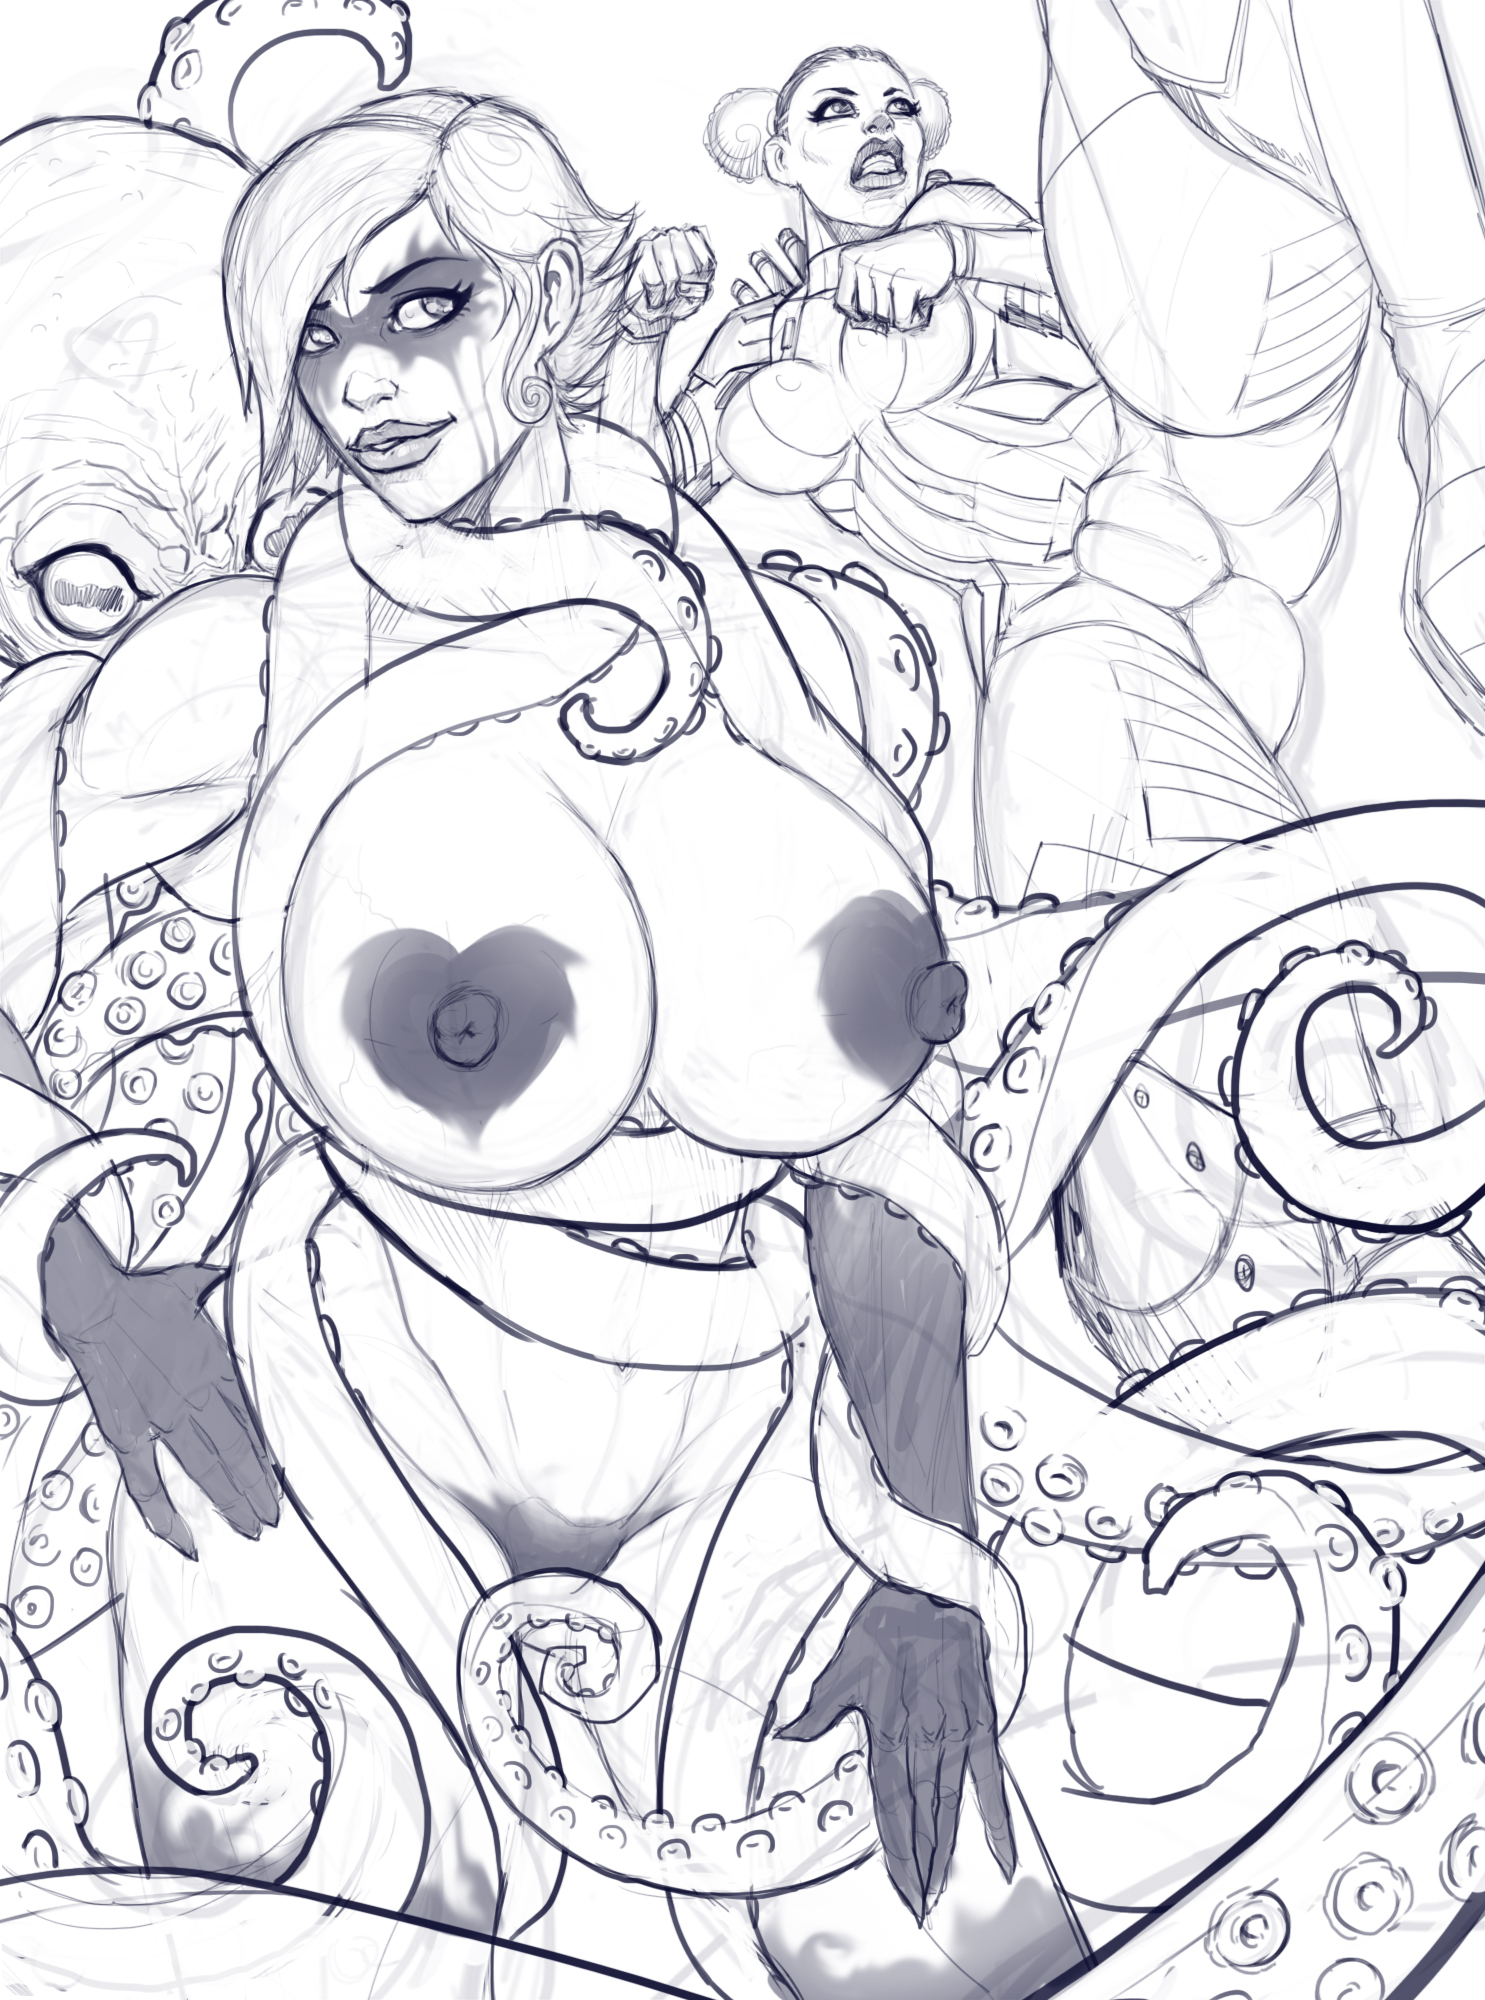
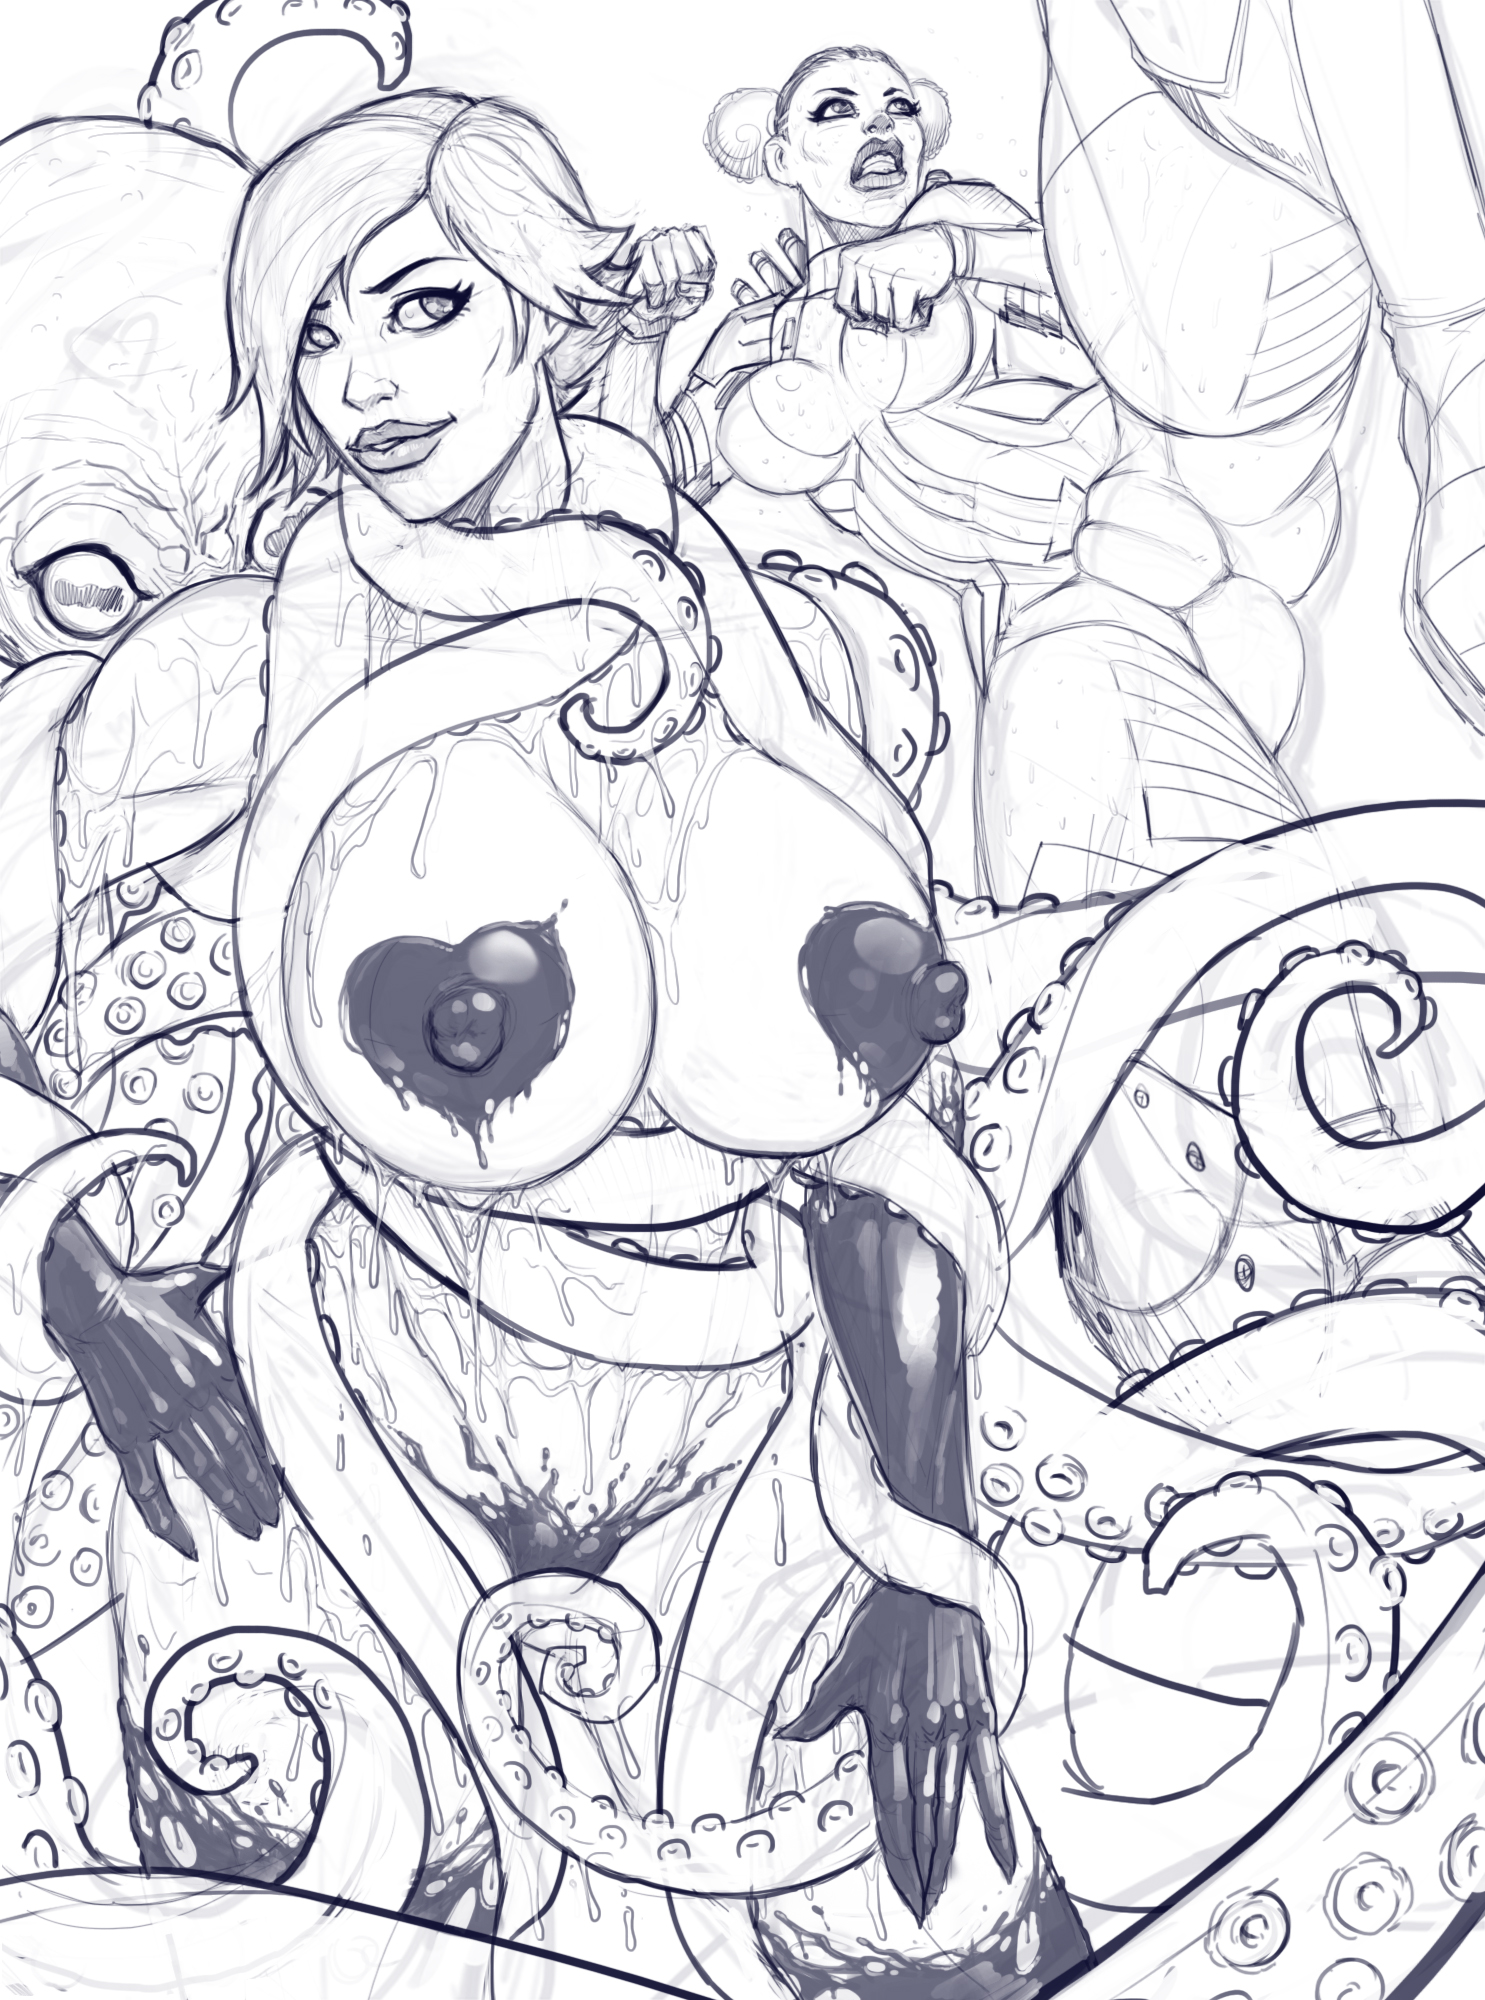
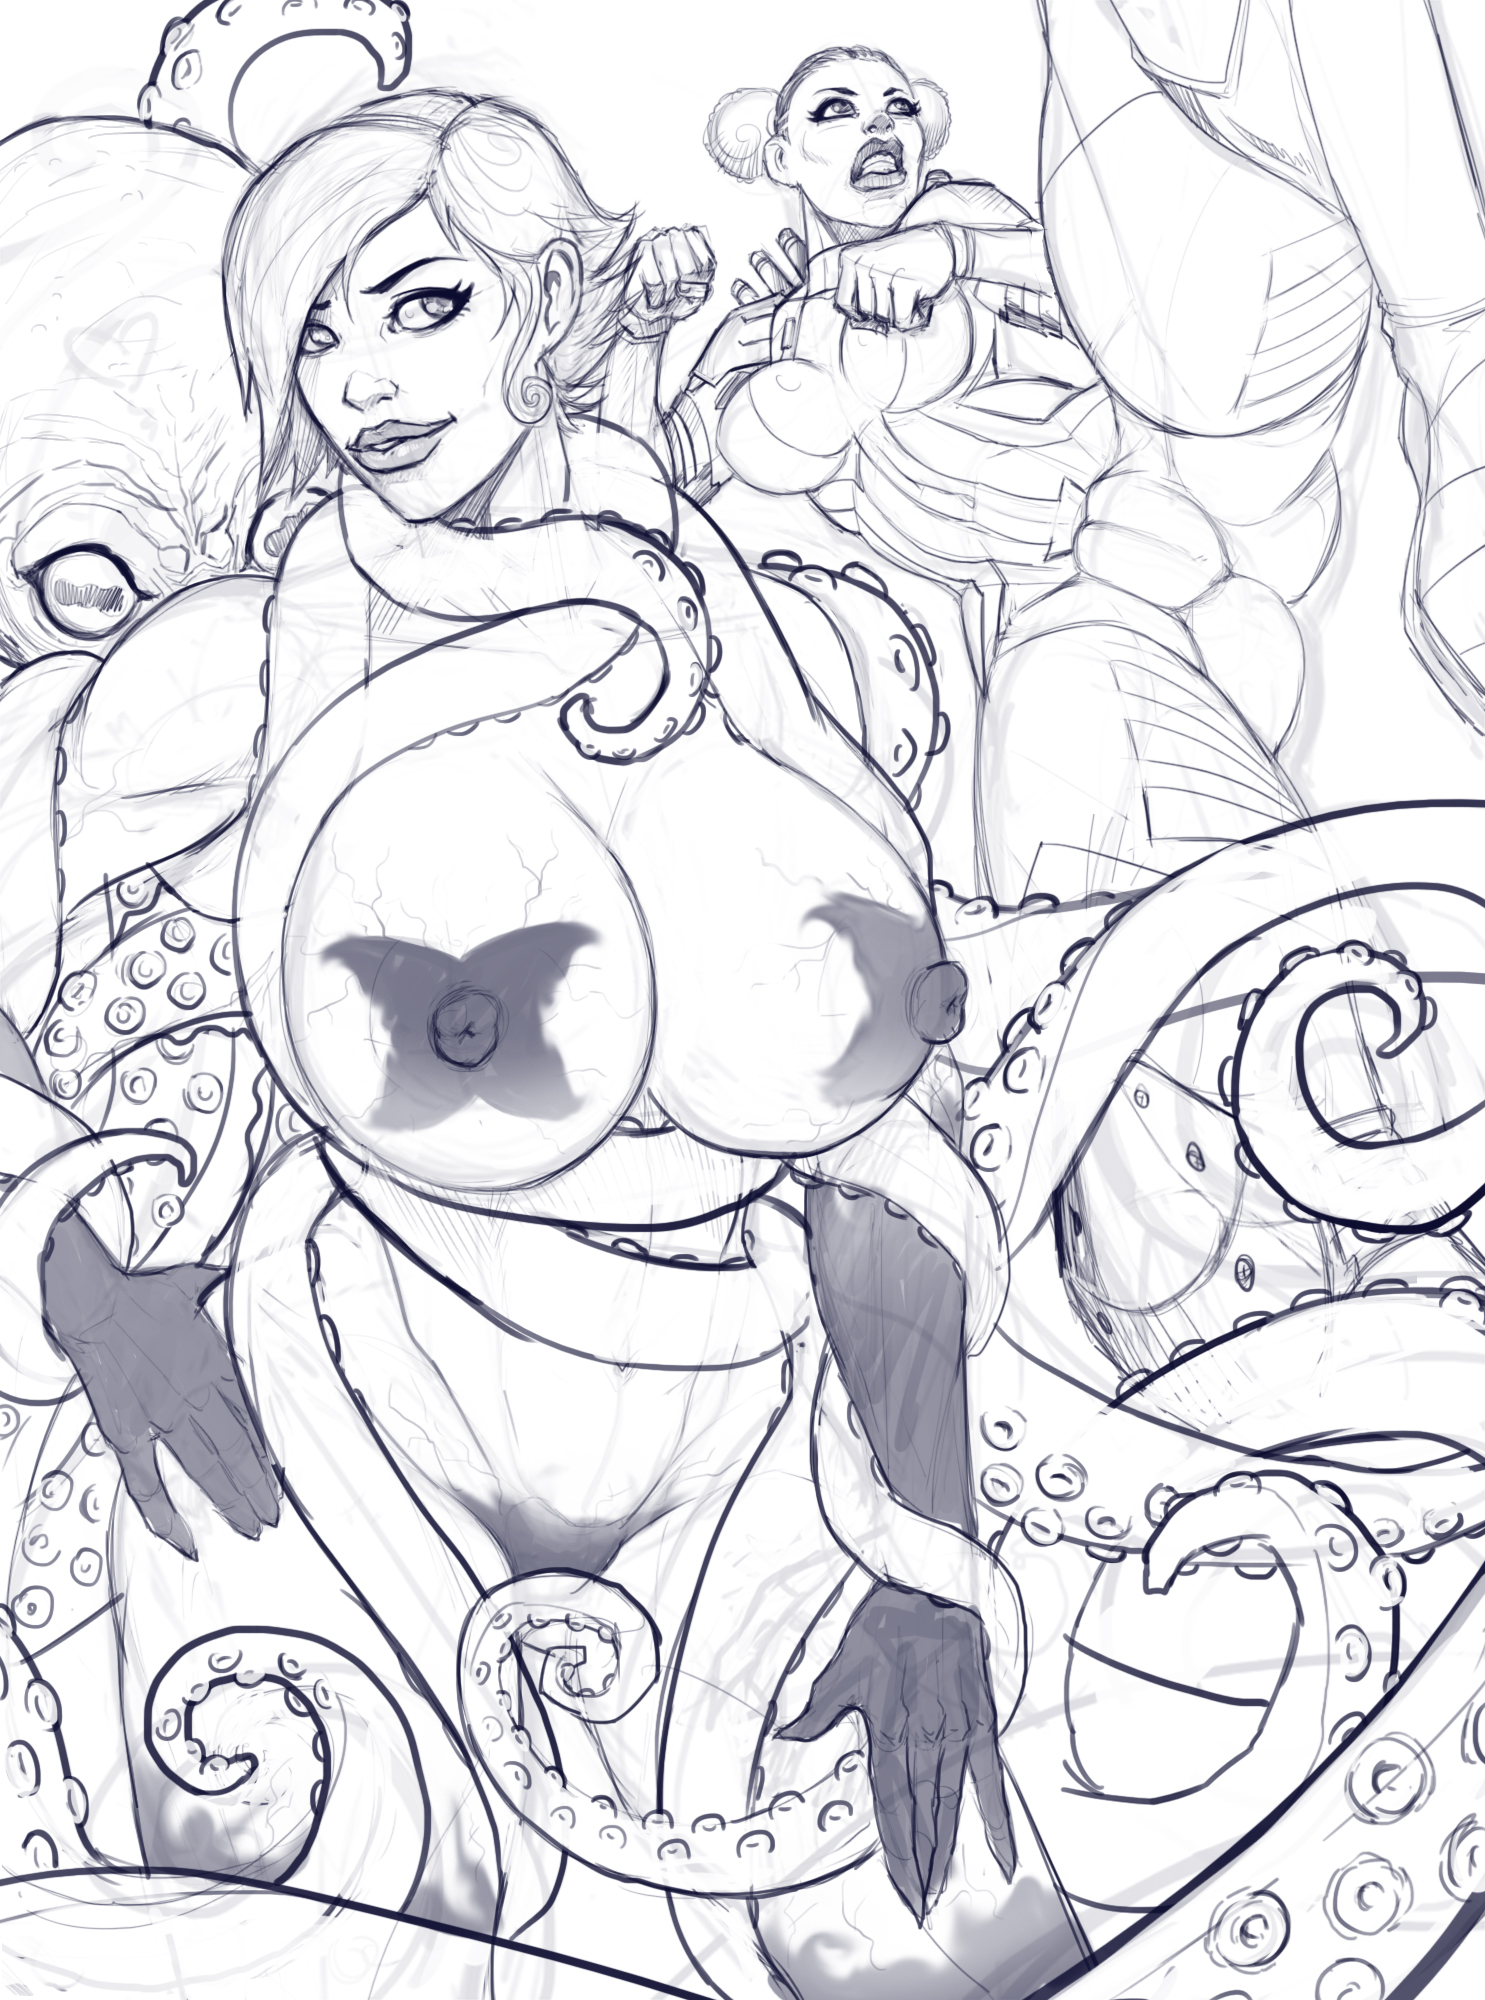
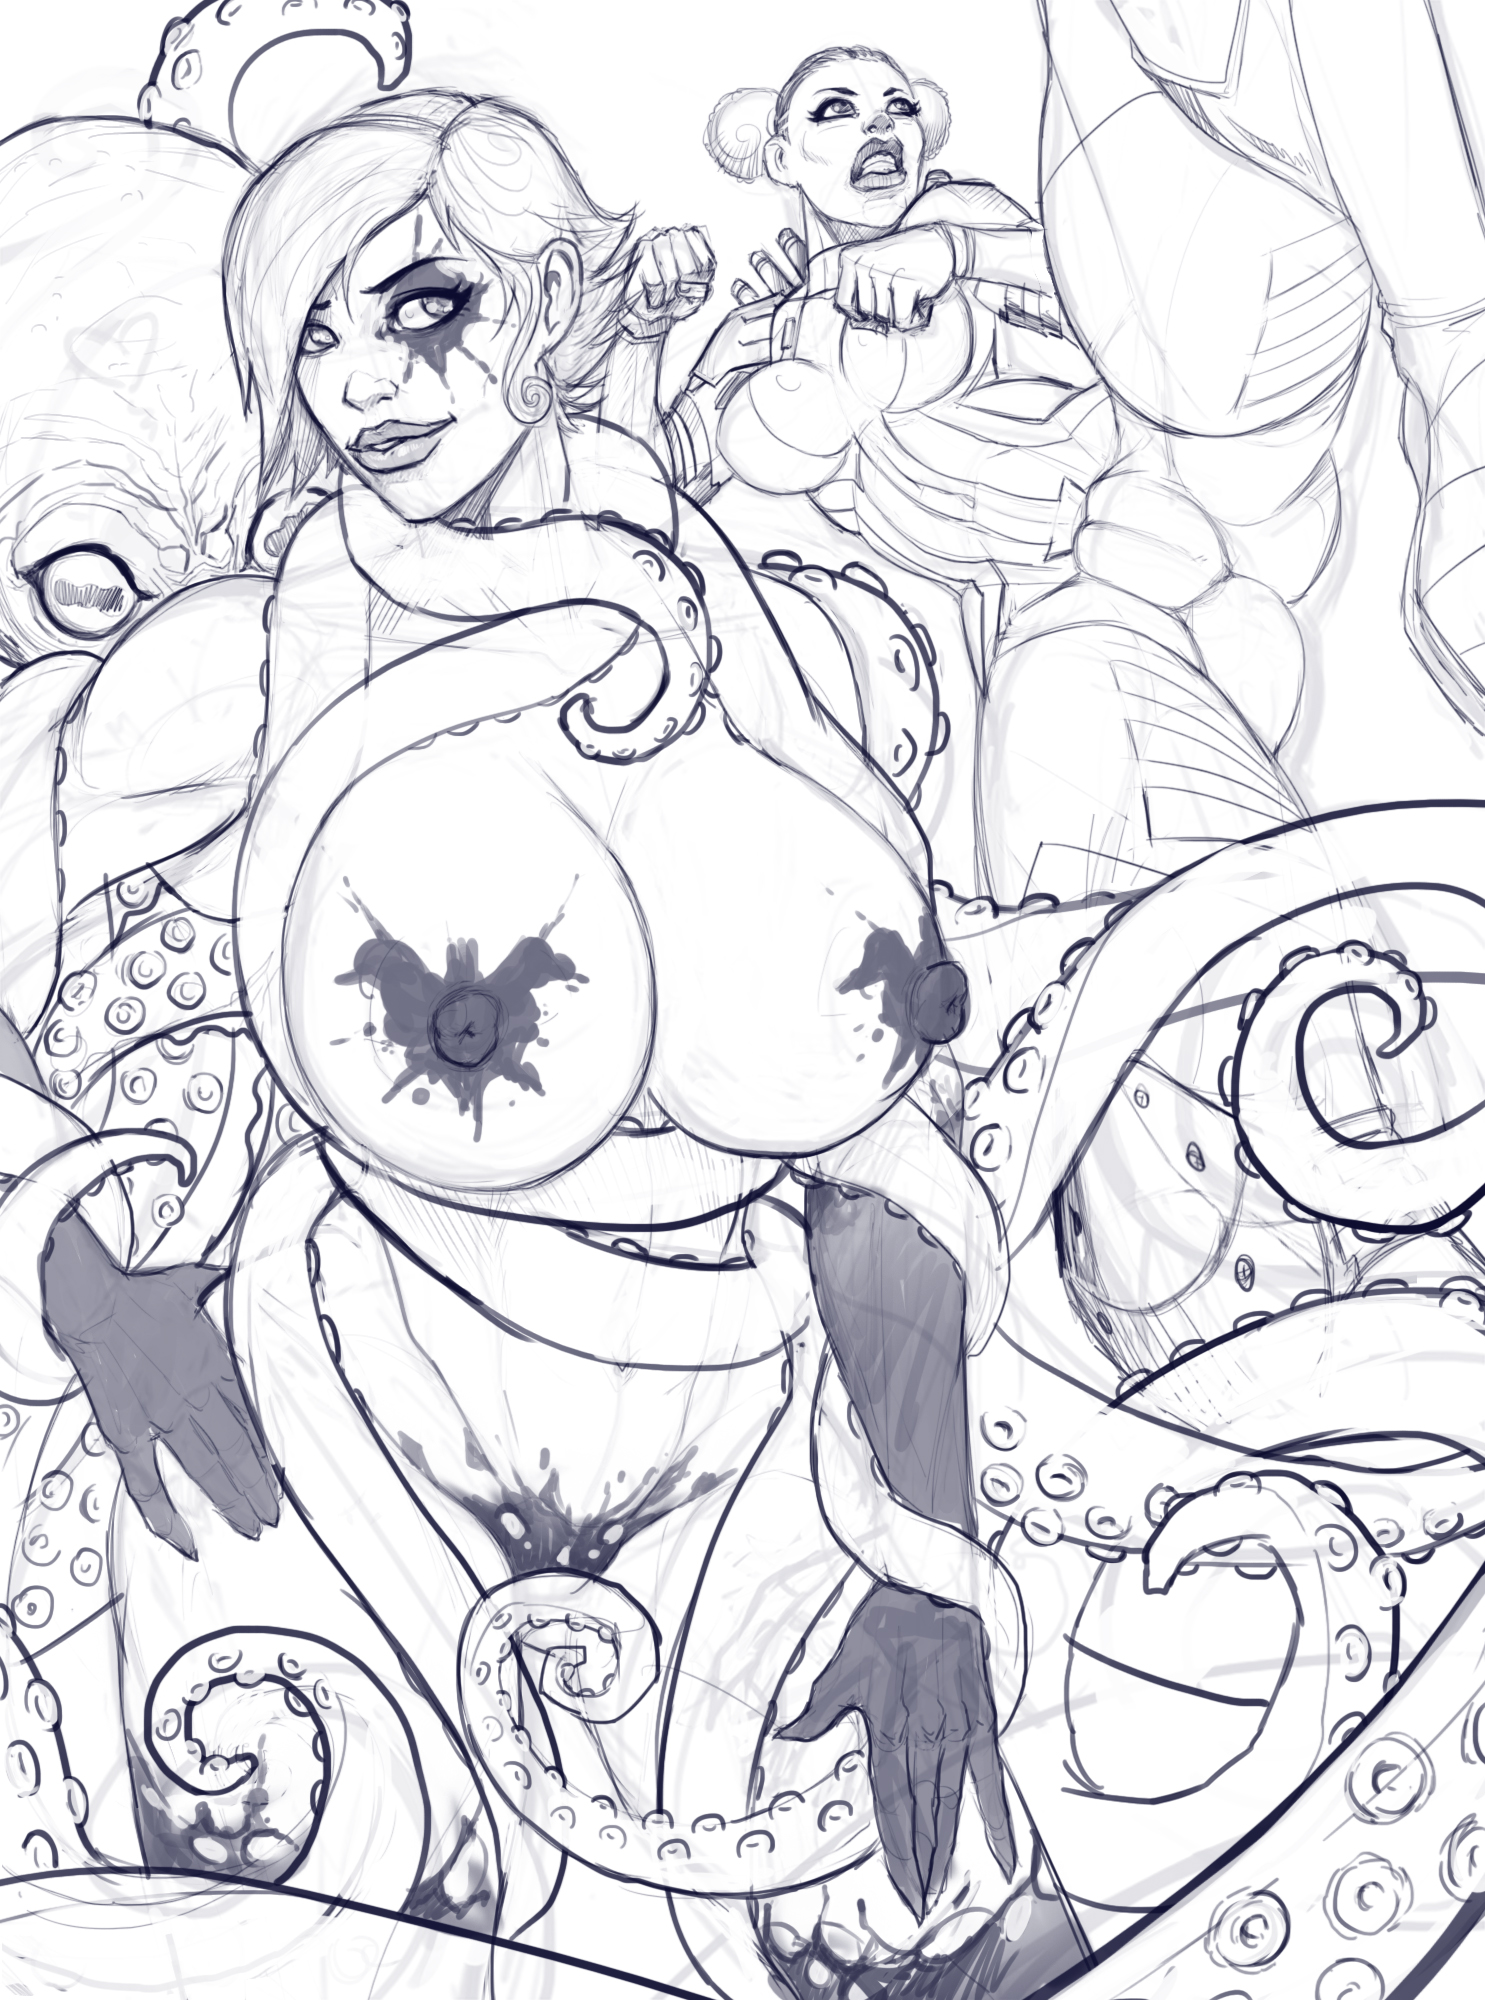
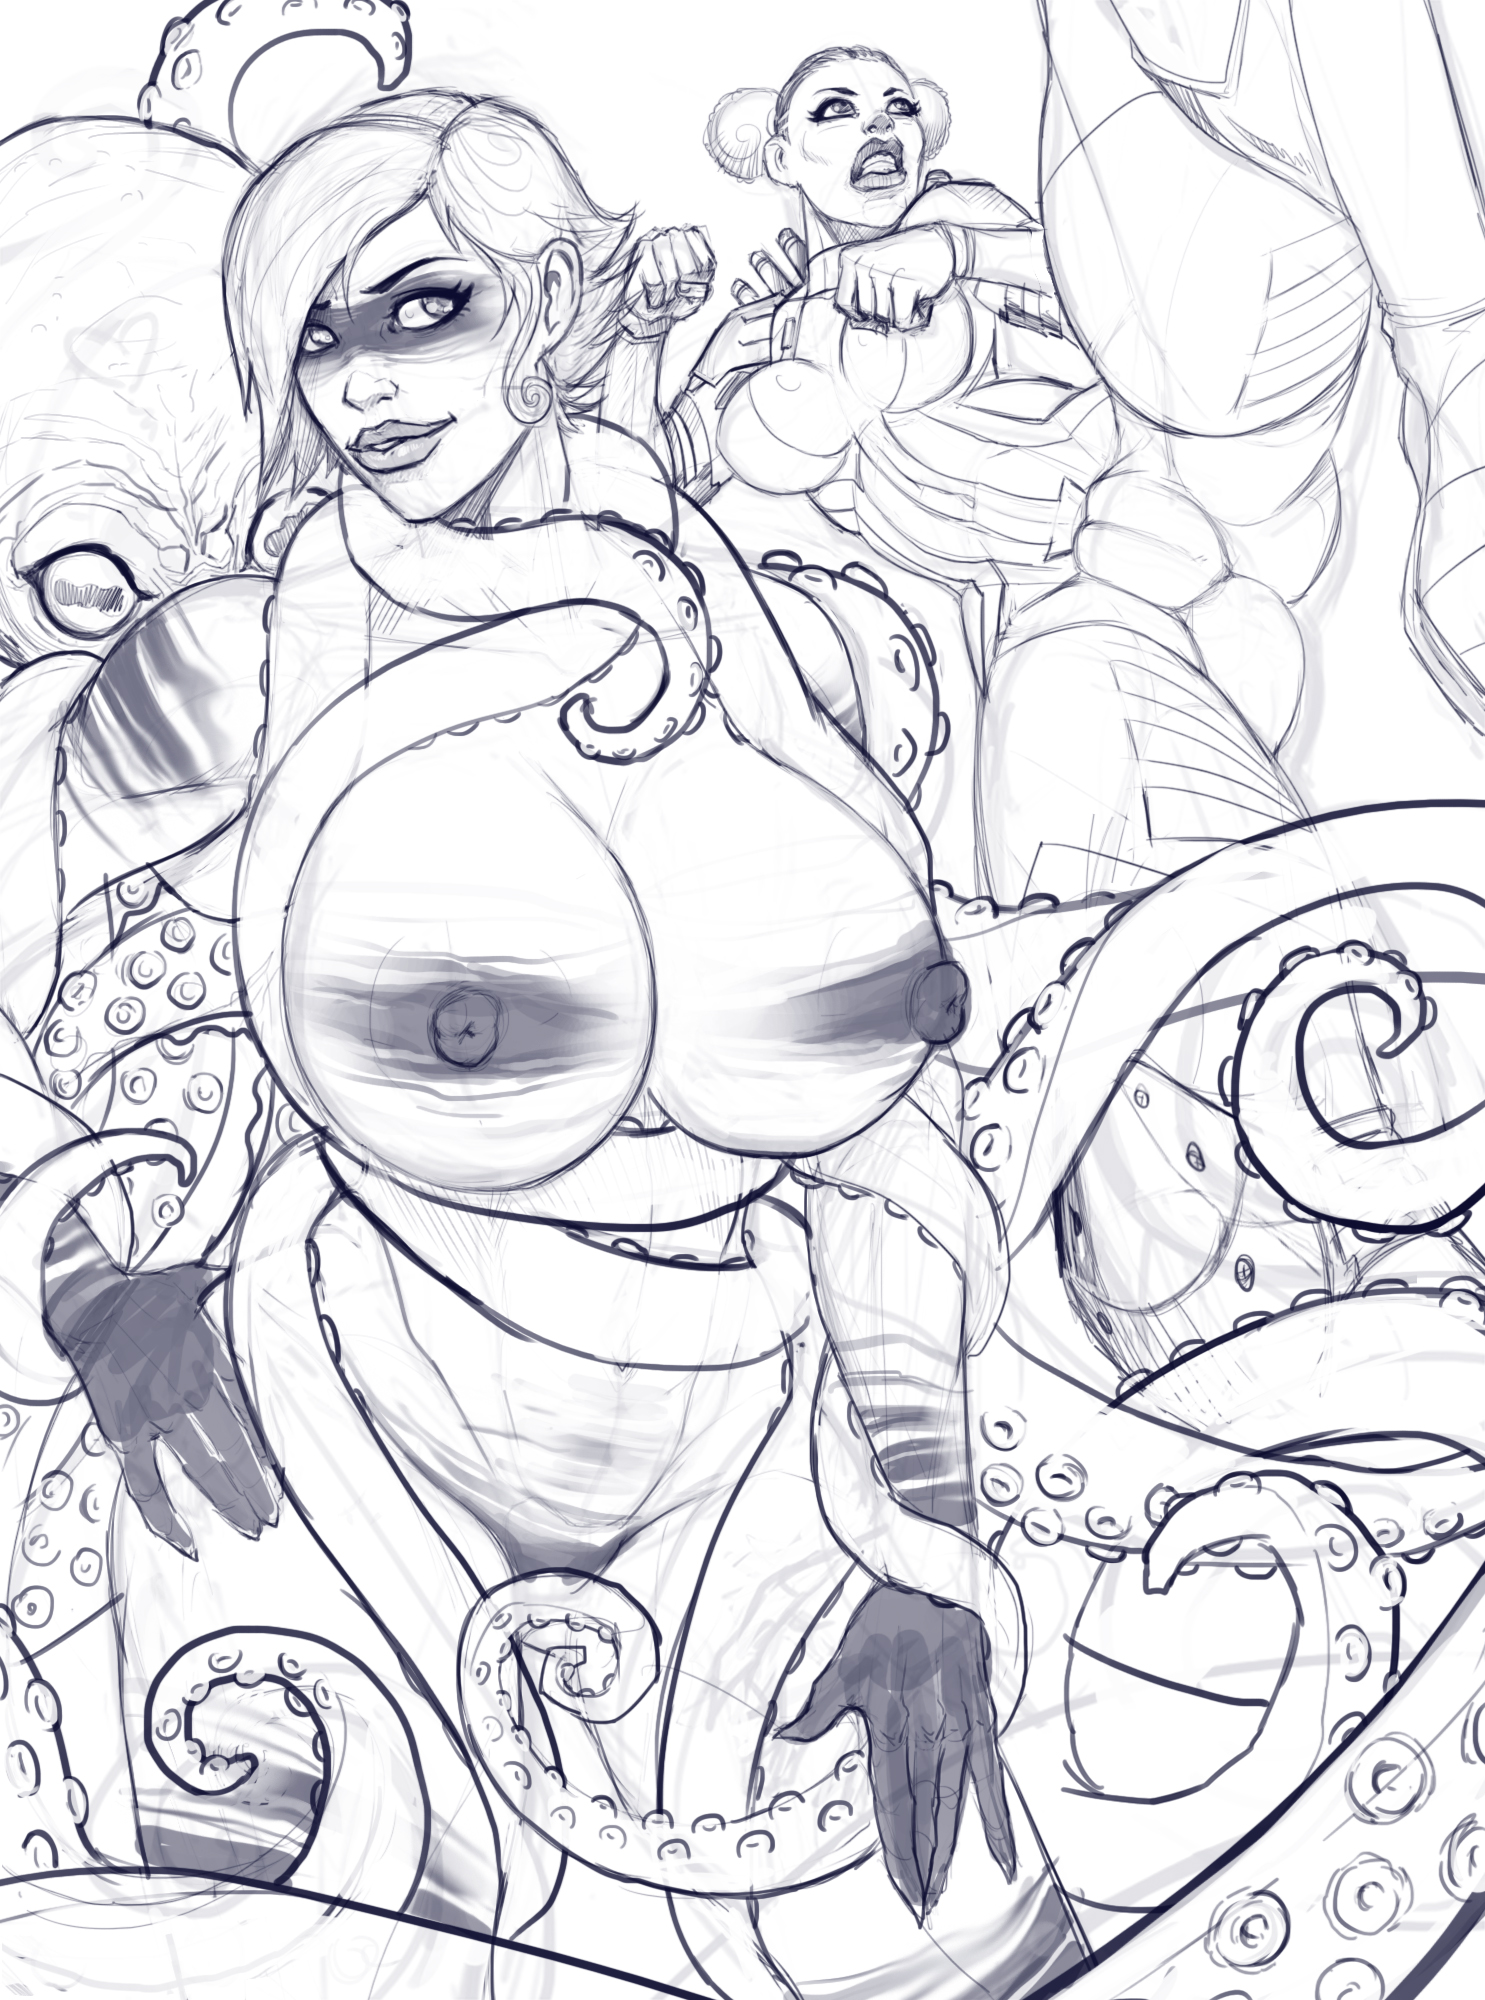
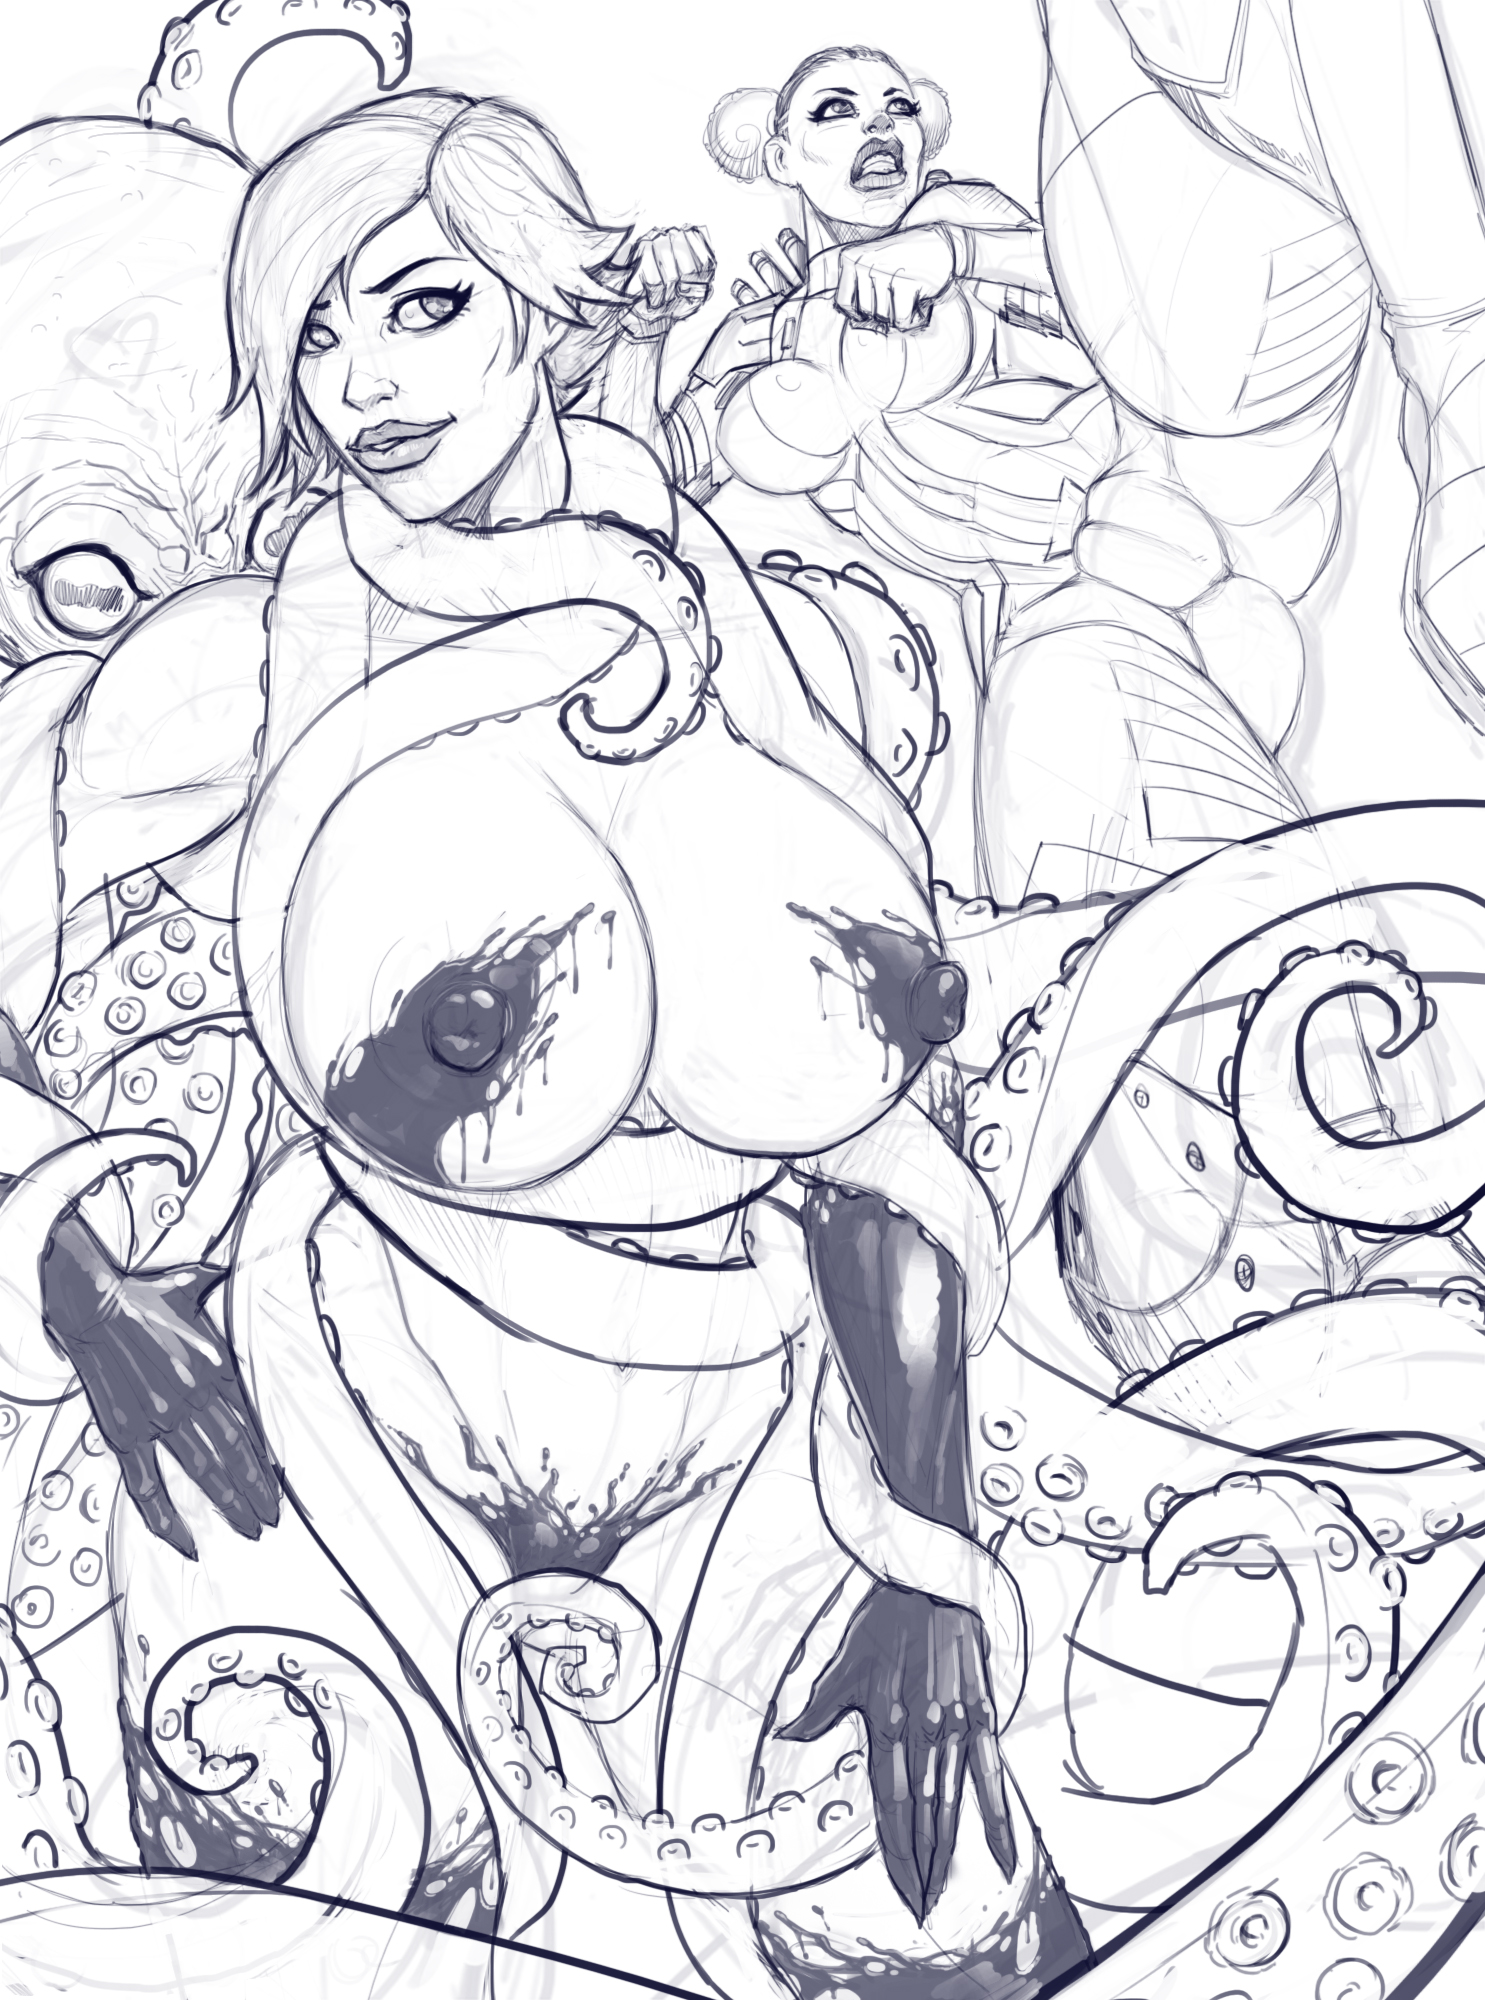
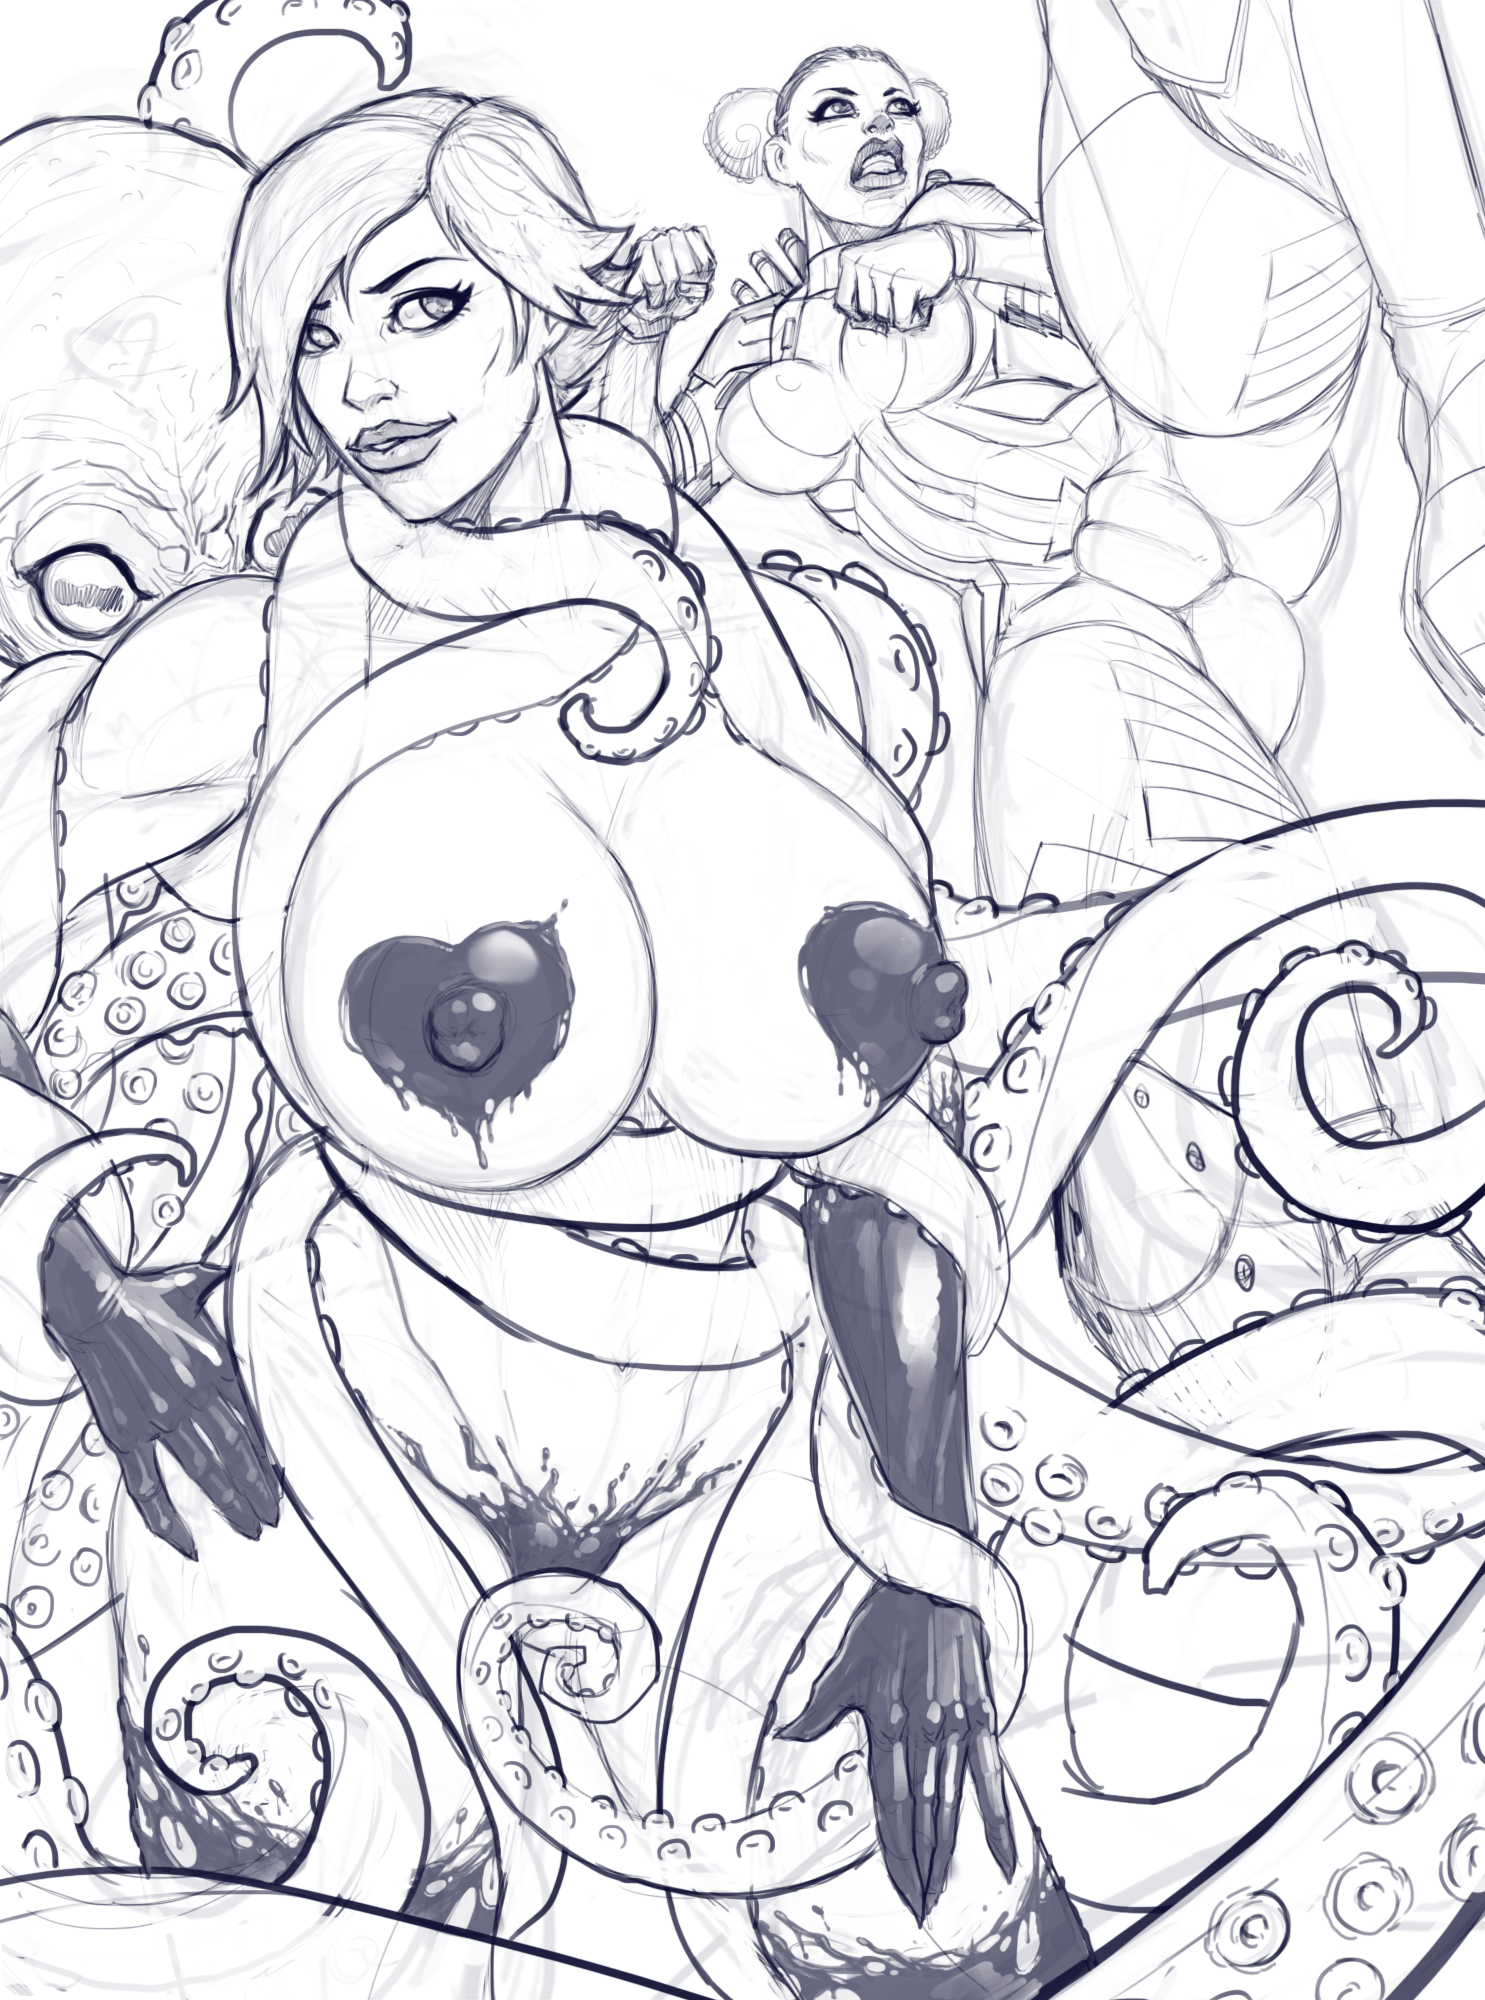
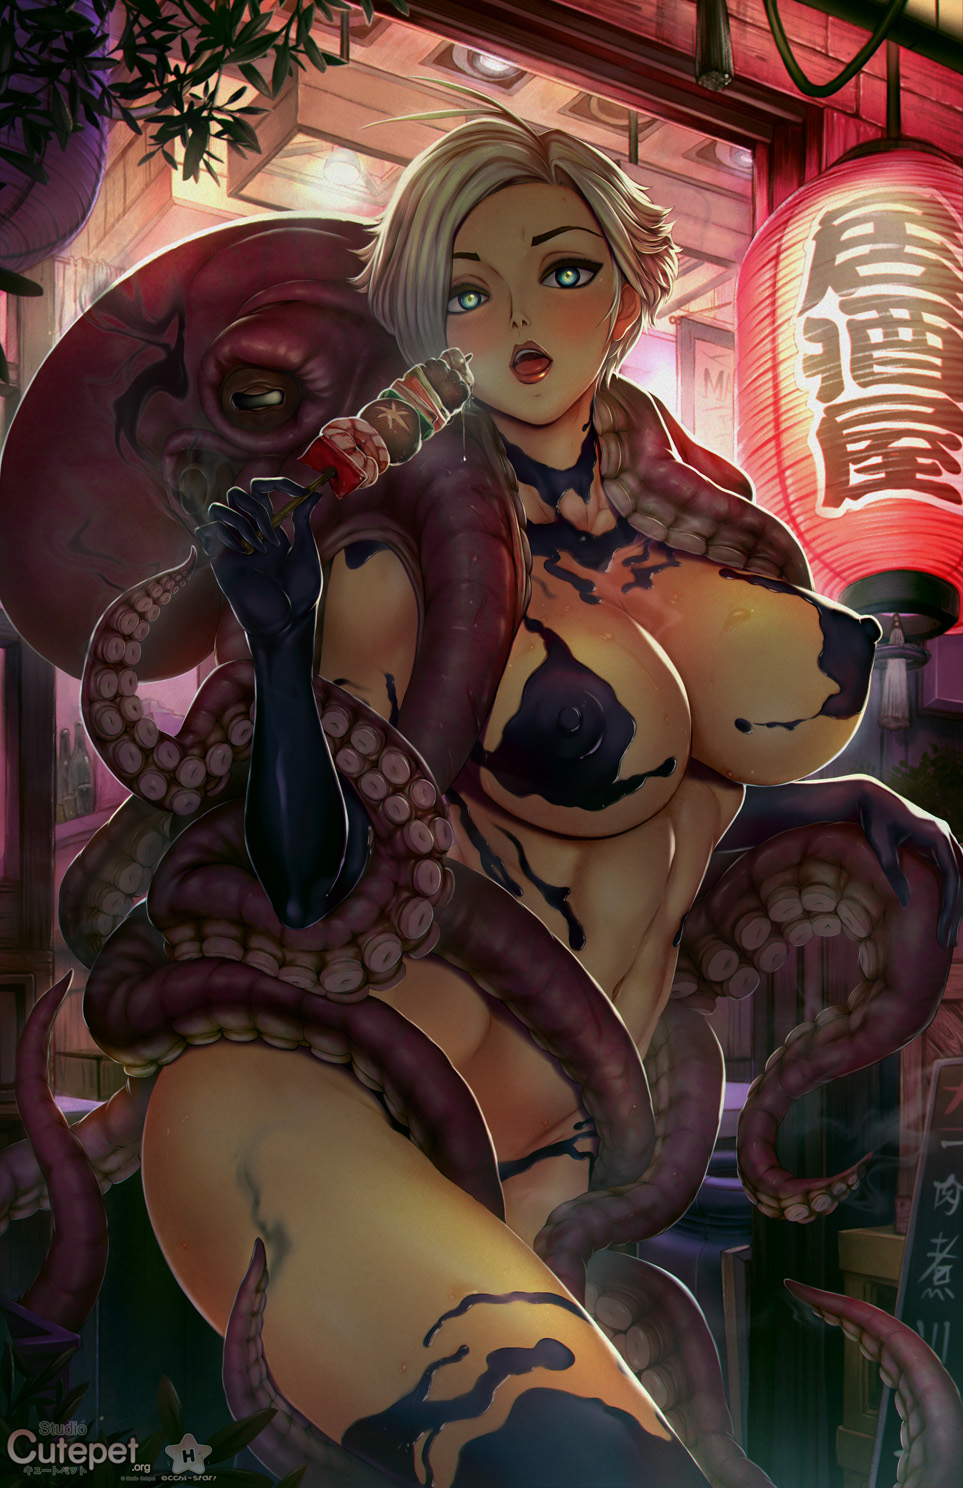
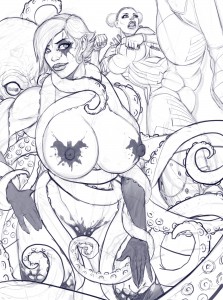
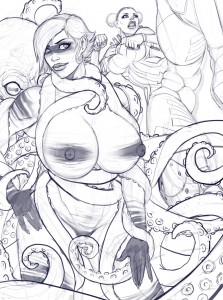
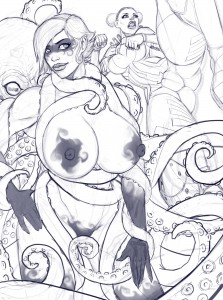
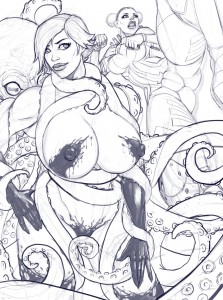
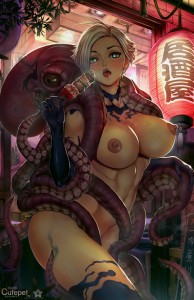
I first discovered the world of Ecchi-Star through a really cute and cheeky pic of Priscylla dresssed up as Mario (http://www.hentai-foundry.com/pictures/user/cutepet/180586/Pound-It-Priscylla). I silently spied on his HF port until I got the idea for a commission (and some extra bucks to spend.) Once again, I feel very lucky that an artist as special as Ecchi-Star accepted to work with my Aimsee character and so perfectly put my idea on paper. I bet it was a lot of work, but the result is awesome and surpasses my expectations! Ecchi-Star was able to create a nocturnal, ominous look, including many interesting details in the background and adding in the characters’ eyes this frightening glow, giving us the feeling that the octopus really is a yokai connecting with Aimsee in a supernatural way where we couldn’t tell which one is controlling the other.
Also, before I forget, Studio Cutepet made the cover of UDON’s Street Fighter Swinsuit Special in May. Check this out:
http://www.udonentertainment.com/blog/news/street-fighter-friends-2017-swimsuit-special-announced
Have a look at Ecchi-Star’s port on Hentai Foundry and get a glimpse at the piece untitled ‘Denizens of the Deep.’ It’s worth the detour!
(NSFW) Hentai Foundry: http://www.hentai-foundry.com/user/cutepet/profile
(NSFW) Twitter: https://twitter.com/StudioCutepet
(NSFW) Patreon: https://www.patreon.com/studiocutepet
(NSFW) Studio Cutepet website: http://cutepet.org/cutepet.html
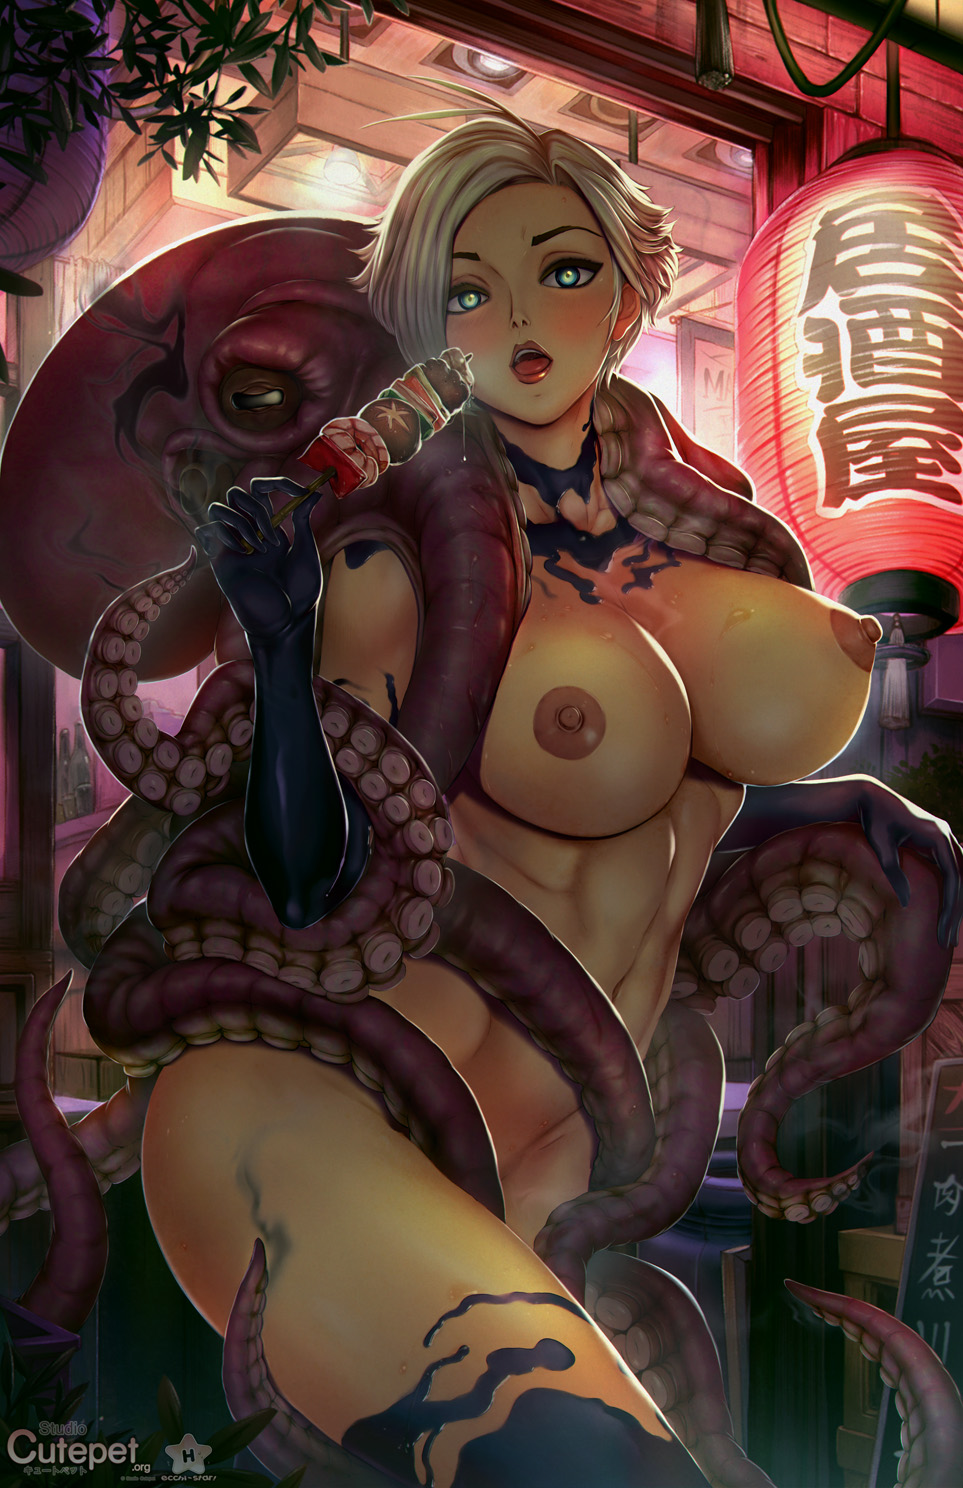
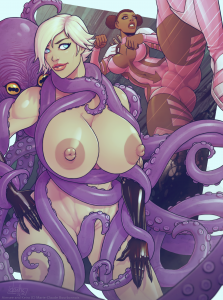
And as a bonus, here’s an even sexier version. ;)
I know it took me a while to complete that bolg. With the first months of 2017 that I spent remodeling my workshop, I had very little time for anything else. You’re more than welcome to read the previous parts of my Monster Musume Rachnera Cosplay making of blog to remember the first steps before reading that very last part.
Enjoy your reading!
Part 6
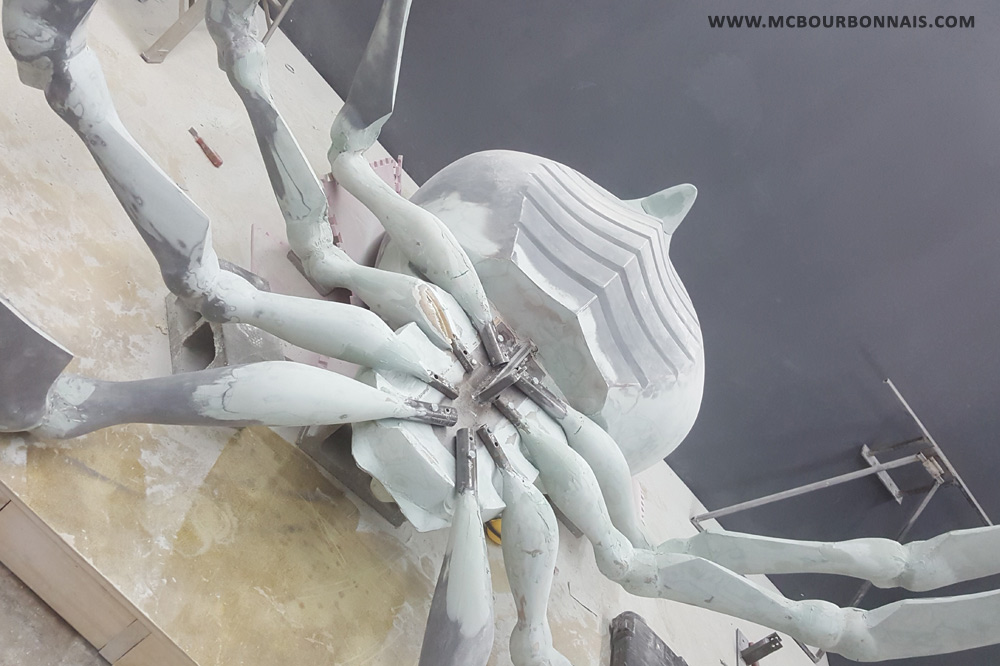
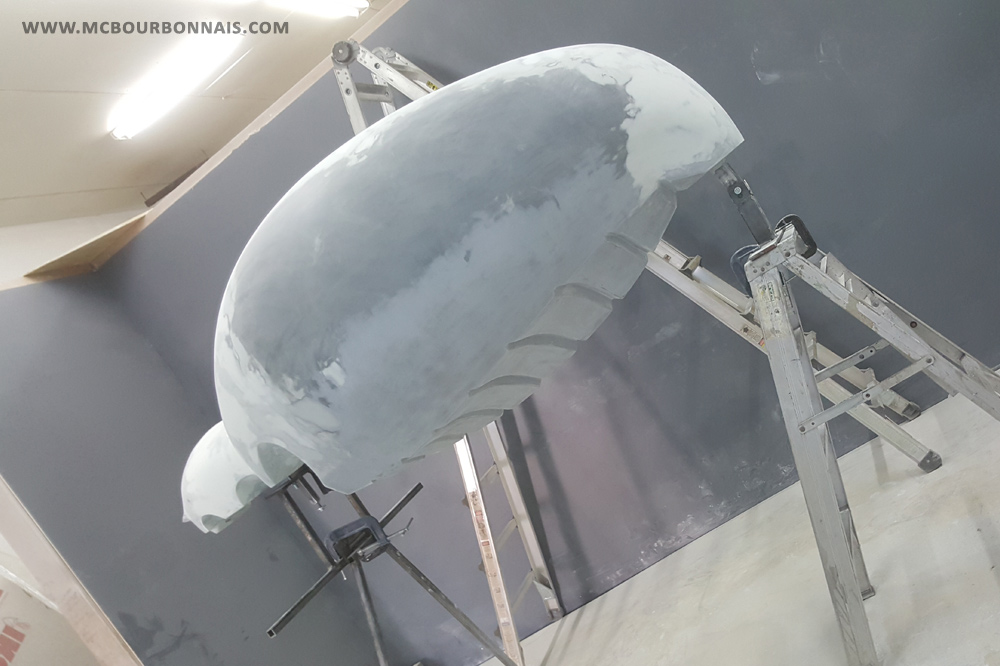
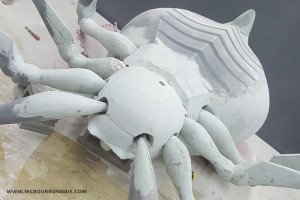
Next step was to build the front part of the spider’s belly, the second half sphere of its abdomen, the ‘lid’ that would cover and hide the part where the legs would be boalted. On the next picture, you can see very clearly how the legs were boalted to the metalic plate. Notice the square tubing vertically welded on the metallic plate. It will be used to attach the lid and keep it in place.
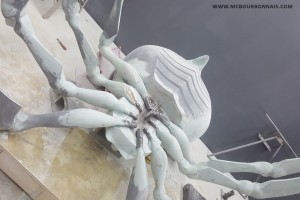
I think the lid was the most complicated part of the spider to fit. If the metallic structure and concept to assemble/disassemble the legs were big engineering challenges, building the lid was certainly a fine-tuning challenge. We had to make a custom lid with holes that would match perfectly the shape of each leg in its final position. We used styrene again to sculpt the general shape of our spider’s abdomen, as you can see on the next picture.
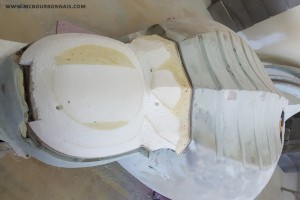
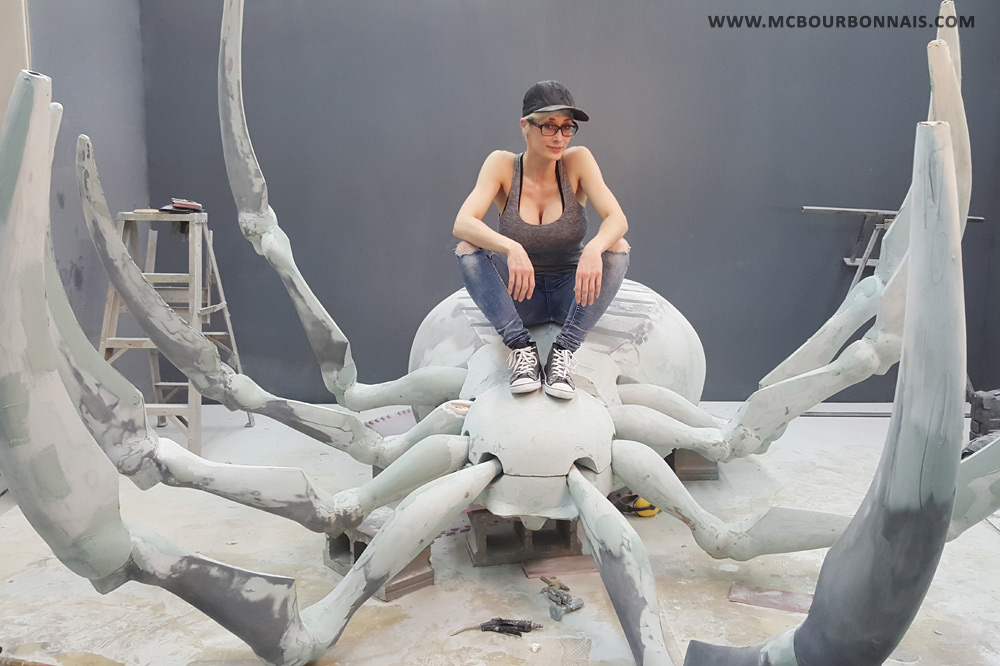
At this point, the holes to allow to insert the 4 big legs, front and back, were there, but the holes for the 4 smaller middle legs were not done yet. We had to cut holes in the abdomen and do our best to adjust each of them to the shape/position of each leg. Remember that we wanted some of the smaller legs to stay in the air, to give Rachnera a more dynamic pose? We realized that the first holes we pierced didn’t allow the legs to be lifted in the air. It was a trial by error sort of process, buffing each hole in both halves of the spider’s abdomen, boalting the legs to see if the lid would fit, taking off the lid and legs again to adjust the holes… It was improvisation, again, creating that custom piece for which we had no plan. The whole spider itself was a big prototype, like anything you build for the first time, and we just had to figure out how to solve each problem as it would happen. We finally suceeded in making a lid that would fit over the legs, abandoning in the process the idea of having 8 perfectly round holes and aiming to have 8 holes that would ‘look like’ circles. We had no time left for perfection. It just had to work and to look good. Here I am, sitting proudly on the lid that was finally matching the rest of the spider’s abdomen and legs.
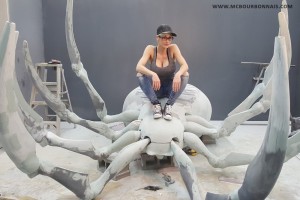
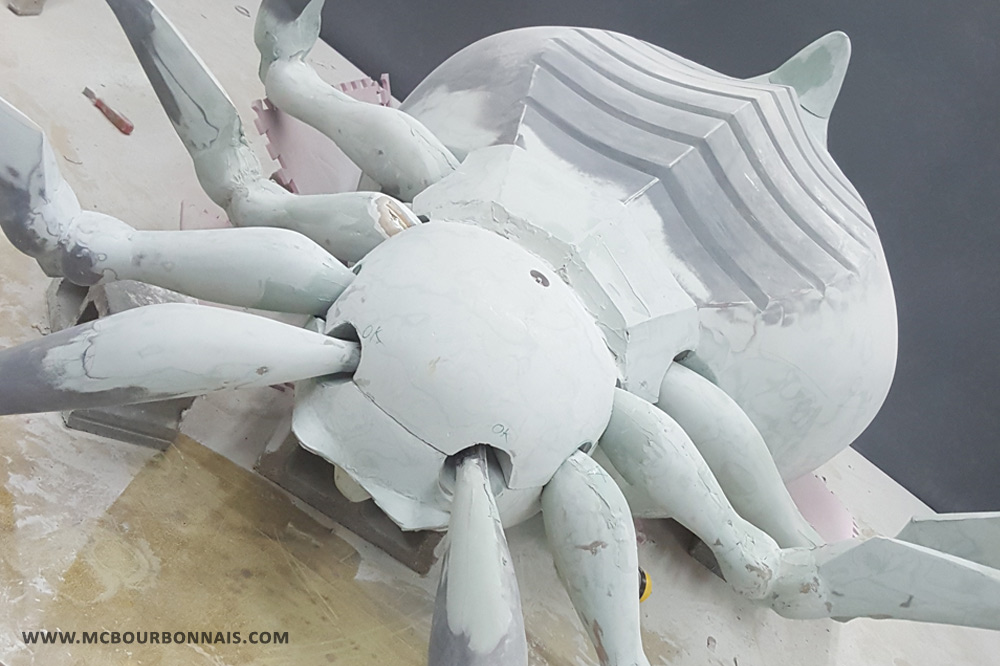
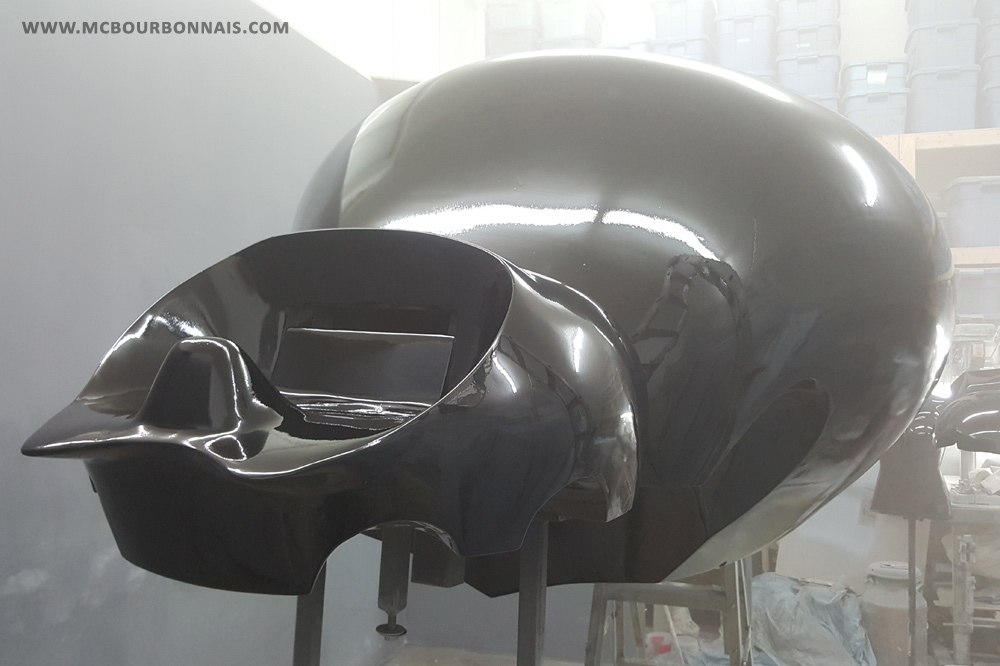
I don’t know how much body filler we used to finish all the corners, inside of the holes, all these details that had to match… But we made it. Notice on the next picture the final hole that we pierced in the middle of the lid to be able to boalt it to the square tubing vertically welded on the metallic plate. You can look again at the first picture of that part of the blog and compare. You’ll understand how the lid was holding.
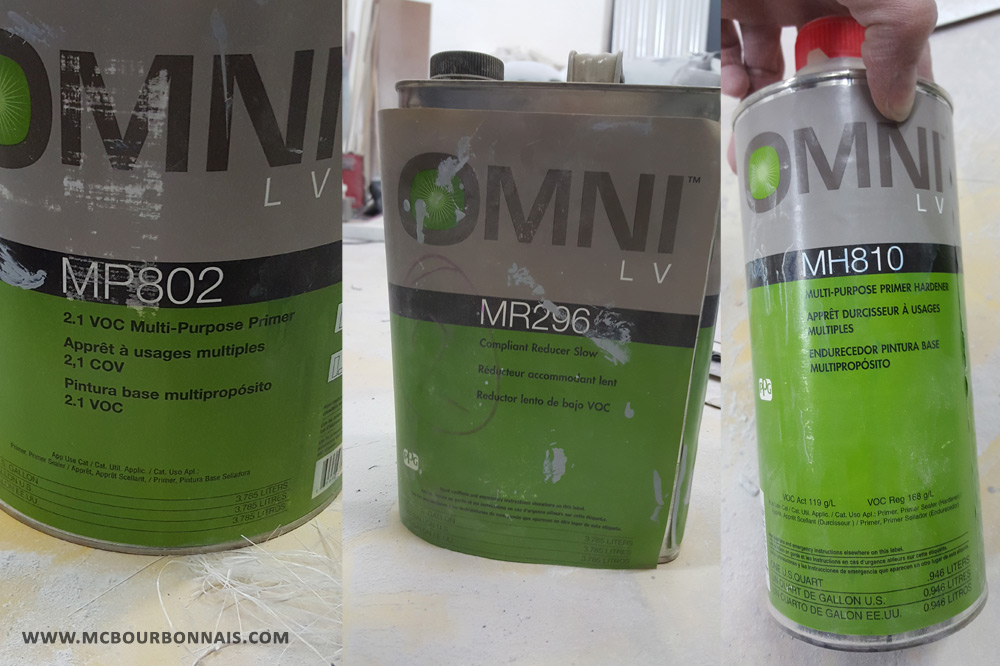
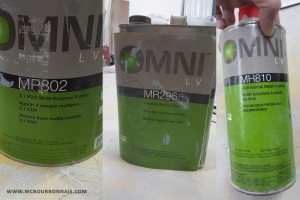
And after many more hours of fine sanding and not much time left before the exportation of the spider, we finally decided that the spider was ready to be painted. We used automotive primer and paint. After the making of the robot, we knew that the smaller imperfections and latest smaller holes in the fiberglass surface would be filled up by the high coverage Omni primer. Here are the products we used (primer).
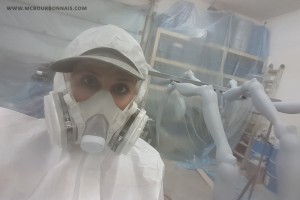
I have to say that automotive primer and paint aren’t funny to work with. You don’t only need the primer or paint, but also the reducer (to make the mix liquid enough to be used with the spray gun) and the hardener or activator, to activate all the chemicals and allow the paint to set. Make a mistake in your mix and the primer or paint will never dry or will be too thick to be used with the spray gun. All these required products are expensive, highly toxic, you absolutely need a respirator mask, gloves and something to cover your clothes. Plus, big paint jobs like this are usually made in an empty paint room where the paint fumes can only leave stains on the walls and where there’s an appropriated ventilation system. My workshop was never designed to build big fiberglass pieces like this. I don’t have a paint room. I never thought I would build anything like that one day. I do have a garage door that I can open to ventilate the place. But if there’s wind, there could also be dirt in the paint… And if it was winter, you can forget about opening the door. So here’s what I did. I covered everything around in my workshop with plastic sheets and we started by painting the legs. We used an urethane paint that doesn’t required a last layer of clear. That type of paint is already very glossy when it dries. However, it’s harder to maker a correction if there’s an imperfection in your layer of paint, while other types of automotive paints can easily be sanded, then covered with many layers of clear to make the surface perfectly shinny.
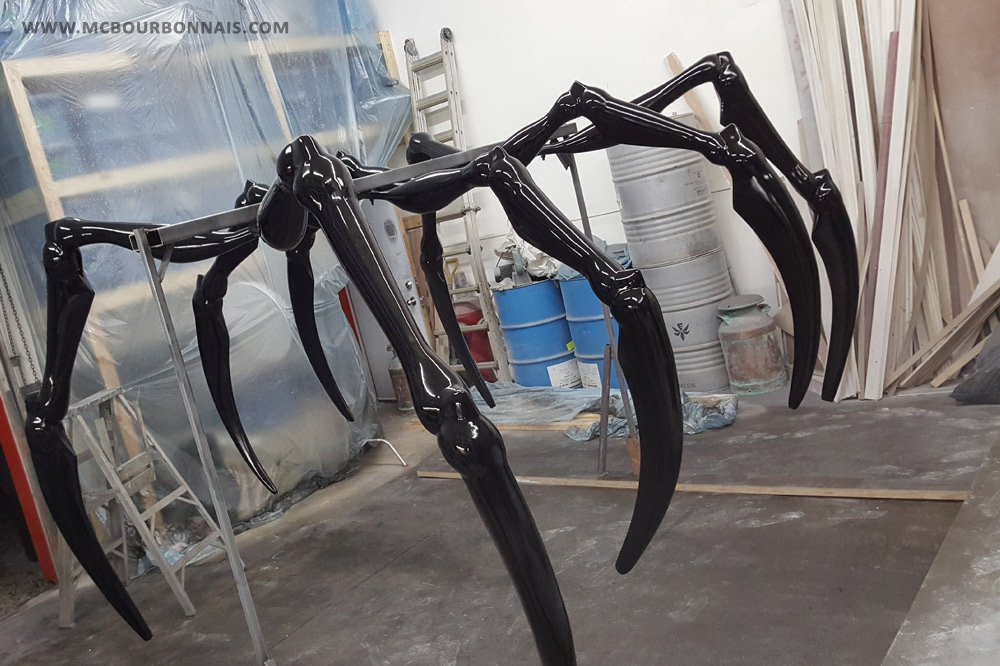
We had to figure out a way to suspend the legs in order to paint them. My friend had the idea of using metallic tubing, again, to make an improvised rack where we boalted the legs. It worked surprisingly well considering that the heavier, bigger legs weighed around 60 pounds each. Here I am with my super sexy painting suit and mask. Notice in the background how I covered and protected everything in my workshop with plastic sheets. The picture almost looks blurry, but it’s actually paint fumes.
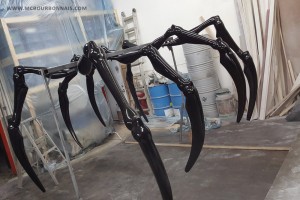
I really felt like we could make it on time when I finally saw the legs painted in black. All of a sudden, the black paint gave to the legs a look… of real spider’s legs! They were huge, full of sharp angles and they almost scared me as much as real spiders do. Yeah, I spent 2 months of my life working on building a huge spider and I’m afraid of spiders. What a crazy project… But still, it felt very encouraging to see these huge black legs! Impressive, isn’t it?
Then it was time to paint the body. Same challenge: how would we lift up the body to allow us to paint it all over? On one end of the body, we simply used the mechanism we had developed for the assembling/disassembling process. At the other end, we used the mechanism made to fix the body to the bottom of the transportation box by temporary fixing it… to the top of a ladder. A questionable, probably not very safe way to make everything stay in place. But we had no time to think of a better way. We had a few days left before the departure of our creature.
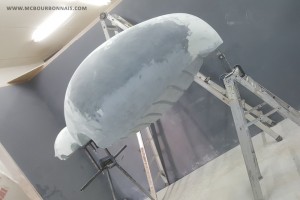
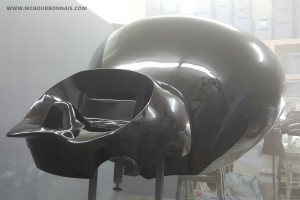
And finally, here’s the body painted in black. What a relief! Those of you who are professional painters will immediately notice the irregular texture of the paint in the light reflection. I only had an old spray gun, almost as old as I am (which is very old) and my friend and I had no real experience in painting other than the robot we had previously made for Ninja Division. Honestly, painting with a spray gun is harder than it seems. There are techniques and you have to know how to adjust your spray gun. The spray has to have a specific shape when it comes out of the spray gun, you have to hold the gun at a certain distance from the object you paint, you have to do a certain movement to apply the paint evenly… Way harder than it seems, at least that’s what I thought. And again, the fact that I don’t have a paint room didn’t help. See how that picture also looks blurry? Paint fumes. Everywhere. But at that moment, I didn’t really care anymore.
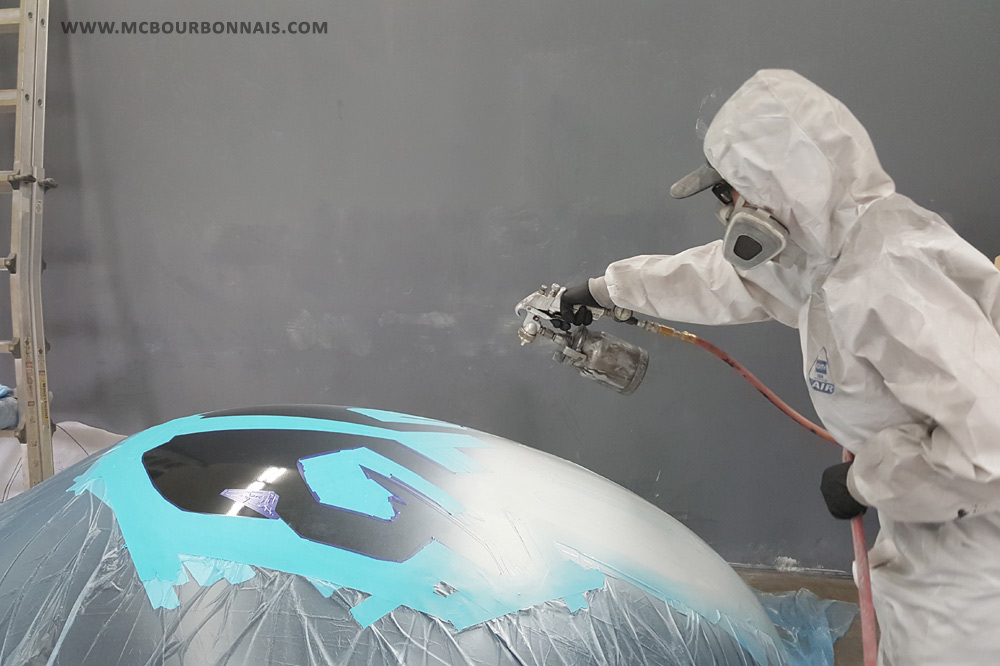
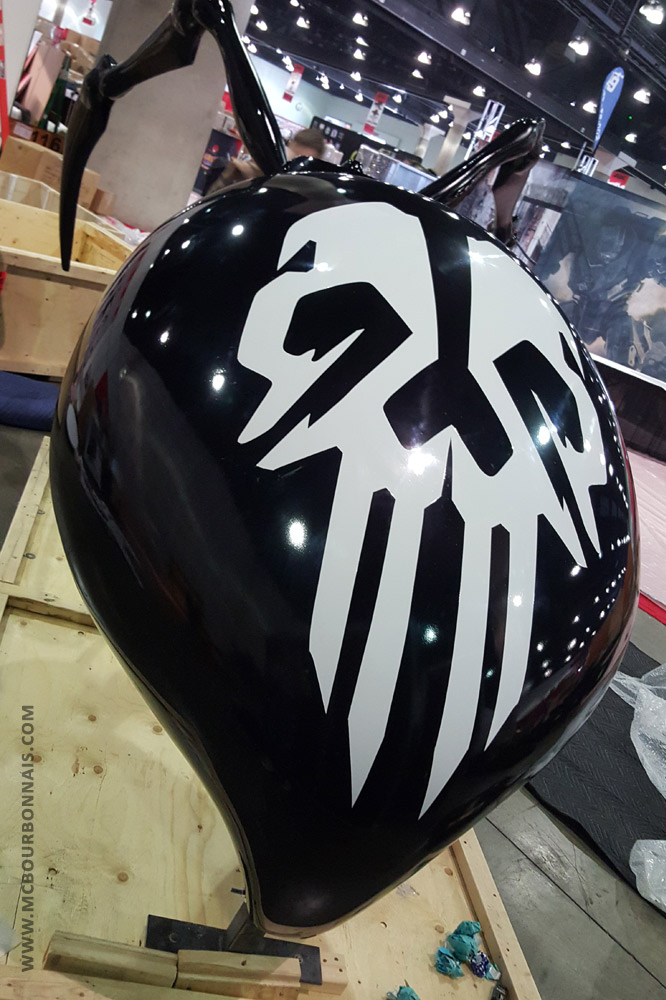
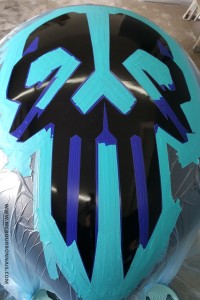
Last step was to paint the white skull on the back of Rachnera’s body. Truth is that the assembled spider was so tall that we couldn’t see its back. Which means that nobody could see the white skull, and probably that nobody at Anime Expo noticed that it was there. But we wanted to make things right, so we used the last hours we had to prepare and paint the skull pattern.
And that’s me with my sexy suit, using my archaic spray gun.
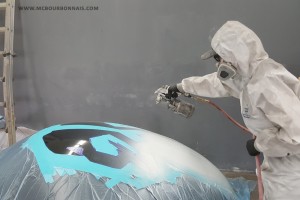
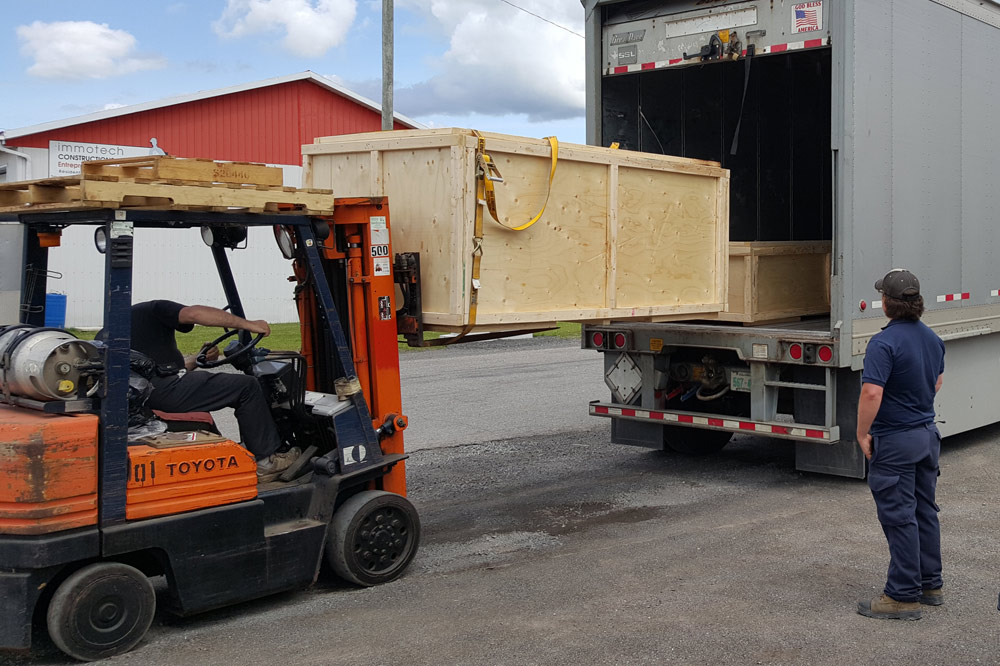
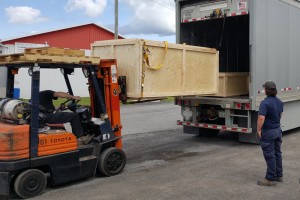
While the white paint was drying, the truck coming for the spider arrived in front of the workshop. We were not able to take off the masking tape, the paint didn’t have the time to dry. The spider’s body was already fixed to the bottom of the transportation box and we quickly built the box around the body while the trucker was waiting. It was June 20th 2016. Anime Expo would start on July 1st. They needed 10 days for the exportation process. Remember that this spider had to cross the border between Canada and the USA… We could only hope that the paint would dry in the box and that 10 days later, before the beginning of Anime Expo, we would be able to remove the masking tape without any trouble. I said goodbye to my spider… and realized that I still had a costume to make. :S But let’s focus on the spider. The body in one box, the legs in another box. Goodbye, Rachnera. See you in LA!
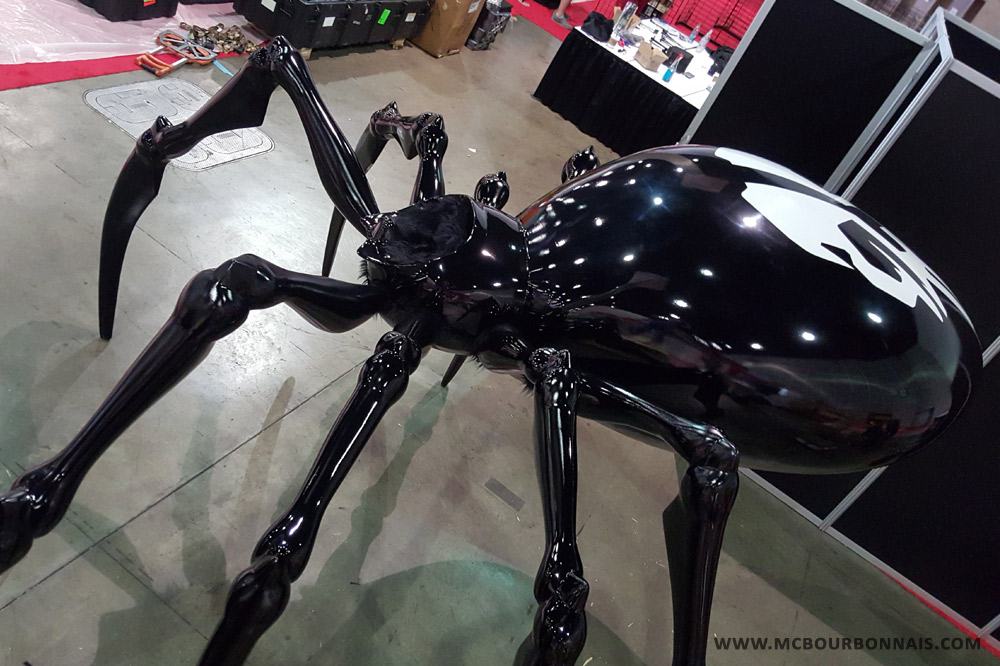
We landed in LA on June 29th, had a good night of sleep and woke up early to start assembling Rachnera at Ninja Division’s booth. I was relieved to see that we were able to remove all the masking tape and that the skull looked good, even if nobody would ever really see it. Here’s a picture taken during the assembling process. Notice how the back of the spider is still screwed to the bottom of the transportation box. It was useful to keep the body from moving in the box during the transportation and to make the assembling process doable by only 3 persons. Everything had to hold as much as possible by itself. That mechanism was a brilliant idea.
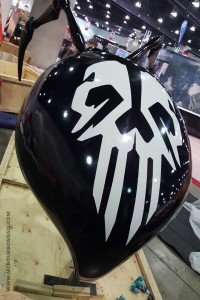
Just for fun, I climbed on the transportation boxes and took that picture to have at least one picture where I could see the assembled spider with the white skull on its back.
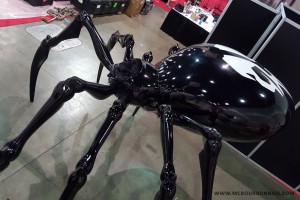
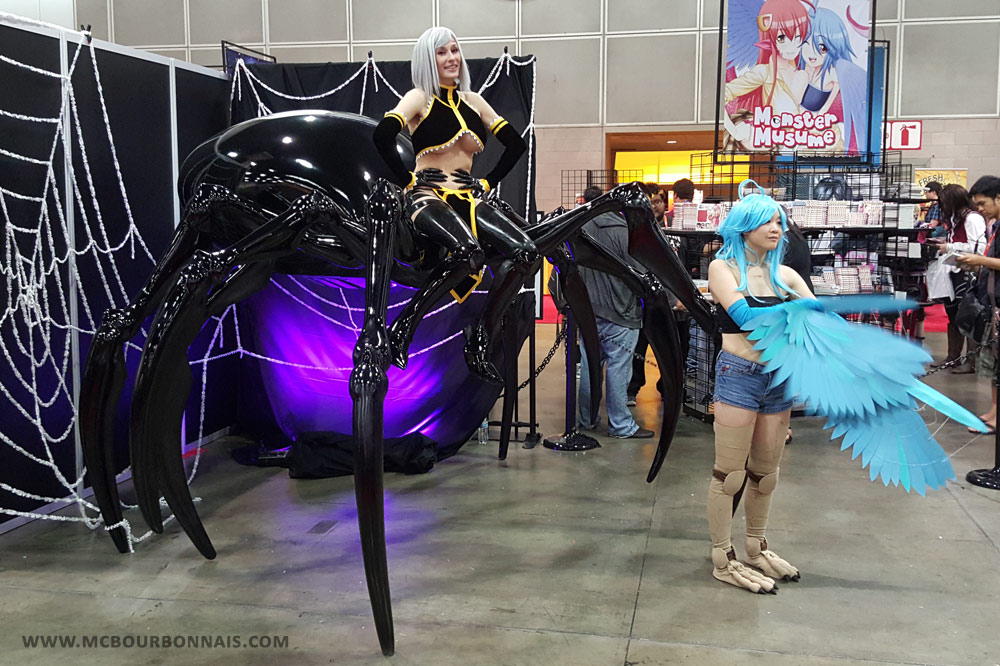
And finally!
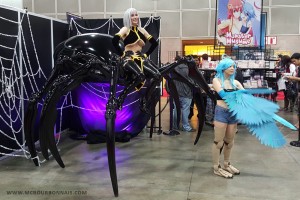
Rachnera existed for the time of a convention. Yes, I suffered on my fiberglass spider shaped chair, but it was totally worth it. Will I ever build another 10 feet tall fiberglass robot? No. Will I ever build another thing like the spider? Maybe. I said maybe, don’t get excited too fast! But one thing is for sure, I’m happy we finished everything on time! And I’m happy that people enjoyed it. :) Plus, I had the honor to meet Okayado, the writer and illustrator of the manga Monster Musume, who knew I was building Rachnera and who had been sharing my work in progress pics on his Twitter account all along the project. What more could I ask for? I hope you enjoyed reading this blog, that the professionals won’t think I did too many mistakes explaining what I had just learn in the process of working with fiberglass and automotive paint and that the fans will remember Rachnera as an incredible piece that once existed for real. :)
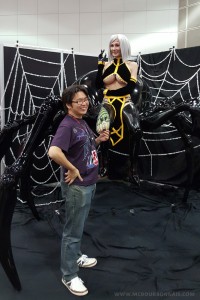
Prints of my Rachnera cosplay are available on my store. Thanks for your support! :)